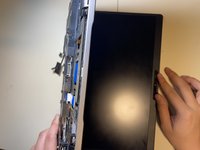
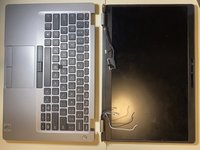
Saltar al contenido principal

Dell Latitude 5411 Webcam Replacement

Qué necesitas

  1. Dell Latitude 5411 Webcam Replacement, Lower Case: paso 1, imagen 1 de 1
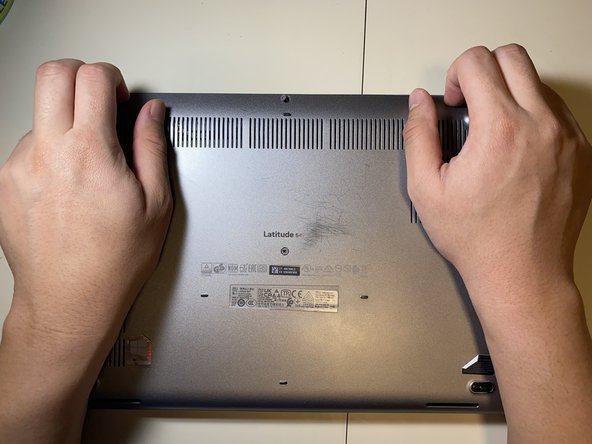
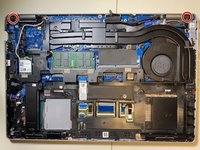
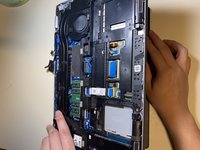
    • Loosen all eight 2.5 mm captive Phillips #1 screws that secure the lower case.

    • As the screws are captive, they will remain in the case after being loosened.

  2. Dell Latitude 5411 Webcam Replacement: paso 2, imagen 1 de 2 Dell Latitude 5411 Webcam Replacement: paso 2, imagen 2 de 2
    • Lift the base cover starting from the left hinge.

    • If it is hard to pull off, make sure that all the screws are loose.

  3. Dell Latitude 5411 Webcam Replacement, Battery: paso 3, imagen 1 de 2 Dell Latitude 5411 Webcam Replacement, Battery: paso 3, imagen 2 de 2
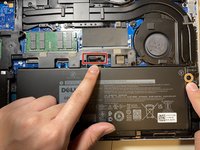
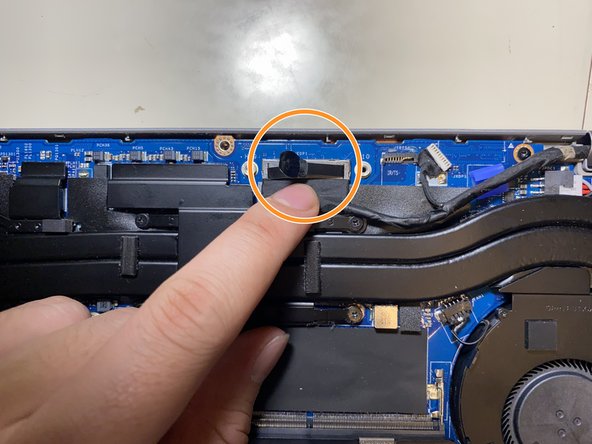
    • Pull the battery connector pull tab straight up to disconnect the battery.

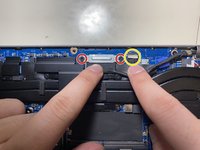
    • Remove the one 2 mm Phillips #1 screw that secures the battery.

    • Lift the battery straight up and out of the chassis.

  4. Dell Latitude 5411 Webcam Replacement, Laptop Camera: paso 4, imagen 1 de 2 Dell Latitude 5411 Webcam Replacement, Laptop Camera: paso 4, imagen 2 de 2
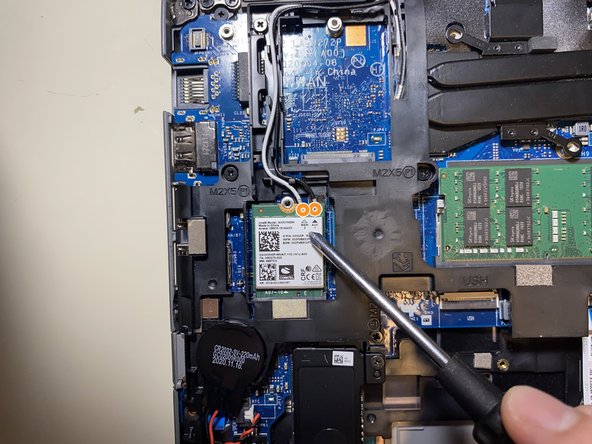
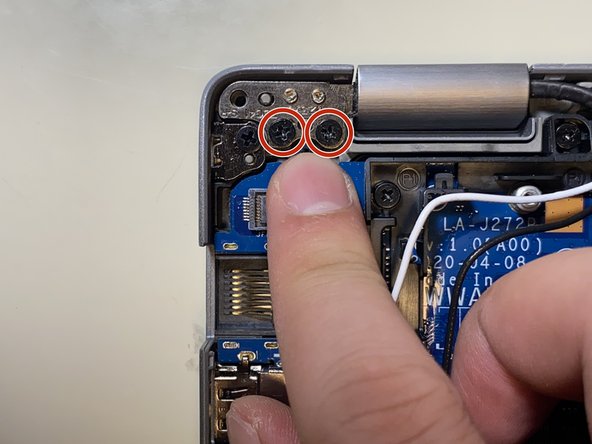
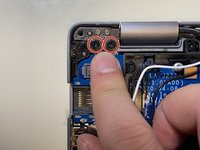
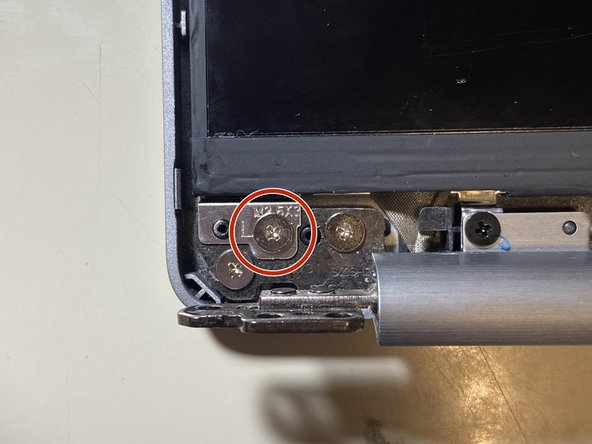
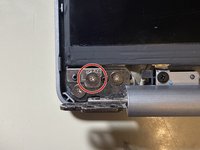
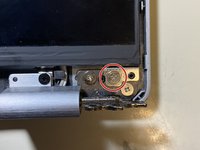
    • Remove the one 1 mm Phillips #1 screw that secures the Wi-Fi card.

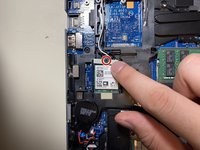
    • Take note of which color wire went into each spot, then disconnect the antenna cable connectors by lifting them straight up.

  5. Dell Latitude 5411 Webcam Replacement: paso 5, imagen 1 de 2 Dell Latitude 5411 Webcam Replacement: paso 5, imagen 2 de 2
    • Remove the two 2 mm Phillips #1 screws that secure the display cable bracket.

    • Pull straight up on the display connector pull tab to disconnect the cable.

    • Disconnect the touchpad connector by pulling it straight out of its socket.

  6. Dell Latitude 5411 Webcam Replacement: paso 6, imagen 1 de 3 Dell Latitude 5411 Webcam Replacement: paso 6, imagen 2 de 3 Dell Latitude 5411 Webcam Replacement: paso 6, imagen 3 de 3
    • Remove the four 2.5x5 Phillips #1 screws securing the hinges to the chassis.

  7. Dell Latitude 5411 Webcam Replacement: paso 7, imagen 1 de 3 Dell Latitude 5411 Webcam Replacement: paso 7, imagen 2 de 3 Dell Latitude 5411 Webcam Replacement: paso 7, imagen 3 de 3
    • Open up the laptop to 90 degrees.

    • Pull the laptop chassis from the laptop screen and separate them.

  8. Dell Latitude 5411 Webcam Replacement: paso 8, imagen 1 de 3 Dell Latitude 5411 Webcam Replacement: paso 8, imagen 2 de 3 Dell Latitude 5411 Webcam Replacement: paso 8, imagen 3 de 3
    • Insert an opening pick into seam between the bezel and the back display cover. Slide and pry around the entire perimeter to separate the entire bezel from the back cover.

  9. Dell Latitude 5411 Webcam Replacement: paso 9, imagen 1 de 3 Dell Latitude 5411 Webcam Replacement: paso 9, imagen 2 de 3 Dell Latitude 5411 Webcam Replacement: paso 9, imagen 3 de 3
    • Remove the two 2.5x3 Phillips #1 screws.

  10. Dell Latitude 5411 Webcam Replacement: paso 10, imagen 1 de 2 Dell Latitude 5411 Webcam Replacement: paso 10, imagen 2 de 2
    • Lift the display up and out.

  11. Dell Latitude 5411 Webcam Replacement: paso 11, imagen 1 de 2 Dell Latitude 5411 Webcam Replacement: paso 11, imagen 2 de 2
    • Disconnect the camera cable.

    • Lift the laptop webcam up and out.

Conclusión

To reassemble your device, follow the above steps in reverse order.
Take your e-waste to an R2 or e-Stewards certified recycler.
Repair didn’t go as planned? Try some basic troubleshooting or ask our Answers community for help.

Una persona más ha completado esta guía.

Phillip Nguyen

Miembro Desde 09/27/24

157 Reputación

1 Guía escrita

Equipo

CSU Sacramento, Team 19-19, Laflen Fall 2024 Miembro de CSU Sacramento, Team 19-19, Laflen Fall 2024

CSUSAC-LAFLEN-F24S19G19

1 Miembro

1 Guía escrita

0 comentarios

Agregar Comentario

Ver Estadísticas:

Ultimas 24 horas: 0

Ultimos 7 días: 9

Ultimos 30 días: 26

Todo El Tiempo: 94