Esta versión puede contener ediciones incorrectas. Cambie a la última instantánea verificada.
Qué necesitas
-
Este paso está sin traducir. Ayuda a traducirlo
-
Close the display and flip the laptop on its back.
-
Loosen the ten 5.0 mm-long Phillips #0 screws.
-
The four screws marked with orange will remain captive to the cover.
-
-
Este paso está sin traducir. Ayuda a traducirlo
-
Use a spudger to pry up and loosen the back cover.
-
Remove the back cover.
-
-
-
Este paso está sin traducir. Ayuda a traducirlo
-
Remove the five 5.0 mm-long Philips #0 screws that connect the battery to the case.
-
-
Este paso está sin traducir. Ayuda a traducirlo
-
Pull the battery cable's pull tab towards the battery to disconnect it from the motherboard.
-
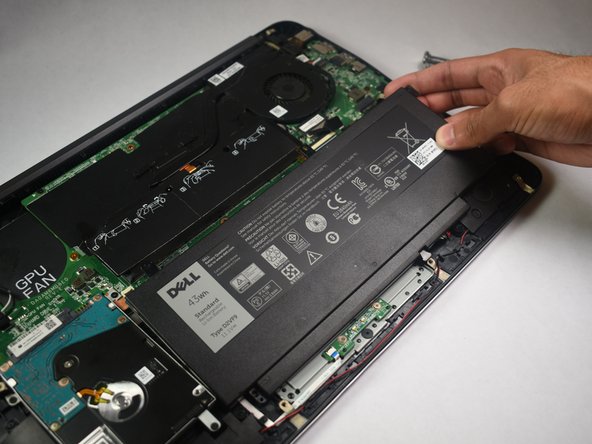
Remove the battery.
-
Cancelar: No complete esta guía.
Una persona más ha completado esta guía.


