Introducción
Use this tutorial to replace a faulty speaker in your HI-04 mini projector. You might notice distorted sound, or static, or the device won't produce sound at all.
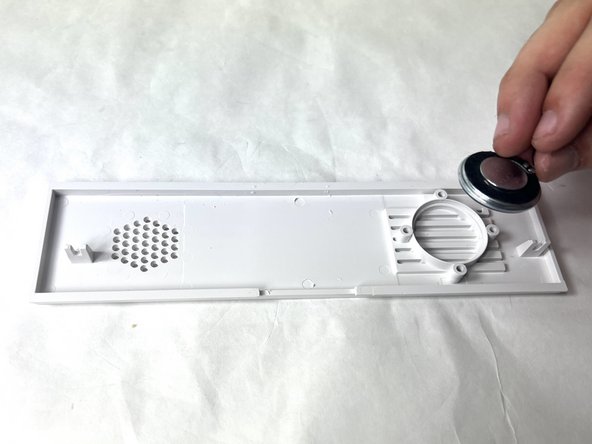
A speaker is a device inside of the projector that produces the sound you hear from the device. You might get a faulty speaker due to damage over time or if the device is physically damaged.
Before using this guide, be sure to review the troubleshooting guide. Sometimes issues with the noise can be fixed by restarting the device, which wouldn't require replacing the speaker.
Qué necesitas
-
-
Flip the projector so that the bottom is facing up.
-
Remove eight 10.0 mm screws from the back case with a Phillips #0 screwdriver.
-
Remove two 20.0 mm screws with a Phillips #0 screwdriver.
-
-


To reassemble your device, follow these instructions in reverse order.
To reassemble your device, follow these instructions in reverse order.

Equipo

UMass Dartmouth, Team 1-5, Petersen Fall 2023 Miembro de UMass Dartmouth, Team 1-5, Petersen Fall 2023
UMASSD-PETERSEN-F23S1G5
4 Miembros
5 Guías creadas