Esta versión puede contener ediciones incorrectas. Cambie a la última instantánea verificada.
Qué necesitas
-
Este paso está sin traducir. Ayuda a traducirlo
-
Turn the device upside down.
-
Remove all four rubber feet by prying them out using the metal spudger.
-
Once the rubber feet have been removed, use the Phillips #2 screwdriver to remove all four 13mm screws.
-
-
-
Este paso está sin traducir. Ayuda a traducirlo
-
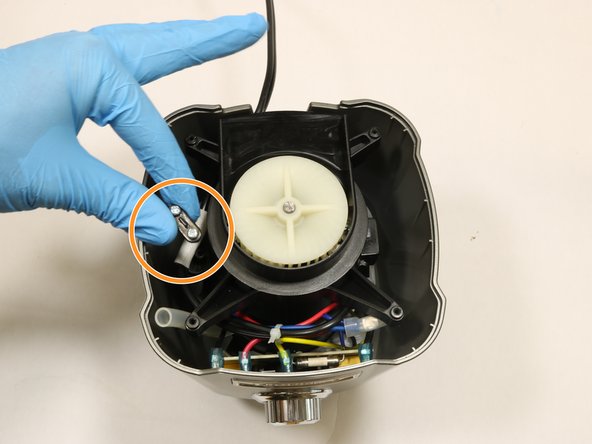
Remove the two 11mm screws securing the power cord using the Phillips #2 screwdriver.
-
Gently move the wire aside so that it is not in the way.
-
-
Este paso está sin traducir. Ayuda a traducirlo
-
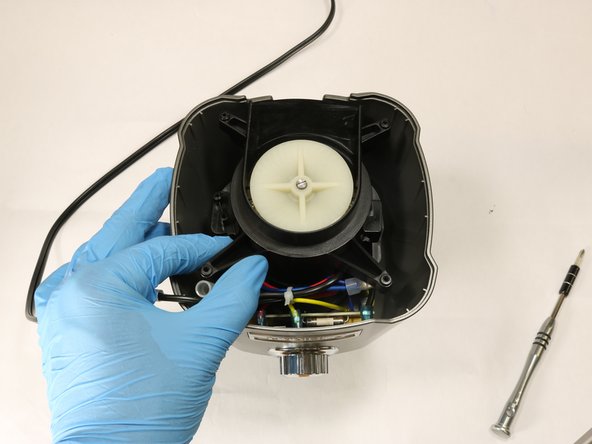
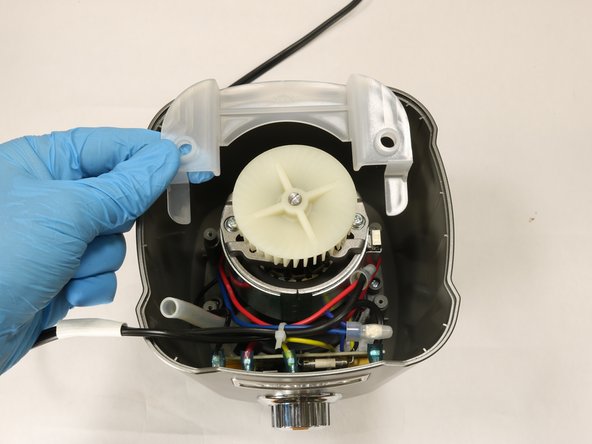
Remove the four 13mm screws that hold the black plastic cover using the Phillips #2 screwdriver.
-
Gently remove the black cover.
-
Underneath, you will see a clear plastic cover that should be removed as well.
-
-
Este paso está sin traducir. Ayuda a traducirlo
-
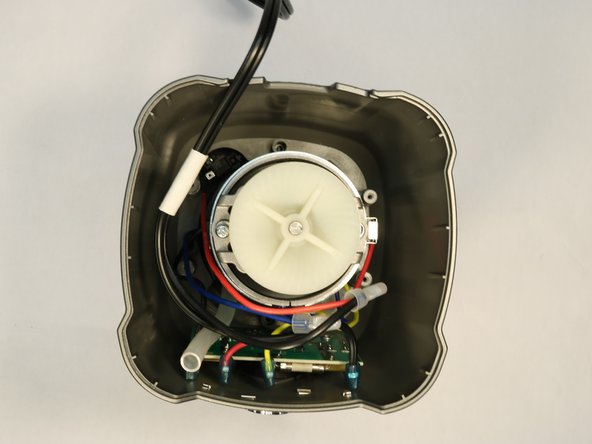
Cut the zip tie that holds the black, blue, red, and yellow wires together.
-


Cancelar: No complete esta guía.
2 personas más completaron esta guía.
Equipo

The Citadel Military College of South Carolina, Team S2-G1, Eggleston Fall 2018 Miembro de The Citadel Military College of South Carolina, Team S2-G1, Eggleston Fall 2018
CMCSC-EGGLESTON-F18S2G1
3 Miembros
3 Guías creadas