Introducción
If your headphones aren't working with your Contixo V8 (model number V8X), be sure to troubleshoot the issue before deciding to replace the headphone jack; if you've determined the jack to be the issue, you can follow this guide for information on how to replace it.
You will need two iFixit plastic opening tools, a Phillips size #000 screwdriver, and a soldering iron or gun with a small tip. Please see this guide for information on soldering and desoldering connections within your device. A plastic spudger would also be useful, but is optional; the iFixit opening tools would work in its place. You may also want to consider using an anti-static wrist strap and anti-static mat to protect yourself from accidental electric charges while working on your device; see this guide for information on how to use these items.
Qué necesitas
-
-
Find the edge of the tablet, where the front panel meets the sides. Use the plastic opening tools to pry the panels apart.
-
Lift the face of the tablet.
-
-
-
-
The cable marked in red is locked into place by two dark pull tabs; pull each away from the cream connection port towards the edge of the tablet. Gently remove the cable once the tabs are in the open position.
-
The cables marked in orange are known as zero-insert force cables. To remove the connection, flip up the dark tab and gently pull the ribbon away.
-
-
-
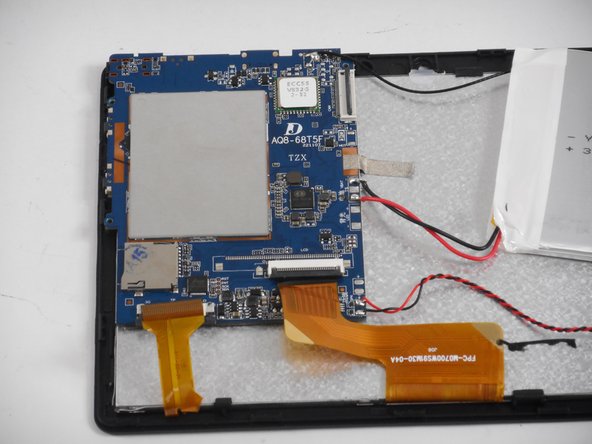
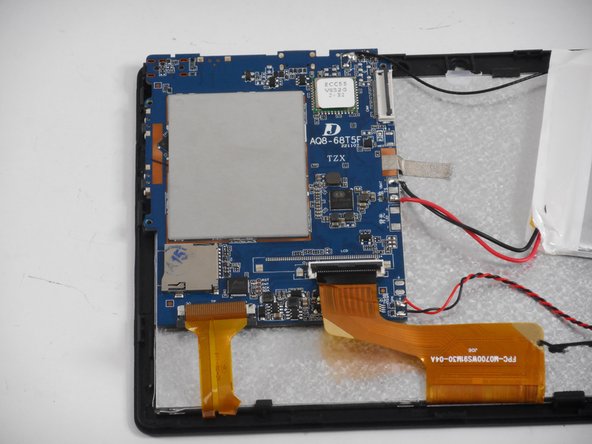
Lift the motherboard off the base and flip it over to access the headphone jack. Make sure you have the right port; check that it's shaped for headphones to be plugged in, and not the charger.
-
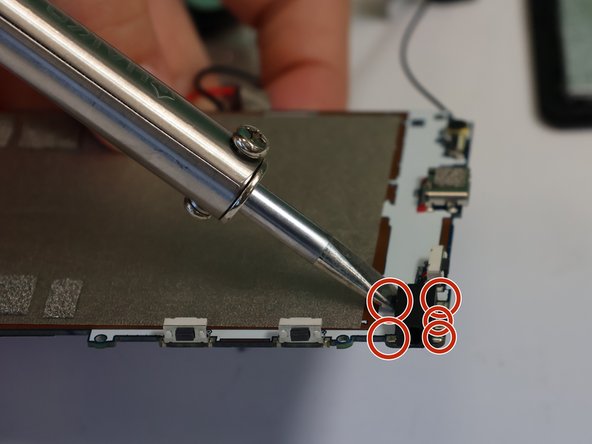
There will be a total of five connections between the headphone jack and the back of the motherboard; desolder all five. See this guide for information on how to desolder connections.
-
Remove the desoldered jack. It is now ready to be replaced.
-


To reassemble your device, follow these instructions in reverse order.
To reassemble your device, follow these instructions in reverse order.

Equipo

University of New Orleans, Team 3-2, McDonald Fall 2023 Miembro de University of New Orleans, Team 3-2, McDonald Fall 2023
UNO-MCDONALD-F23S3G2
3 Miembros
4 Guías creadas