Esta guía ha sufrido modificaciones. Revisa la última versión sin revisar.
Introducción
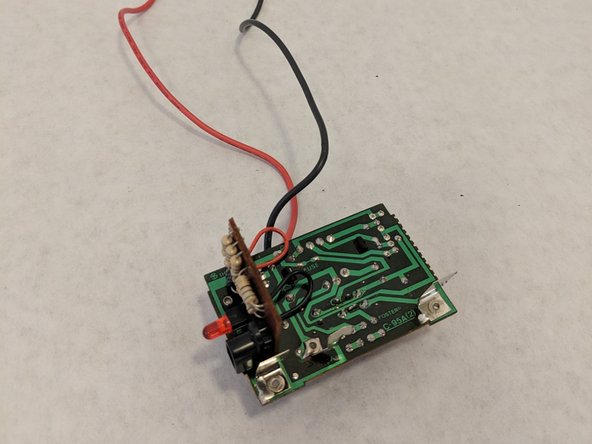
Is your switch unable to move due to a foreign liquid? Does the switch feel like its seated improperly? Check out this guide on removing and replacing the switch.
Qué necesitas
-
-
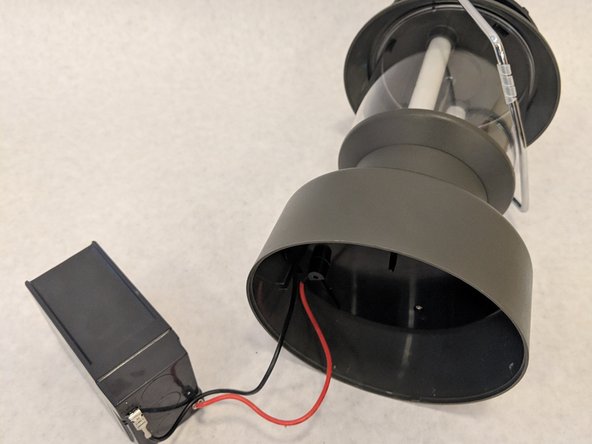
Carefully turn the lantern upside down.
-
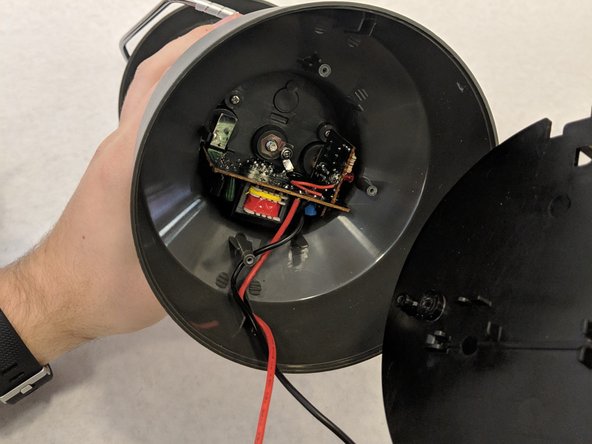
Remove the three 1.2 mm Phillips #0 screws from the base of the lantern.
-
-
-
-
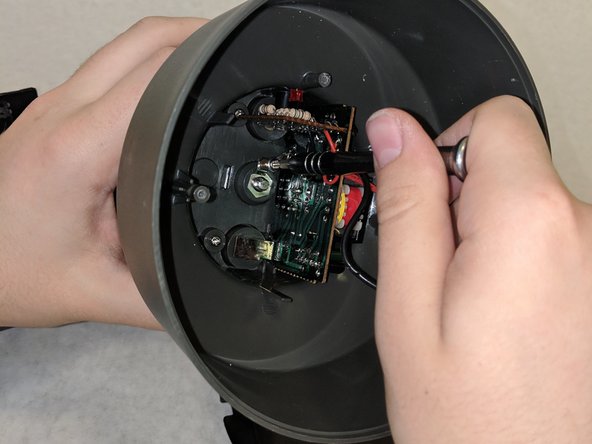
Remove the single 1.2 mm Phillips #1 screw on the bottom of the lantern.
-
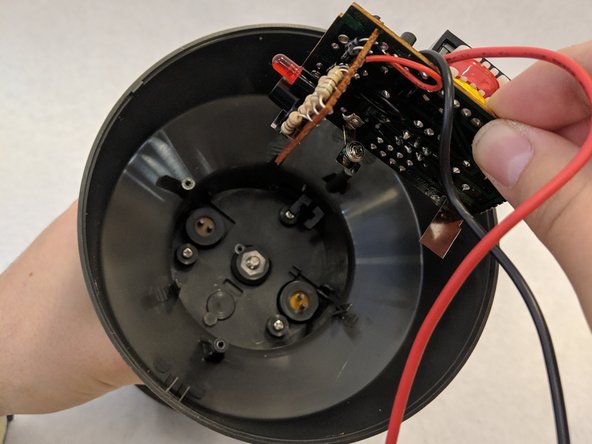
Remove the plastic barrier.
-
-
-
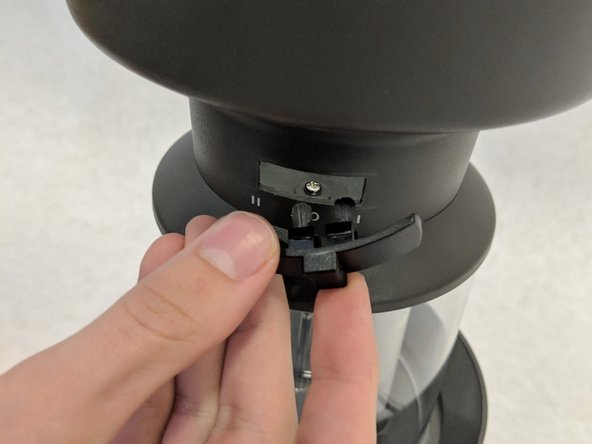
Remove the switch by pushing down on the ends while simultaneously pulling it out of the slot.
-


To reassemble your device, follow these instructions in reverse order.
To reassemble your device, follow these instructions in reverse order.
Equipo

Washington State, Team S2-G1, Hope Fall 2018 Miembro de Washington State, Team S2-G1, Hope Fall 2018
WSU-HOPE-F18S2G1
4 Miembros
8 Guías creadas