Esta versión puede contener ediciones incorrectas. Cambie a la última instantánea verificada.
Qué necesitas
-
Este paso está sin traducir. Ayuda a traducirlo
-
Carefully turn the lantern upside down.
-
Remove the three 1.2 mm Phillips #0 screws from the base of the lantern.
-
-
Este paso está sin traducir. Ayuda a traducirlo
-
Carefully pull the bottom of the lantern to remove the base from the device.
-
-
Este paso está sin traducir. Ayuda a traducirlo
-
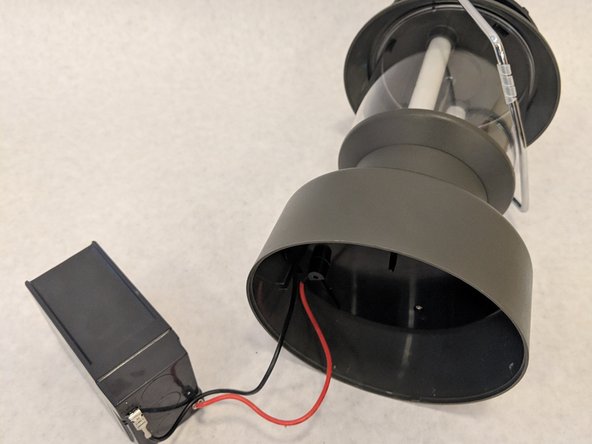
Gently pull the battery out of the slot and away from the base.
-
-
-
Este paso está sin traducir. Ayuda a traducirlo
-
Carefully detach the negative wire from the battery terminal first.
-
Next, detach the positive wire from the battery terminal.
-
-
Este paso está sin traducir. Ayuda a traducirlo
-
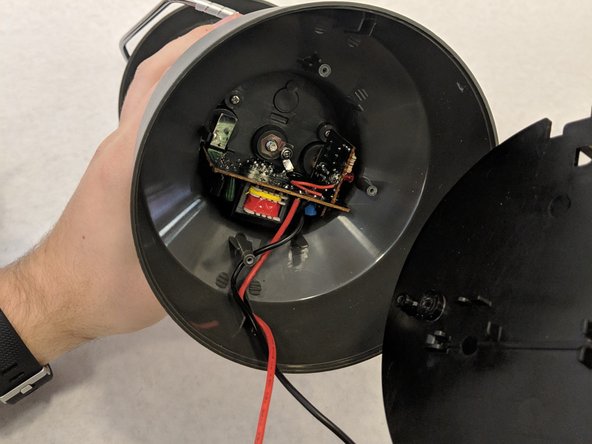
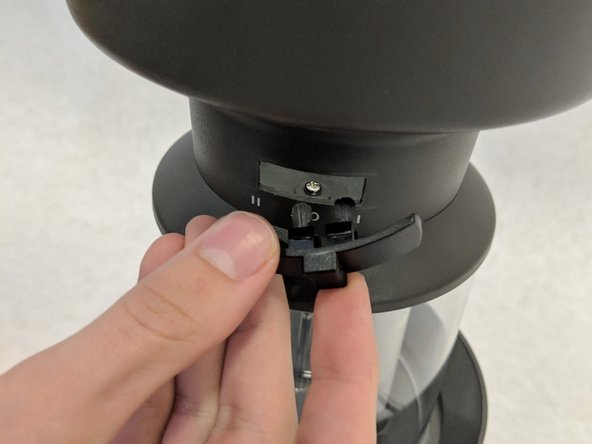
Remove the single 1.2 mm Phillips #1 screw on the bottom of the lantern.
-
Remove the plastic barrier.
-
-
Este paso está sin traducir. Ayuda a traducirlo
-
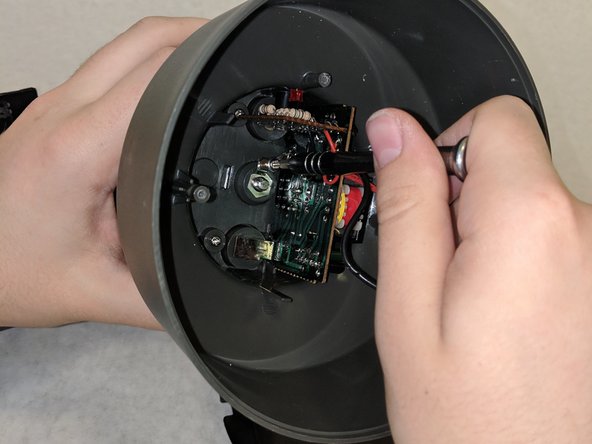
Unscrew the single 1.2 mm Phillips #1 screw holding the motherboard to the plastic lantern housing.
-
-
Este paso está sin traducir. Ayuda a traducirlo
-
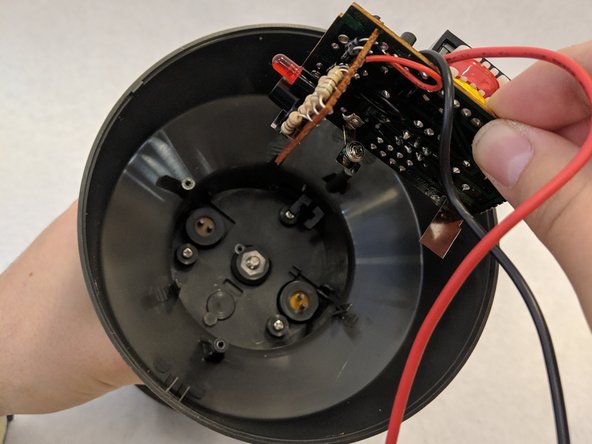
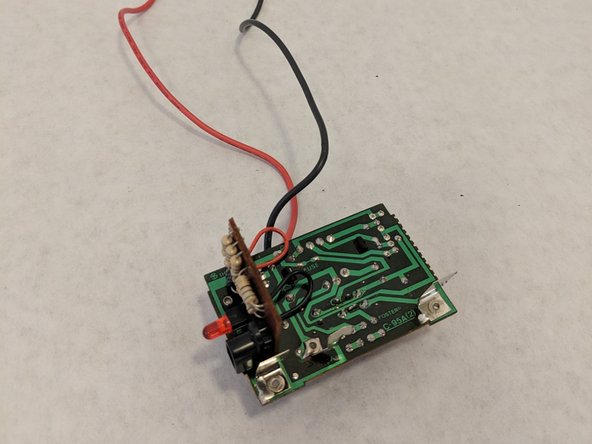
Gently grab the main board by the exposed PCB.
-
Pull the main board straight out of the housing.
-
-
Este paso está sin traducir. Ayuda a traducirlo
-
Remove the switch by pushing down on the ends while simultaneously pulling it out of the slot.
-


Equipo

Washington State, Team S2-G1, Hope Fall 2018 Miembro de Washington State, Team S2-G1, Hope Fall 2018
WSU-HOPE-F18S2G1
4 Miembros
8 Guías creadas