Saltar al contenido principal
Únete a la Comunidad de Reparación - Crear Cuenta
Canon Selphy CP910 LCD Screen Replacement

Qué necesitas

    1. Canon Selphy CP910 LCD Screen Replacement, Body: paso 1, imagen 1 de 2 Canon Selphy CP910 LCD Screen Replacement, Body: paso 1, imagen 2 de 2
      • Turn the printer over.

      • Use the PH1 screw bit to remove the three 8 mm screws in the middle of the back plate.

      • Keep track of these screws because you will need them to reassemble the printer.

      Pregunta a FixBot

      Agregar Comentario

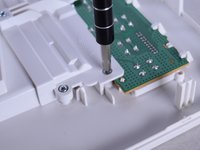
    2. Canon Selphy CP910 LCD Screen Replacement: paso 2, imagen 1 de 3 Canon Selphy CP910 LCD Screen Replacement: paso 2, imagen 2 de 3 Canon Selphy CP910 LCD Screen Replacement: paso 2, imagen 3 de 3
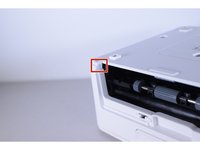
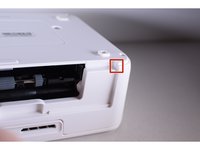
      • Loosen up the four 10 mm corner screws.

      • A screwdriver with a long shaft approximately 7mm in diameter will make it easier to reach these screws.

      Pregunta a FixBot

      Agregar Comentario

    3. Canon Selphy CP910 LCD Screen Replacement: paso 3, imagen 1 de 3 Canon Selphy CP910 LCD Screen Replacement: paso 3, imagen 2 de 3 Canon Selphy CP910 LCD Screen Replacement: paso 3, imagen 3 de 3
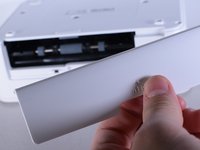
      • Turn the device around and remove the "open" lid.

      • This lid needs to be removed in order to take the printer apart.

      • Gently bend the lid and remove it from its hinges.

      Pregunta a FixBot

      Agregar Comentario

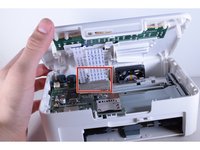
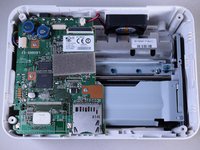
    4. Canon Selphy CP910 LCD Screen Replacement: paso 4, imagen 1 de 3 Canon Selphy CP910 LCD Screen Replacement: paso 4, imagen 2 de 3 Canon Selphy CP910 LCD Screen Replacement: paso 4, imagen 3 de 3
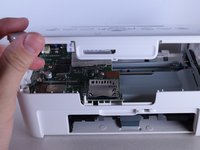
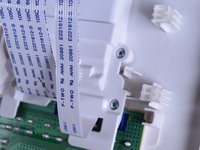
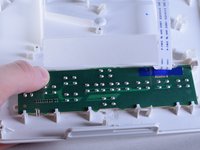
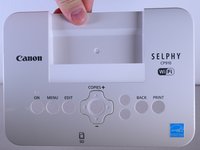
      • Turn the device back over and lift the top panel up.

      • Disconnect the ribbon cables leading to the LCD screen.

      • Pull the top panel off.

      Pregunta a FixBot

      Agregar Comentario

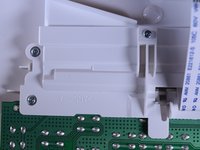
    1. Canon Selphy CP910 LCD Screen Replacement, LCD Screen: paso 5, imagen 1 de 3 Canon Selphy CP910 LCD Screen Replacement, LCD Screen: paso 5, imagen 2 de 3 Canon Selphy CP910 LCD Screen Replacement, LCD Screen: paso 5, imagen 3 de 3
      • Once you detach the top, turn the device around.

      • Use the PH0 screw bit to remove the five [size] screws.

      Pregunta a FixBot

      Agregar Comentario

    2. Canon Selphy CP910 LCD Screen Replacement: paso 6, imagen 1 de 3 Canon Selphy CP910 LCD Screen Replacement: paso 6, imagen 2 de 3 Canon Selphy CP910 LCD Screen Replacement: paso 6, imagen 3 de 3
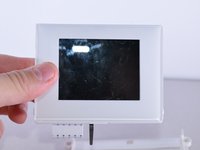
      • Push out the LCD screen from the main case.

      • The screen should slide out freely.

      Pregunta a FixBot

      Agregar Comentario

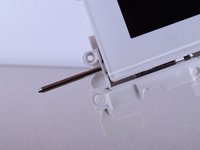
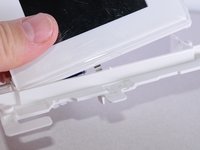
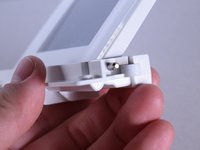
    3. Canon Selphy CP910 LCD Screen Replacement: paso 7, imagen 1 de 3 Canon Selphy CP910 LCD Screen Replacement: paso 7, imagen 2 de 3 Canon Selphy CP910 LCD Screen Replacement: paso 7, imagen 3 de 3
      • Pull out the rod connecting the LCD screen to the frame.

      • Insert the new screen.

      Pregunta a FixBot

      Agregar Comentario

Conclusión

To reassemble your device, follow these instructions in reverse order.

Cancelar: No complete esta guía.

Equipo

UW Tacoma, Team 1-6, Rose Winter 2016 Miembro de UW Tacoma, Team 1-6, Rose Winter 2016

UWT-ROSE-W16S1G6

Miembros de 4

16 Guías creadas

0Guía Comentarios

Agregar Comentario

Ver Estadísticas:

Ultimas 24 horas: 3

Ultimos 7 días: 14

Ultimos 30 días: 50

Todo El Tiempo: 1,797