Introducción
If your Asus ZenBook UX330U or UX330UA does not have enough storage, or there are issues accessing files, then you may need to replace or upgrade your storage device. Before using this guide, look at the troubleshooting page located here for possible fixes that do not require any disassembly. This guide can be used to remove M.2 SSD for the ASUS ZenBook UX330U or UX330UA.
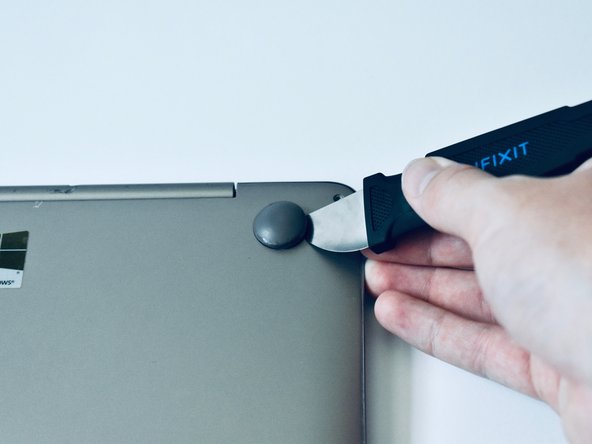
Before beginning any device disassembly, please power off and unplug your device.
Qué necesitas
-
-
Before starting any device dissasembly, please put on the anti-static bracelet provided by iFixit. Make sure the metal part of the bracelet is touching your skin.
-
Remove the alligator clip at the end of the bracelet by simply pulling it off, to reveal the bullet connector.
-
Insert the bullet connector into the ground port of an outlet.
-
-
-
-
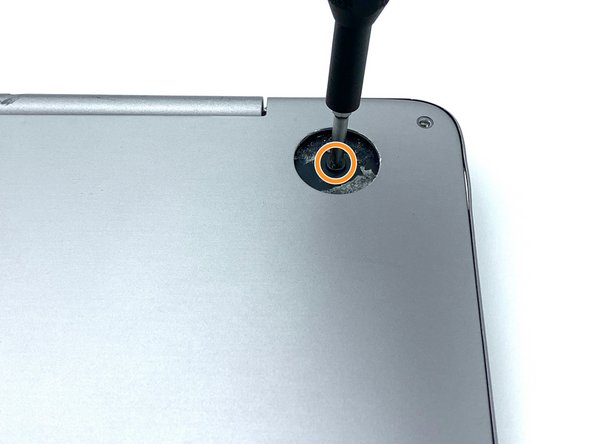
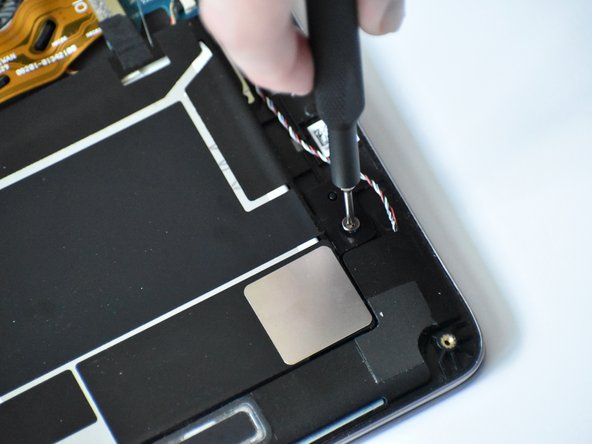
Unscrew the single 3.7mm screw holding down the M.2 SSD using the Philips #0 screwdriver bit.
-


To reassemble your device, follow these instructions in reverse order.
To reassemble your device, follow these instructions in reverse order.
Cancelar: No complete esta guía.
6 personas más completaron esta guía.
Equipo

Embry-Riddle Aeronautical University, Team S1-G111, Watkins Fall 2019 Miembro de Embry-Riddle Aeronautical University, Team S1-G111, Watkins Fall 2019
ERAU-WATKINS-F19S1G111
3 Miembros
5 Guías creadas
5 comentarios
Do you know the procedure to transfer the contents of the removed M.2 into the new M.2? Assuming the old one was working fine and you just want to upgrade to a larger memory M.2 - you can put the old one into a USB3 external case (I bought one for $10 on eBay) to make the transfer. Then you just need a bootable USB stick to put into the Zenbook. Boot up on the USB and format the new M.2 to match, I think this has to be Windows. Then you can use another bootable USB with Linux on it to make a bit-by-bit copy from the old one to the newly installed M.2 and all your applications and data will be good to go. Then you can format the old one and use it as an external drive. Did I get that right?
Why is it necessary to remove the motherboard ribbon and battery, to replace the M.2 SSD media? It’s not blocked in by the battery.
You need to remove the battery for safety reasons to replace the M.2 SSD. Technically, you don’t have to but then you risk damaging components since there is a chance of power going to them.
Couldn't you just disconnect the battery power cable from the motherboard (step 8) to avoid this risk? The illustration in step 8 even shows the screw still in place.
dunxd -
Where can I a troubleshooting guide?