Introducción
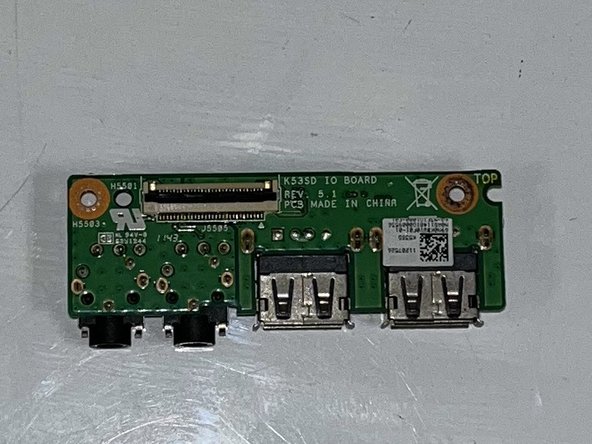
This guide will show you how to replace a I/O board in an Asus A53S.
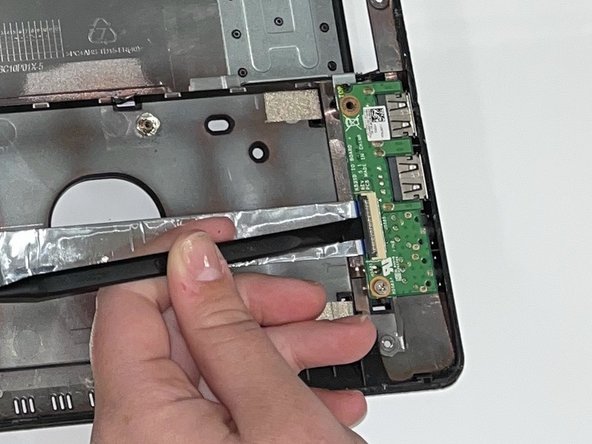
An I/O board allows you to connect a wide range of devices to your laptop.
Before using this guide, make sure to review the troubleshooting page. Most USB-related issues can be solved without removing the I/O board.
Make sure to power off your laptop completely, disconnect from any external power source, and remove the battery before beginning the process.
Qué necesitas
-
-
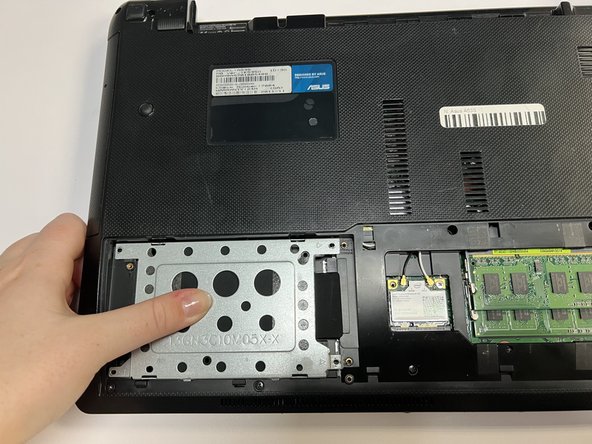
Flip the laptop so the underside is facing up.
-
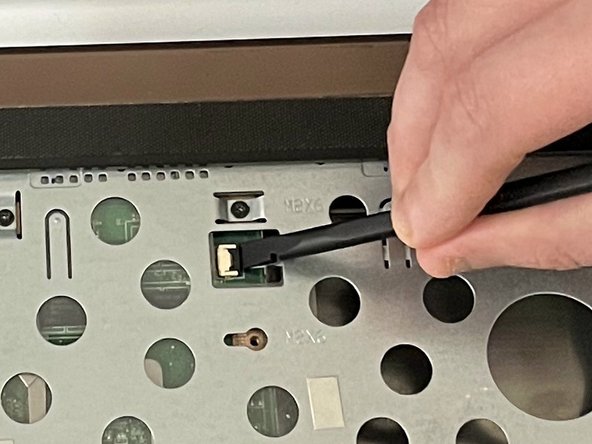
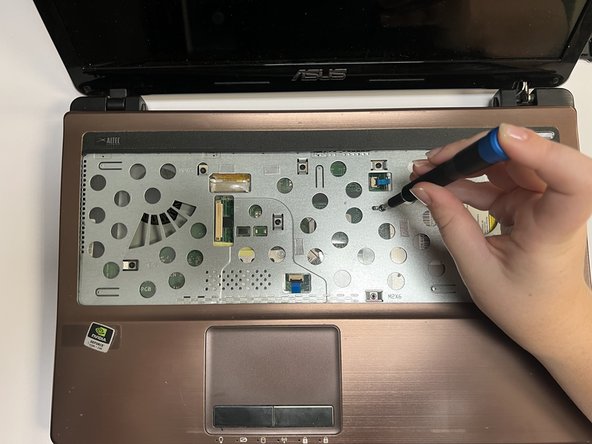
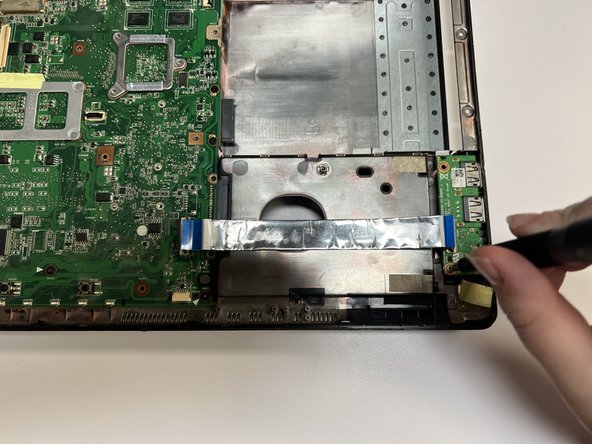
Using a Phillips #01 screwdriver, unscrew the two 6 mm screws.
-
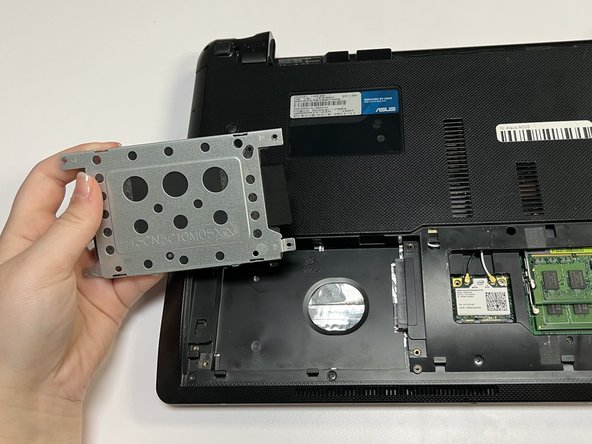
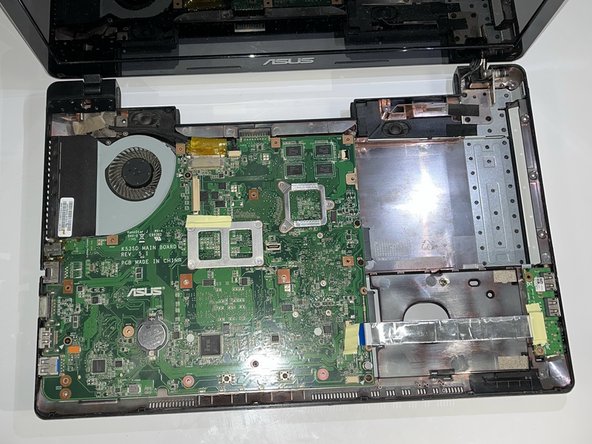
Remove the back plate.
-
-


To reassemble your device, follow these instructions in reverse order.
To reassemble your device, follow these instructions in reverse order.
Cancelar: No complete esta guía.
3 personas más completaron esta guía.

Equipo

University of North Texas, Team 3-1, Saru Jimmy Fall 2022 Miembro de University of North Texas, Team 3-1, Saru Jimmy Fall 2022
UNT-SARU JIMMY-F22S3G1
4 Miembros
6 Guías creadas