Introducción
If your Arlo Pro 2 is having performance issues or has endured physical damage, follow this guide to replace the Arlo Pro 2 base station motherboard
Overtime the device motherboard may experience performance or compatibility issues like crashes.
Before using the guide, disconnect the Arlo Pro 2 base station from the external power source and make sure it is powered off.
Qué necesitas
-
-
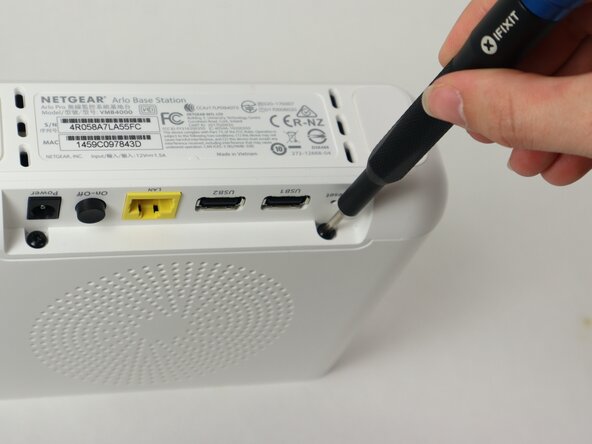
Use a TR10 Torx screwdriver to remove the two 10 mm screws on the side of the base station, above the USB ports.
-
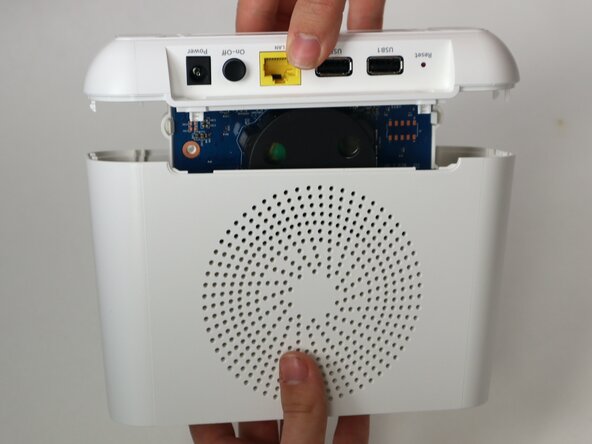
Pull apart the top case from the bottom.
-
-


To reassemble your device, follow the above steps in reverse order.
Take your e-waste to an R2 or e-Stewards certified recycler.
Repair didn’t go as planned? Try some basic troubleshooting or ask our Answers community for help.
Equipo

UMass Dartmouth, Team 2-2, Botvin Spring 2025 Miembro de UMass Dartmouth, Team 2-2, Botvin Spring 2025
UMASSD-BOTVIN-S25S2G2
Miembros de 3
5 Guías creadas