Esta guía ha sufrido modificaciones. Revisa la última versión sin revisar.
Introducción
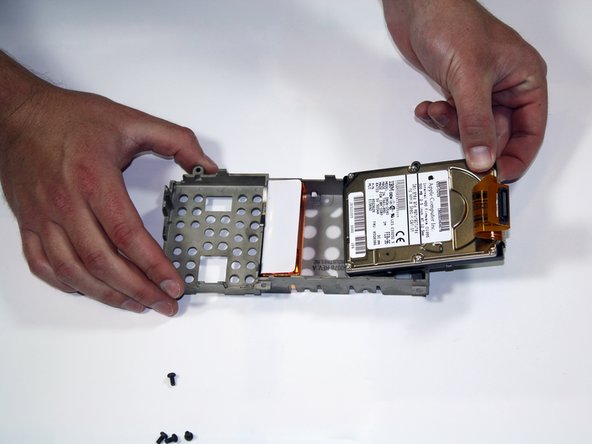
This guide will take you through the steps necessary to disassemble your Powerbook 5300, reach its hard drive, and replace it.
Qué necesitas
-
-
Position the Powerbook towards you with the monitor closed.
-
Press the battery removal latch located on the right side of the front panel.
-
Gently slide the battery out.
-
-
-
Turn the laptop over and remove the three T8 torx screws from the bottom panel.
-
-
-
-
Gently lift up the laptop's front-most panel and slowly raise the trackpad from the logic board.
-
Disconnect the front panel's ribbon cable from the board by slowly pulling it out of the connection port. Set the panel aside.
-


To reassemble your device, follow these instructions in reverse order.
To reassemble your device, follow these instructions in reverse order.
Cancelar: No complete esta guía.
2 personas más completaron esta guía.
Equipo

Cal Poly, Team 25-30, Garner Spring 2011 Miembro de Cal Poly, Team 25-30, Garner Spring 2011
CPSU-GARNER-S11S25G30
4 Miembros
6 Guías creadas