Saltar al contenido principal

Altair WBP-210 Full Disassembly

Qué necesitas

  1. Altair WBP-210 Full Disassembly, Remove Mini-XLR nut: paso 1, imagen 1 de 1
    • Remove nut on mini-XLR connector.

  2. Altair WBP-210 Full Disassembly, Remove rubber panels: paso 2, imagen 1 de 2 Altair WBP-210 Full Disassembly, Remove rubber panels: paso 2, imagen 2 de 2
    • Slide off rubber panels on all four corners.

    • If there are screws underneath, remove those as well.

  3. Altair WBP-210 Full Disassembly, Open case: paso 3, imagen 1 de 2 Altair WBP-210 Full Disassembly, Open case: paso 3, imagen 2 de 2
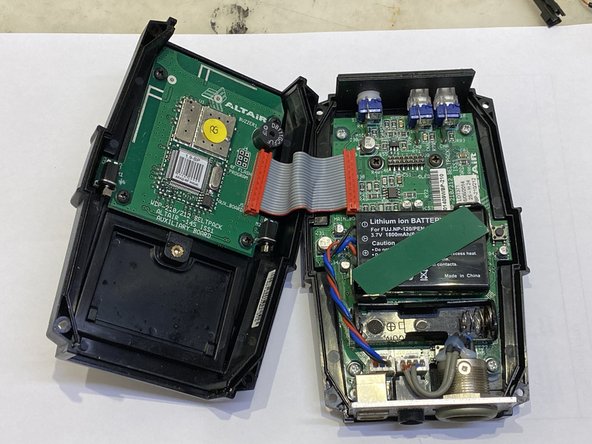
    • Open the case using a suitable tool to help separate the two halves.

    • Watch out for the ribbon cable.

  4. Altair WBP-210 Full Disassembly, Remove back case.: paso 4, imagen 1 de 2 Altair WBP-210 Full Disassembly, Remove back case.: paso 4, imagen 2 de 2
    • Disconnect the back half of the case.

  5. Altair WBP-210 Full Disassembly, Remove Auxiliary Board: paso 5, imagen 1 de 2 Altair WBP-210 Full Disassembly, Remove Auxiliary Board: paso 5, imagen 2 de 2
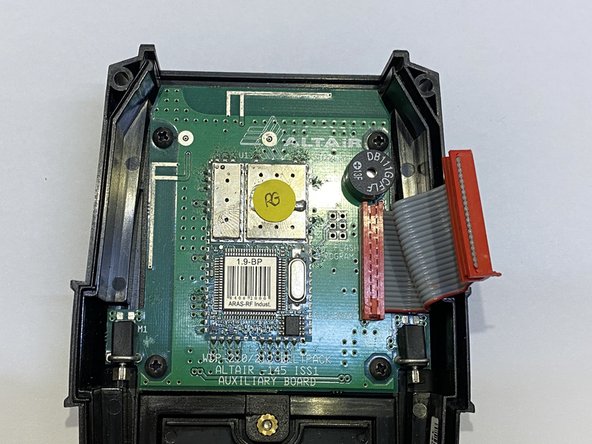
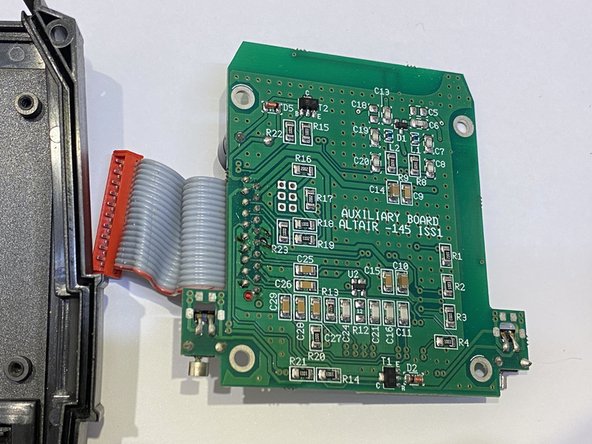
    • There are four screws holding the Auxiliary Board in place.

  6. Altair WBP-210 Full Disassembly, Remove Battery: paso 6, imagen 1 de 2 Altair WBP-210 Full Disassembly, Remove Battery: paso 6, imagen 2 de 2
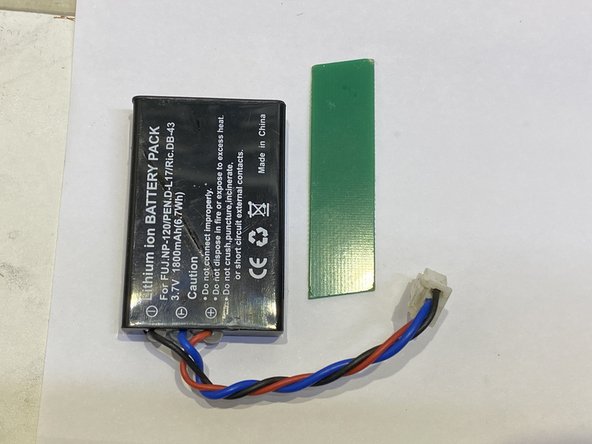
    • The battery is held in place by a flexible bit of PCB, which can be carefully removed.

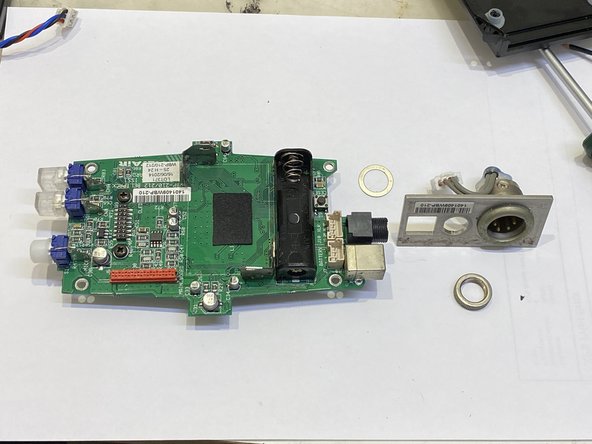
  7. Altair WBP-210 Full Disassembly, Remove main board: paso 7, imagen 1 de 2 Altair WBP-210 Full Disassembly, Remove main board: paso 7, imagen 2 de 2
    • The main PCB is held in place by four screws.

Conclusión

To reassemble your device, follow these instructions in reverse order.

Una persona más ha completado esta guía.

raven

Miembro Desde 09/02/15

1,080 Reputación

4 Guías creadas

0 comentarios

Agregar Comentario

Ver Estadísticas:

Ultimas 24 horas: 0

Ultimos 7 días: 0

Ultimos 30 días: 8

Todo El Tiempo: 24