Introducción
The motherboard replacement for the Acer Chromebook C740 requires removing the back panel, unplugging several connectors, and removing several screws. The motherboard is the main circuity for the laptop.
Qué necesitas
-
-
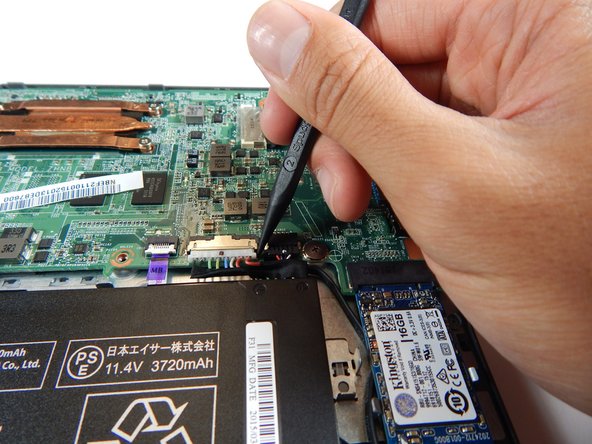
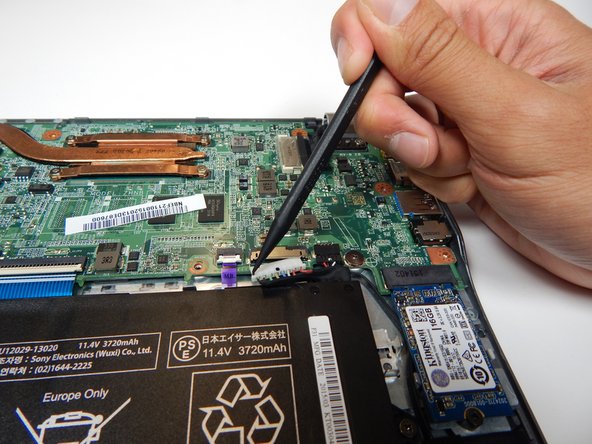
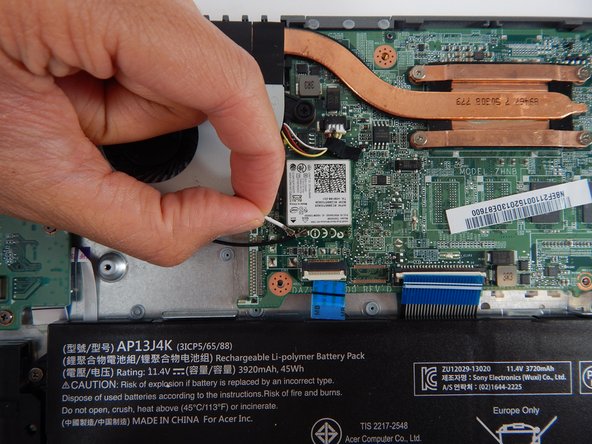
Flip up the clip holding down the white cable using the spudger.
-
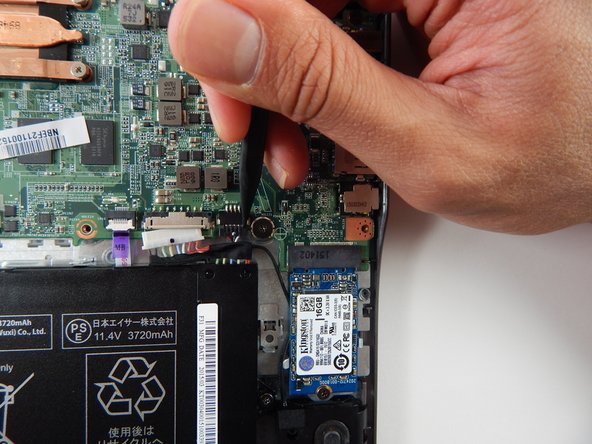
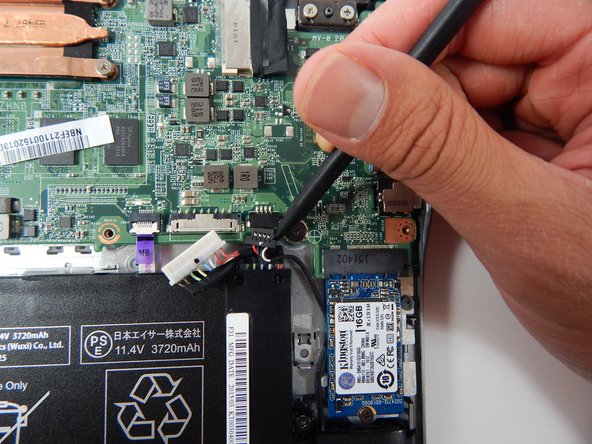
Pull the cable outwards towards the battery.
-
-


To reassemble your device, follow these instructions in reverse order.
To reassemble your device, follow these instructions in reverse order.
Cancelar: No complete esta guía.
4 personas más completaron esta guía.
Equipo

Cal Poly, Team S22-G2, Livingston Spring 2017 Miembro de Cal Poly, Team S22-G2, Livingston Spring 2017
CPSU-LIVINGSTON-S17S22G2
4 Miembros
12 Guías creadas