Introducción
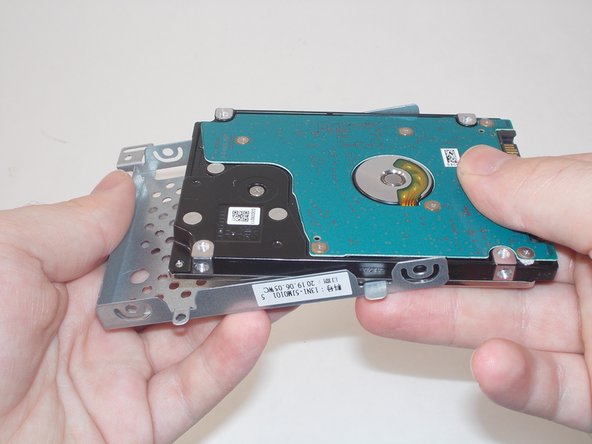
This guide is for replacing the hard drive of the ASUS TUF Gaming FX505DY, a 2.5-inch SATA form factor drive.
Hard drives form the backbone of modern file storage in computers. However, they are susceptible to sudden impacts, drops, or magnetic interference. Hard drives generally store files at a cheaper gigabyte/cost rate than solid state drives. Hard drives, due to the sensitive reading technology and internal disks, generally fail after three to five years of service. While this guide is for a 2.5-inch hard drive disk, solid state disks of the same form factor follow the same instructions and are compatible.
A faulty hard drive or full hard drive can cause the device to not boot to the operating system or have trouble reading and writing to the drive. Check the troubleshooting guide before replacing the drive, as many relevant issues are caused by software or infections. A full hard drive can be replaced by one with more storage, but backups should be made, and if the full drive is the boot drive, a copy of the operating system installation disk should be made or acquired first.
If your drive has anything of value you want to keep, make a backup or move the files to a new disk first. To prevent data or identity theft, ensure your old drive has been properly cleaned and wiped or destroyed before recycling. Recycling can be done through local partners or online. One such program is run by Western Digital on their website.
Make sure to fully shut down the device and unplug any chargers and peripherals before beginning.
Qué necesitas
-
-
Turn off the laptop.
-
Disconnect the charging cable.
-
Flip the laptop so the back is facing up.
-
-
-
-
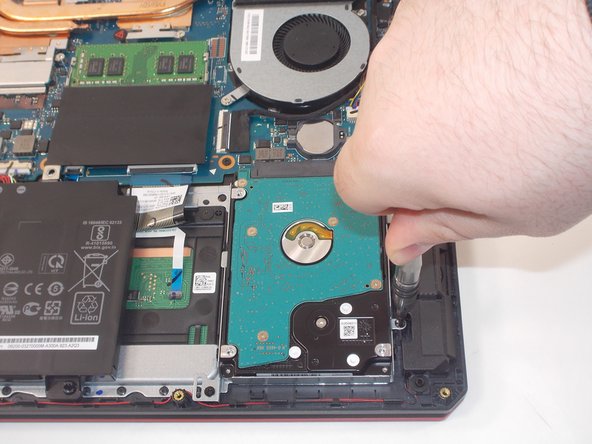
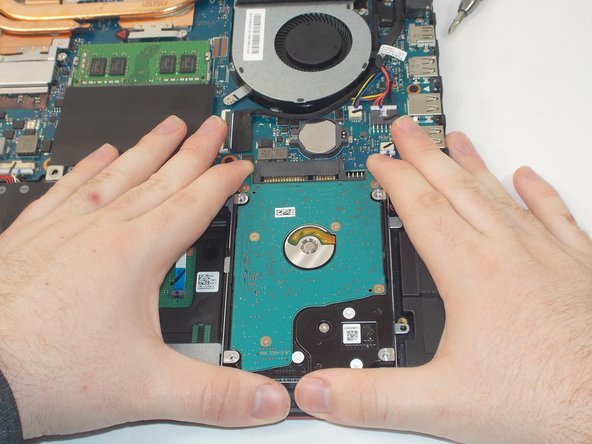
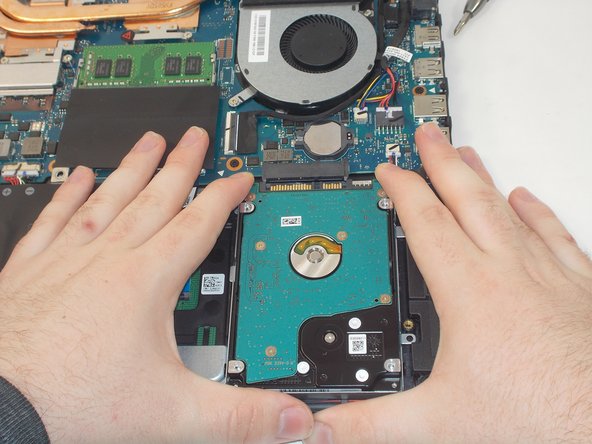
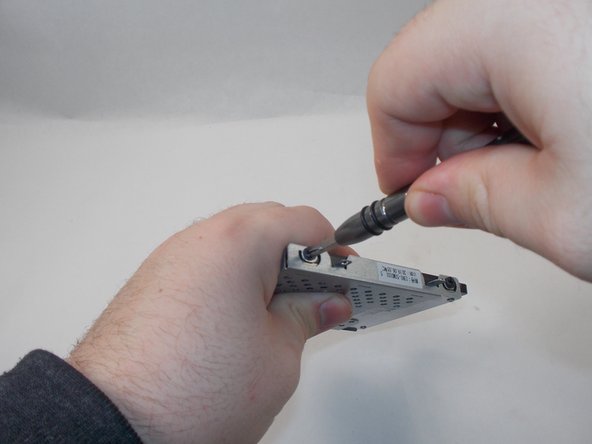
Remove the two 6 mm screws holding the hard drive enclosure in place using a Phillips #1 screwdriver.
-


To reassemble your device, follow these instructions in reverse order.
To reassemble your device, follow these instructions in reverse order.

Equipo

UMass Dartmouth, Team 2-4, Mellen Spring 2022 Miembro de UMass Dartmouth, Team 2-4, Mellen Spring 2022
UMASSD-MELLEN-S22S2G4
4 Miembros
8 Guías creadas