Introducción
Laptops, particularly gaming laptops, are highly favored by many, due to their portability. However, gaming laptops still encounter issues related to battery durability because of heavy use and constant charging. If the battery in your ASUS ROG Strix G15 G513 has come to the end of its life cycle, follow this guide to replace it.
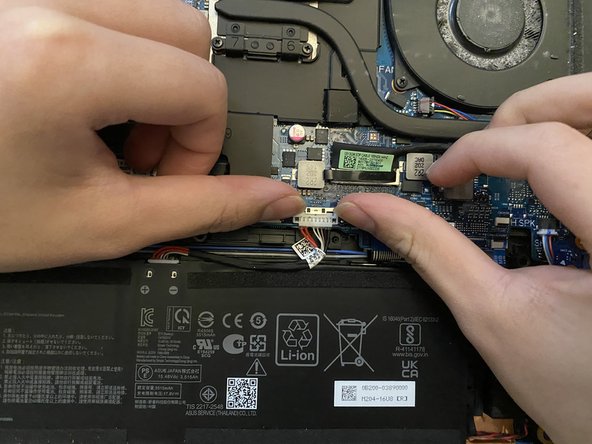
Before beginning this repair, power off your laptop and unplug it from the charger. If your battery is swollen, take appropriate precautions.
Qué necesitas
-
-
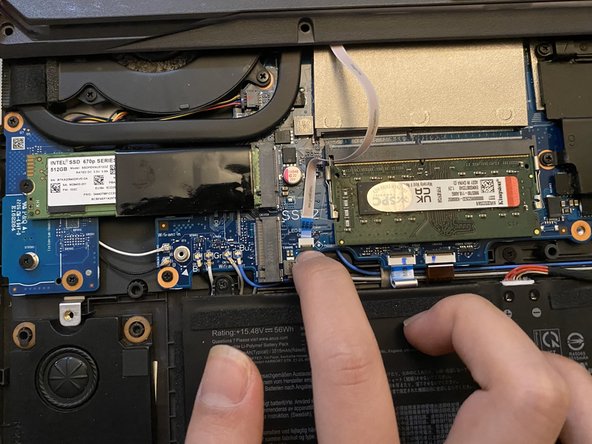
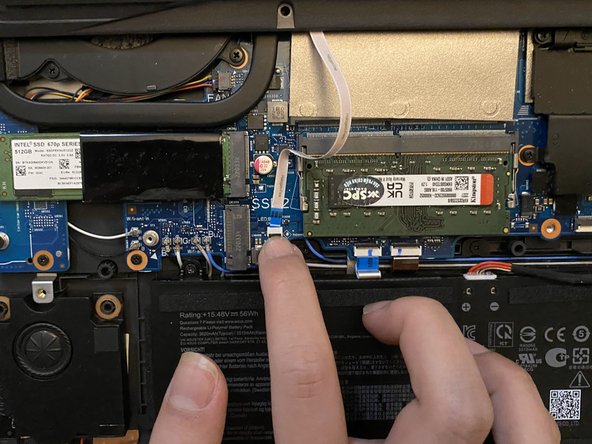
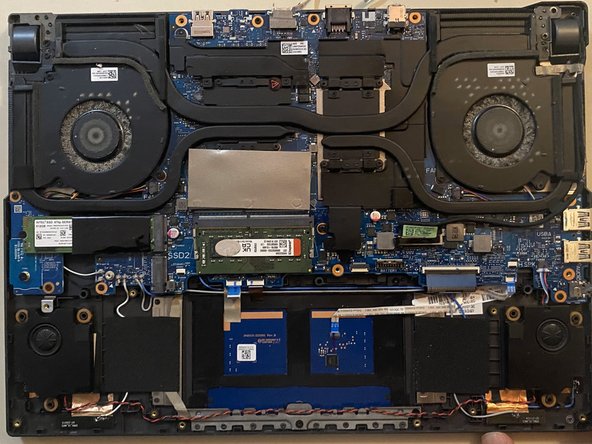
Flip the laptop over.
-
Use a Phillips #0 screwdriver to remove:
-
Four 3 mm-long PH0 screws
-
Three 6 mm-long PH0 screws
-
Two 5.5 mm-long PH0 screws
-
-


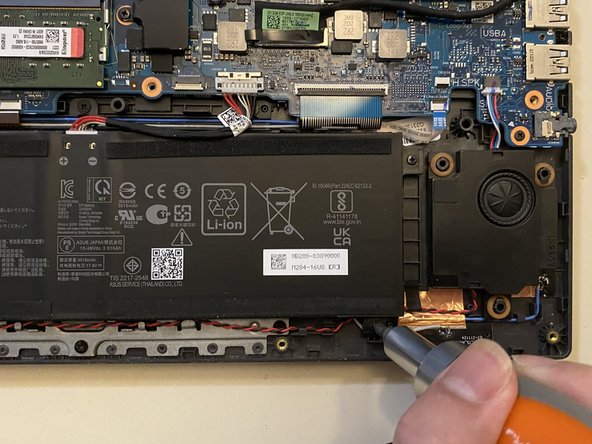


To reassemble your device, follow these instructions in reverse order. For optimal performance, calibrate your newly installed battery after completing this guide. Take your e-waste to an R2 or e-Stewards certified recycler.
To reassemble your device, follow these instructions in reverse order. For optimal performance, calibrate your newly installed battery after completing this guide. Take your e-waste to an R2 or e-Stewards certified recycler.
Equipo

York University, Team M-9, Allen Winter 2024 Miembro de York University, Team M-9, Allen Winter 2024
YORK-ALLEN-W24SMG9
3 Miembros
1 Guía escrita