Esta versión puede contener ediciones incorrectas. Cambie a la última instantánea verificada.
Qué necesitas
-
Este paso está sin traducir. Ayuda a traducirlo
-
Remove the battery, using release clips.
-
Remove either 2 (or 4 for a full teardown) 12mm phillips screws, then removing the bottom cover to gain access to the HDD and RAM.
-
Remove HDD and RAM cover
-
-
Este paso está sin traducir. Ayuda a traducirlo
-
Remove 3 5mm Phillips screws
-
Slide HDD caddy back, remove using the black pull tab.
-
-
-
Este paso está sin traducir. Ayuda a traducirlo
-
Remove 4 Phillips screws, 2 per side
-
Remove HDD from caddy.
-
-
Este paso está sin traducir. Ayuda a traducirlo
-
Flip laptop and open lid. Separate the keyboard plate from the main housing, using a plastic prying tool. Being careful not to damage the LED indicators or other peripheries.
-
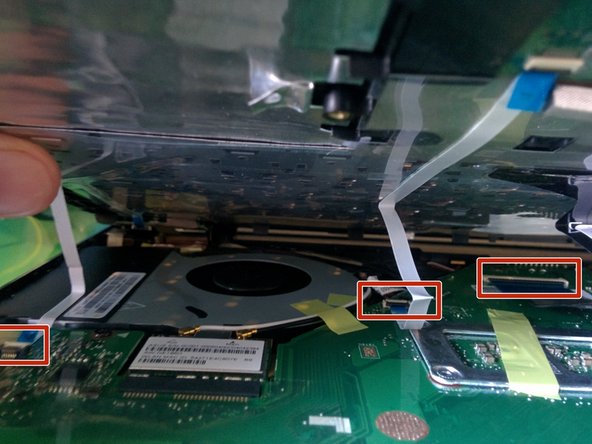
Disconnect the LED, trackpad, and keyboard ribbon cables.
-
The keyboard can now be removed
-
-
Este paso está sin traducir. Ayuda a traducirlo
-
Locate Wifi Card
-
Remove the antenna cables using a spudger tool.
-
Remove the Philips screw The Wifi Card will pop up and should be easily removed.
-


Cancelar: No complete esta guía.
4 personas más completaron esta guía.