Introducción
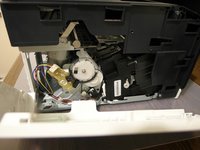
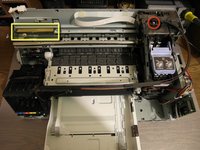
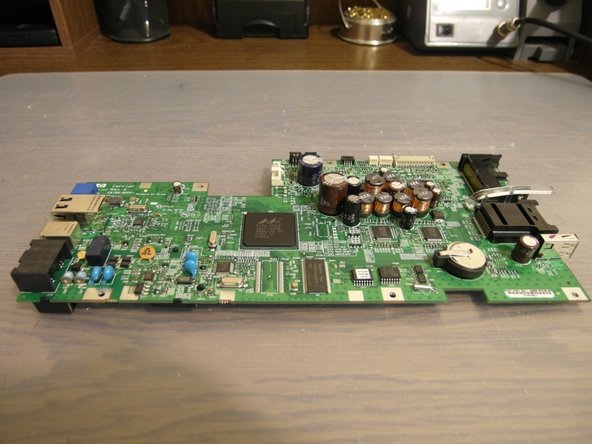
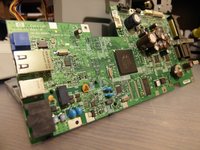
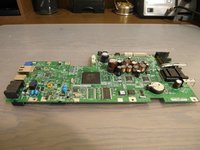
L7580 is a great multifunction printer from HP. Here we will discover what's inside the printer and take apart it's sensors and DC motors.
Qué necesitas
-
-
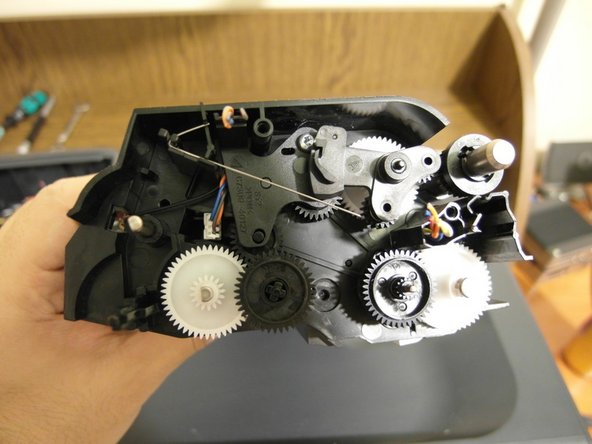
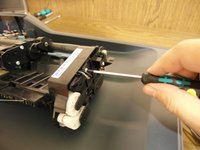
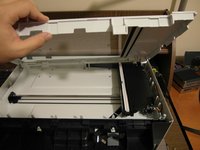
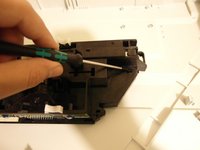
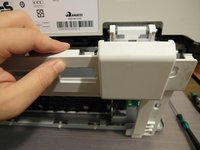
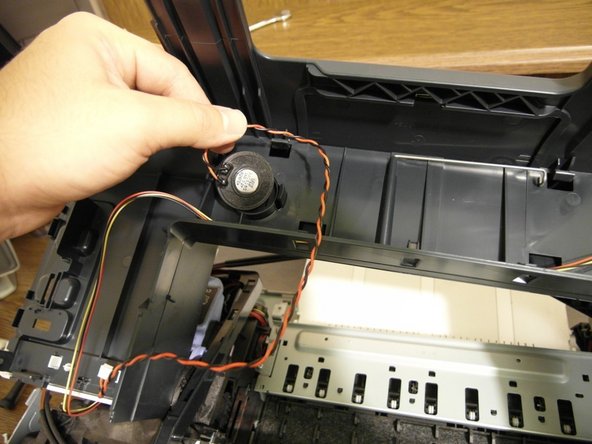
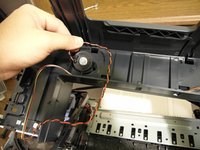
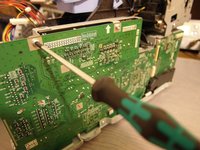
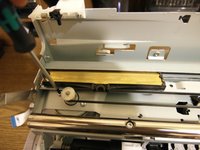
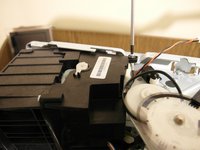
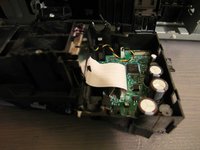
Remove the 3 T8 Torx screws from the paper feeder.
-
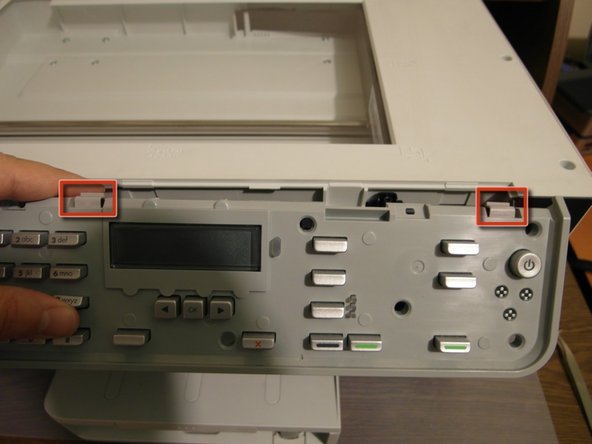
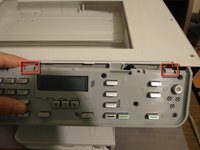
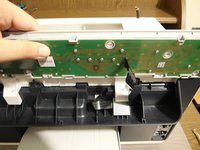
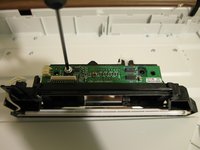
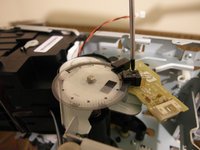
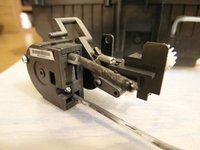
Lift the white surface to reveal the two notches.
-
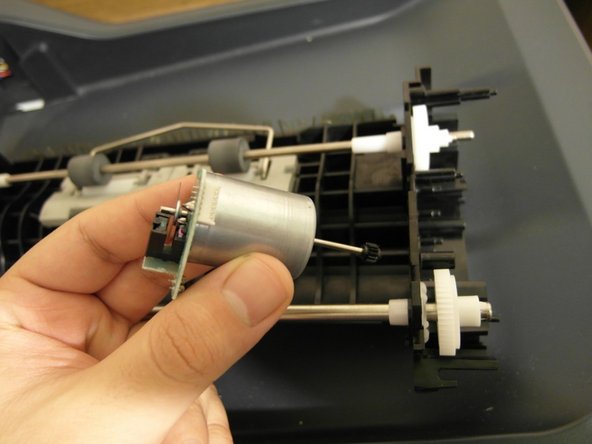
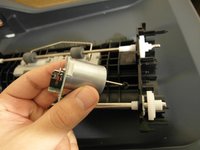
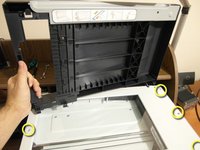
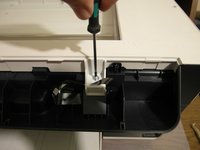
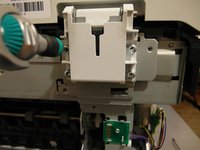
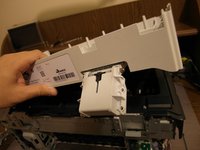
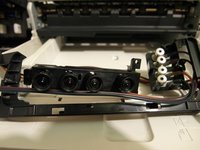
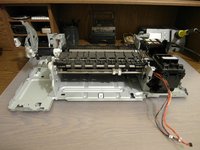
Push the notches to detach the paper feeder mechanism.
-
-


8Guía Comentarios
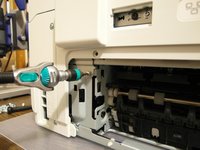
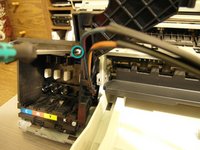
If you only need to remove the scanner window and don't want to go through the hassle of dissembling the ADF:
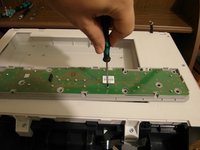
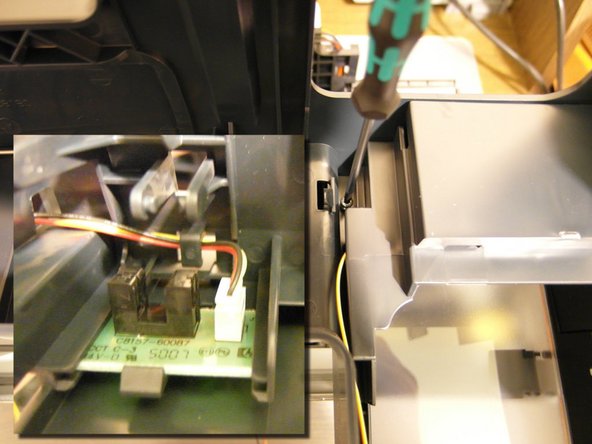
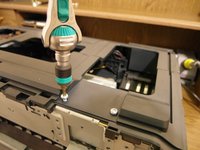
1. Remove the seven T8 screws around the scanner window and the two behind the control panel.
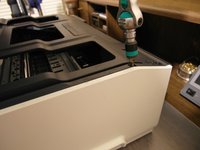
2. Lift up on the front of the window assembly to loosen it
3. Close the scanner cover/ADF.
4. Lift the scanner window assembly from the front up and back, being careful of the cable running to the ADF at the back right
If you try to open the window assembly with the cover/ADF open, it will bind at the back as the hinge is a single piece that's difficult to take apart.
Hi Eric
Nice teardown. I have been hoping to find a diagram to see how the gear systems interact. My unit picks paper and pushes it to the rear rollers but the rollers are not turning. They spin freely and I think that is odd unless there is a clutch or a broken gear. Hence my looking for a diagram. Do you know how these rollers are fed? Do they have their own motor??
Thanks for any comment
Sal -
Sal what did you learn about the rear rollers spinning freely. I have the exact same situation, but the pick and feed roller on the front of the printer work but the paper doesn’t feed on the back side of the printer. This causes a jam and ultimately a out of paper error. I was hoping to be able to feed paper through manually but it gets stopped on the back side, I’m thinking its a feed roller not spinning or being spun. Did you find a diagram?