Saltar al contenido principal

Qué necesitas

Este desmontaje no es una guía de reparación. Para reparar tu DrayTek Vigor 2820, utiliza nuestros manuales de servicio .

  1. DrayTek Vigor 2820 Teardown, remove the front plate: paso 1, imagen 1 de 2 DrayTek Vigor 2820 Teardown, remove the front plate: paso 1, imagen 2 de 2
    • The front plate is attached to the bottom with 3 clips.

    • Using a flathead screwdriver, pry open the first clip.

    • Use a flat object to hold the first clip open.

    • Use the flathead to open the remaining clips.

  2. DrayTek Vigor 2820 Teardown, disassemble case: paso 2, imagen 1 de 2 DrayTek Vigor 2820 Teardown, disassemble case: paso 2, imagen 2 de 2
    Herramienta utilizada en este paso:
    Flathead 3/32" or 2.5 mm Screwdriver
    $5.49
    Comprar
    • With the 2.5mm flathead, remove the rubber feet.

    • Unscrew the 4 screws holding the top and bottom parts of the case together.

  3. DrayTek Vigor 2820 Teardown, remove the ADSL module: paso 3, imagen 1 de 3 DrayTek Vigor 2820 Teardown, remove the ADSL module: paso 3, imagen 2 de 3 DrayTek Vigor 2820 Teardown, remove the ADSL module: paso 3, imagen 3 de 3
    • Unscrew the screws attaching the ADSL module to the mainboard.

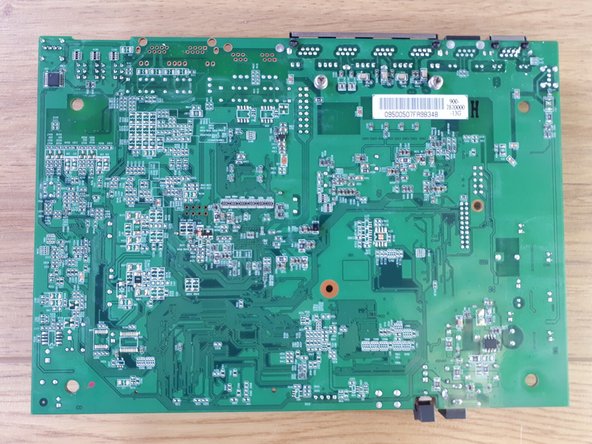
    • The mainboard:

    • Nanya Technology NT5DS16M16CS-5T 256Mb DDR SDRAM

    • Infineon Technologies PSB 6972 HL V1.2 Ethernet Switch Controller

    • Delta Electronics LFE8731

    • Delta Electronics LFE9208A

knipwim

Miembro Desde 09/01/18

8,527 Reputación

30 Guías creadas

0 comentarios

Agregar Comentario

Ver Estadísticas:

Ultimas 24 horas: 0

Ultimos 7 días: 11

Ultimos 30 días: 28

Todo El Tiempo: 1,294