Qué necesitas
-
-
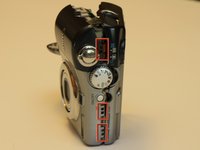
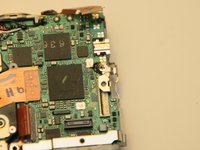
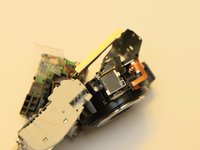
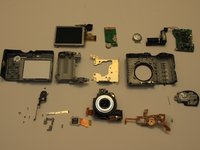
I've started fixing the Canon Powershot Cameras. A lot of them have been showing up with E18 lens errors, broken battery covers, and of course the famous broken LCD cover/screen. This teardown and the accompanying repair guides should help you with most of those problems. Time for a teardown!
-
-
-
-
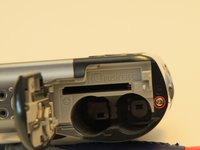
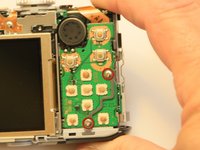
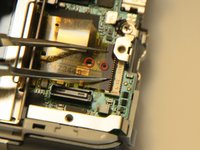
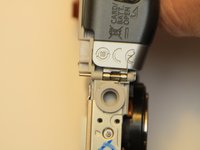
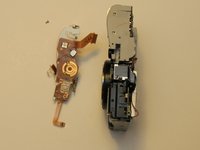
Gently lift the keypad up from the bottom to remove it from the connector shown. You may need to pry up the speaker from it's holder, it is held in place with double-sided tape. Lift the keypad upside down and unhook the connector by lifting the gray cam and removing the flexible cable.
-
-
Herramienta utilizada en este paso:Tweezers$4.99
-
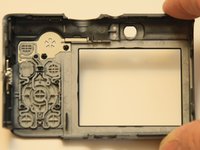
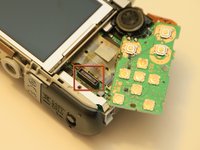
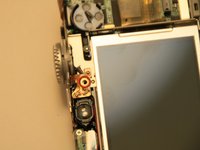
Let's remove the LCD Screen. Gently lift the black cam and remove the flexible cable. You can grab it with tweezers or use one of the holes in the flex cable to pull it back from the connector.
-
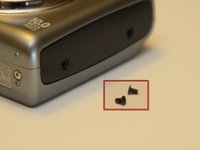
Next, remove the fine thread screw holding the screen plate to the bottom of the camera.
-
-
-
Remove the fine thread screw holding the screen plate to the top of the camera near the view piece.
-
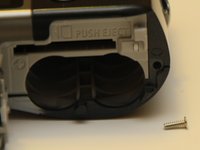
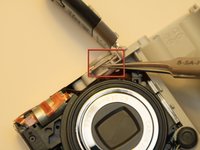
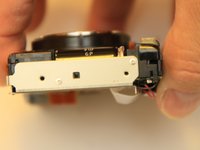
Using a small screwdriver or stick, pry up the catch at the bottom of the screen.
-
This releases the screen and it can be rotated out from underneath the flexible circuit card and removed.
-
-
-
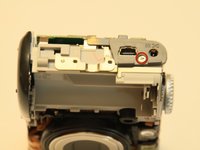
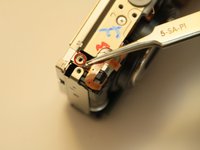
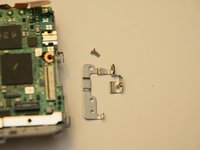
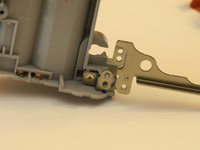
Next, let's remove the battery door.
-
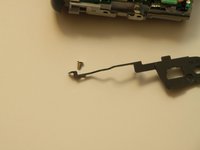
The battery door is held in place with a steel dowel but first undo the spring tension by lifting the spring out of it's retainer.
-
Push the dowel through with a pin, the end of the tweezers, or a paperclip.
-
Grab the dowel from the other end and pull it out.
-
-
-
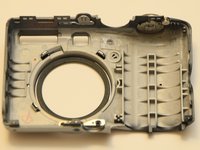
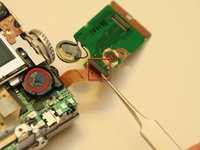
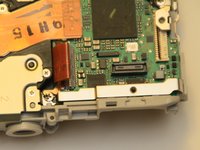
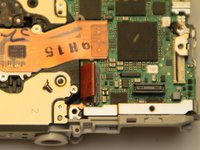
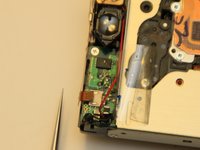
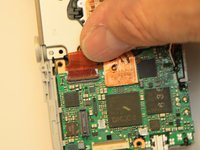
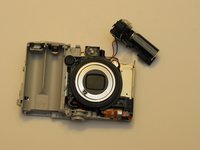
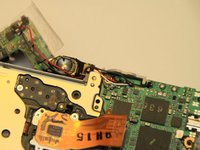
Lift the plastic protector off the circuit ribbon on the top of the camera.
-
Grab the flexible ribbon near the connector and pull up. this is one of the few connectors that do not have a cam mechanism to hold the ribbon in place. Gently lift the ribbon out of the catches on the top of the flash assembly.
-
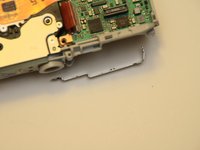
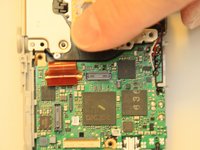
The circuit assembly can be lifted off the top of the camera.
-
-
-
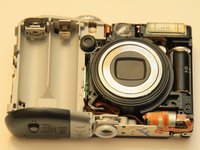
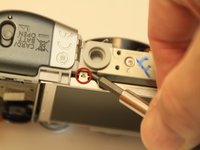
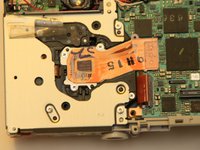
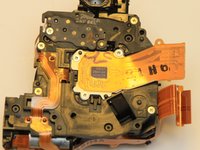
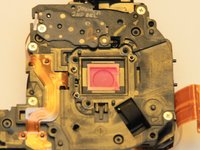
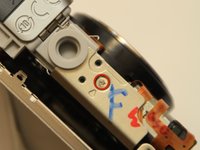
Remove the epoxy from the three coarse thread screws. Slowly loosen the three screws a little bit at a time. There are three springs underneath the metal plate that you might not want to launch. First time I did this I lost two of the three. The pink looking lens is a filter, if you turn the lens over it will fall out o be careful if you want to keep it.
-


6 comentarios
great tutorial - needed to replace the ccd board on my friend's... realized afterwards, didn't need to do all of the tear down steps... unfortunately camera is still messed up - now it works some of the time but other times still have a black screen in camera mode and when this happens and i zoom in and out i get some fuzzy color on part of the screen while it is zooming then just black... mess around with it turning on and off and then it will work again if it feels like it. ugh...
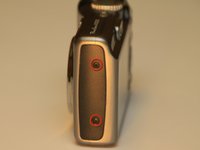
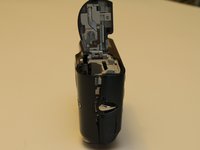
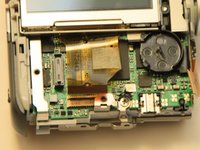
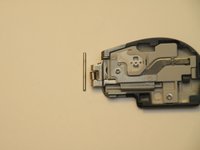
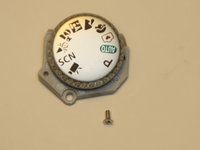
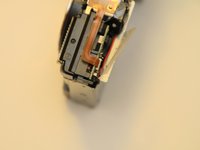
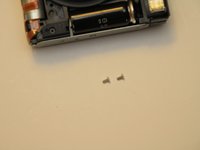
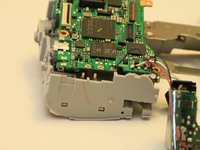
Backside of the keypad.
Great teardown. By any chance, does anyone know how to remove the zoom lever from the front cover?