Mi Problema
Had a 5400 rpm HDD, wanted a faster experience and better capacity with the help of an Intel SSD (X25-M 80GB)
Mi Solución
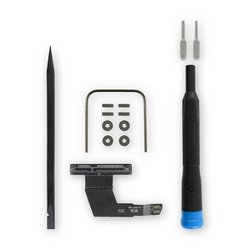
- Ultra easy to put the HDD in the "top" bay with the kit, and put the SSD in the "lower" bay with the original cable.
- Very painful to make the SSD be recognized by OSX.
Mi Consejo
- Be very careful with the 2 tiny flat connectors, really take them out from UNDER the cables, do not try to pull & slide like most connectors or something will get broken.
- The WiFi antenna plate is tricky to put back in place, you have to make sure the thin part of the case all around goes a little bit in the plate, there is like 5mm made for this. To be able to do this you have to gently pull the plate up while pushing it toward the case.
If it doesn't fit properly you'll quickly see and won't be able to put the screws.
- If your HDD or SSD was previously initialized in, per say, Windows, in order for OSX to see it you have to completely put it to factory state by erasing the MBR.
If you have access to a windows computer, follow this : http://www.sevenforums.com/tutorials/521...
- Because we flip upside down the mac mini in order to open it, the name of the bays are also switched. So, the "top" bay is the one in the bottom, where we use the kit, whereas the "lower" is the upper or main bay. You can see the labels of each one in System Information, under Serial ATA.

0 comentarios