Mi Problema
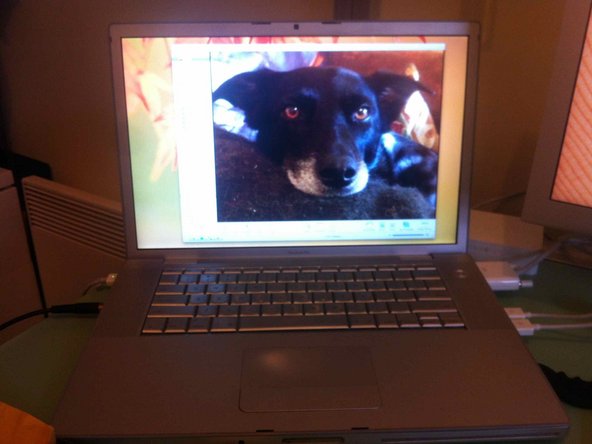
After many years of daily commuting (and too much other stuff in my laptop bag!), the LCD on my 2007 MacBook Pro 15" progressively failed. At first, a small pinch on the RHS of the bezel sorted things out and the screen would revive itself. Then constant pressure on the RHS bezel and LH only typing became a little tedious and eventually the screen stopped responding... Quotes to repair the display were more than computer was worth... so, Option 1: use the laptop as a desktop only machine that had to be permanently plugged into an external display or Option 2: purchase a new LCD component and some small electronic repair tools and attempt the repair myself.
Mi Solución
I followed the "Installing MacBook Pro 15" Core 2 Duo Models A1226 and A1260 LCD Panel" Guide very, very slowly! An ice-cube tray was really useful for separating the screws removed at each step. I found separating the front and rear bezels was a little tricky and I could not have done it without the black spudger tool. Unsticking the LCD from the front bezel took about an hour because the glue was so strong and I did not know how much force to use without damaging the bezel. I ended up using the iSesamo opening tool to break the glue seal and then the spudger to progressively separate the LCD from the bezel. After taking two hours to take the computer apart (yes - I went really slowly) it only took about 20 minutes to put the new LCD in and put the whole machine back together again! Even better - it booted up without problem on the very first go :) Thank you iFixit team for the great experience.
Mi Consejo
I found steps 20-24 tricky because the plastic wanted to snap back into place and the spudger kept getting stuck instead of gradually prying the front away from the rear. I found that I just had to be patient and work down the RHS several times (steps 20 & 21) before it was separated enough to move on to the next step. After separating the LCD from the aluminium front bezel I didn't know what I should do with the mess of glue left on the inside of the bezel once the old screen was out. I cleaned it off, but then was not sure if I should have used fresh glue on the new LCD component. I didn't use any glue and I half expected the new screen to rattle around but it seems to be a secure fit. Using all the right tools and having a great guide to follow meant that this repair was straight forward and achievable even for a newbie like me.


0 comentarios