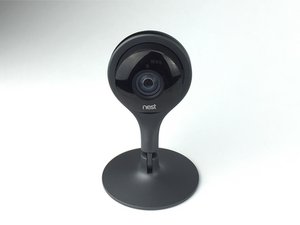
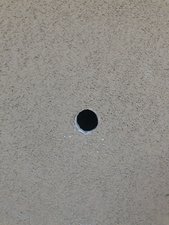
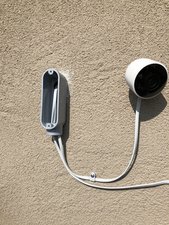
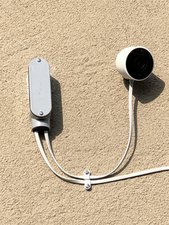
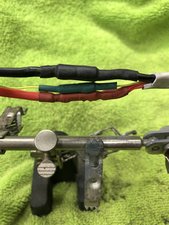
Cut and repair the power cable to the outside nest cam?
I bought the outside nest cam but the connector is like 3/4 around. Trying to fish that through the soffit is quite hard. I'm pretty technical but cutting the power supply and repairing on a $250 camera seems somewhat risky if I mess it up. My question is on the line that is connected to the camera if I cut it is it easy to repair?
Es esta una buena pregunta?
Puntuación
13


8 comentarios
Hi KSK1LL3R,
I was wondering if you had any updates with what you decided to do? I'm also in a similar predicament where I would prefer not to drill a 7/8" hole in my wall to mount the Nest Cam Outdoor. Did you end up cutting the cable or opening the camera itself? If you have any tips it would be appreciated. I'm quite disappointed that Nest did not consider this issue when they designed the product.
Thanks.
- de Rob
What is the wire gauge for the two power wires?
- de Jeremy Holmberg
I used a small iPhone type USB adapter plug (i.e., an AC/DC power adapter plug) for the cable that is hardwired to the Nest Cam. The adapter was plugged into a standard line voltage receptacle. Alternatively, one could install a receptacle with both line voltage and USB charger ports.
- de Dave Cottee
well, that is not easy at all
- de Joshua McCarthy
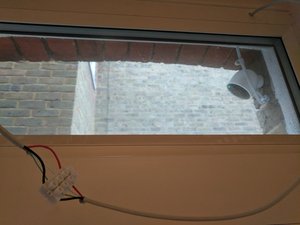
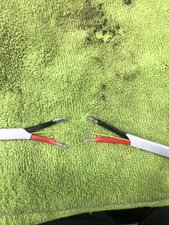
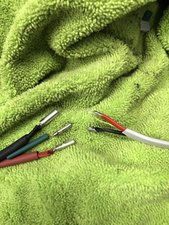
I am having trouble stripping the 2 center wires, what is recommended to remove the white & green coating on the center wires so I can wrap them back together? I have already done one camera and reconnected the wires, I am just having a hard time stripping the center wires on this second camera and have already lost length after cutting a few times due to cutting one of the center wires each time.
- de Wesley Breecher
Mostrar 3 comentarios más