Saltar al contenido principal

Sanyo Katana Back Casing Replacement

Qué necesitas

  1. Sanyo Katana Back Casing Replacement, Battery: paso 1, imagen 1 de 3 Sanyo Katana Back Casing Replacement, Battery: paso 1, imagen 2 de 3 Sanyo Katana Back Casing Replacement, Battery: paso 1, imagen 3 de 3
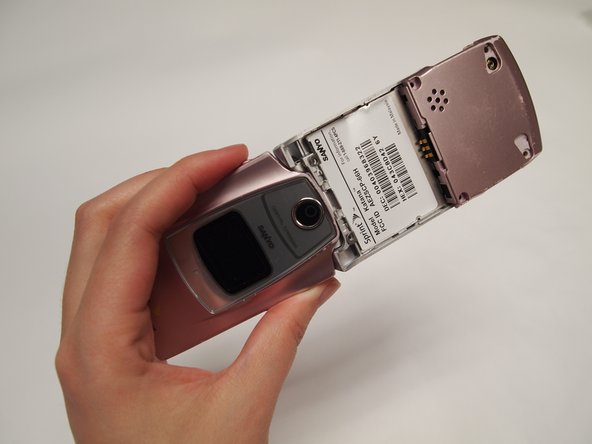
    • Place thumb on the tab located at the back of the phone and slide button towards your hand and away from phone.

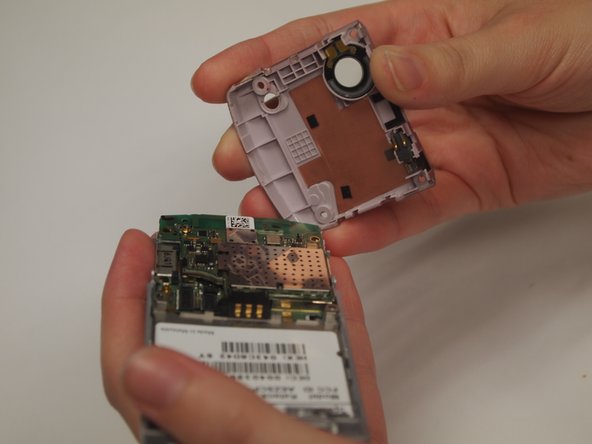
    • While holding down the button, pull cover off with other hand.

  2. Sanyo Katana Back Casing Replacement: paso 2, imagen 1 de 3 Sanyo Katana Back Casing Replacement: paso 2, imagen 2 de 3 Sanyo Katana Back Casing Replacement: paso 2, imagen 3 de 3
    • Use fingers to grip the battery and remove it from the phone.

  3. Sanyo Katana Back Casing Replacement, Back Casing: paso 3, imagen 1 de 1
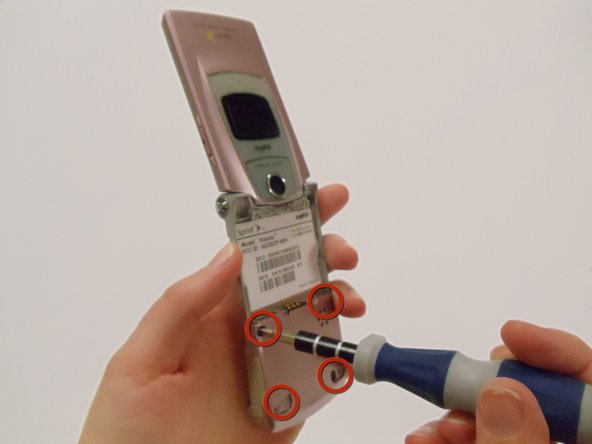
    • Using a spudger, remove the four rubber coverings on the lower back plate.

  4. Sanyo Katana Back Casing Replacement: paso 4, imagen 1 de 3 Sanyo Katana Back Casing Replacement: paso 4, imagen 2 de 3 Sanyo Katana Back Casing Replacement: paso 4, imagen 3 de 3
    • Using a Tri-wing Y0 screwdriver, remove the four 4.4mm screws securing the back plate.

  5. Sanyo Katana Back Casing Replacement: paso 5, imagen 1 de 3 Sanyo Katana Back Casing Replacement: paso 5, imagen 2 de 3 Sanyo Katana Back Casing Replacement: paso 5, imagen 3 de 3
    • Remove the lower back cover to reveal part of the motherboard and the circular speaker housed in the back cover plate.

Conclusión

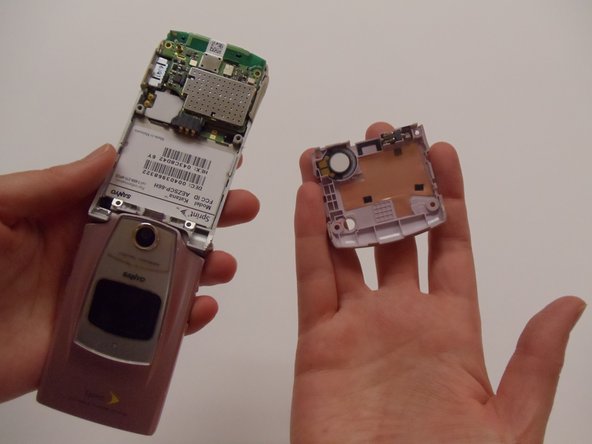
To reassemble your device, follow these instructions in reverse order.

2 personas más completaron esta guía.

Preston

Miembro Desde 03/11/13

216 Reputación

5 Guías creadas

Equipo

Clemson, Team 12-1, Benson Spring 2013 Miembro de Clemson, Team 12-1, Benson Spring 2013

CLEM-BENSON-S13S12G1

4 Miembros

20 Guías creadas

0 comentarios

Agregar Comentario

Ver Estadísticas:

Ultimas 24 horas: 0

Ultimos 7 días: 1

Ultimos 30 días: 2

Todo El Tiempo: 533