Saltar al contenido principal

Playstation 3 Fan Replacement

Guía Archivada
Esta guía se mantiene únicamente para fines históricos. Utiliza la última versión de la guía para llevar a cabo tu reparación.

Qué necesitas

  1. Playstation 3 Fan Replacement, Top Cover: paso 1, imagen 1 de 2 Playstation 3 Fan Replacement, Top Cover: paso 1, imagen 2 de 2
    • Remove the rubber screw cover near the hard drive cover with a spudger.

  2. Playstation 3 Fan Replacement: paso 2, imagen 1 de 1
    • Remove the screw holding the top cover in place with a Torx T10 screwdriver.

  3. Playstation 3 Fan Replacement: paso 3, imagen 1 de 2 Playstation 3 Fan Replacement: paso 3, imagen 2 de 2
    • Slide the top cover down about half an inch.

    • Lift the cover off of the PS3.

  4. Playstation 3 Fan Replacement: paso 4, imagen 1 de 2 Playstation 3 Fan Replacement: paso 4, imagen 2 de 2
    • Remove the seven screws in the top cover with a Phillips #2 screwdriver.

    • One of the screws is shorter than the others. The short screw is marked in yellow.

  5. Playstation 3 Fan Replacement: paso 5, imagen 1 de 3 Playstation 3 Fan Replacement: paso 5, imagen 2 de 3 Playstation 3 Fan Replacement: paso 5, imagen 3 de 3
    • You can now lift off the top cover.

  6. Playstation 3 Fan Replacement, Power Supply: paso 6, imagen 1 de 2 Playstation 3 Fan Replacement, Power Supply: paso 6, imagen 2 de 2
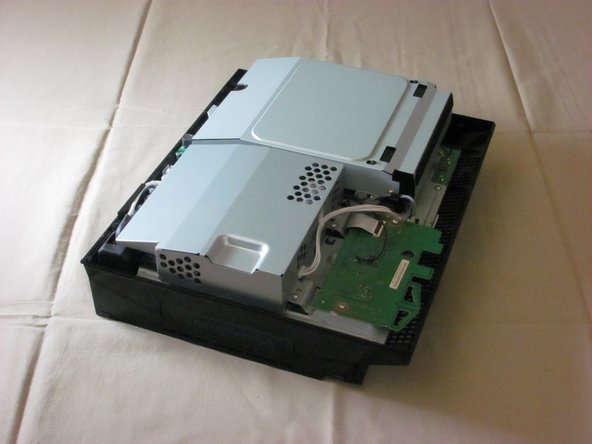
    • Unplug the white wires connected to the wireless board. There are two sets of wires: one set in the front, one in the back.

    • Push down the tab on the connector to disconnect the wires.

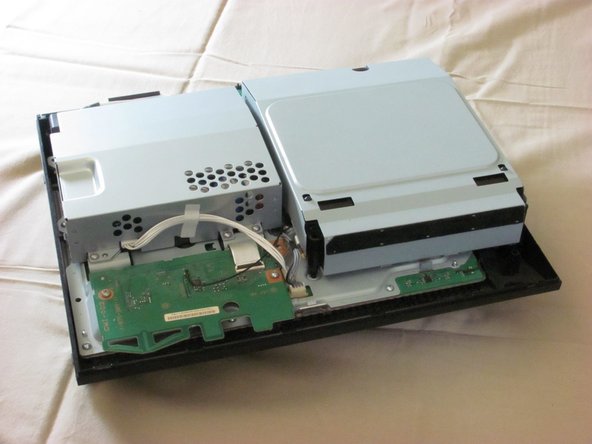
    • Remove the two screws on the front of the power supply.

  7. Playstation 3 Fan Replacement: paso 7, imagen 1 de 1
    • Remove the screws on the back of the power supply with a Phillips #2 screwdriver.

  8. Playstation 3 Fan Replacement: paso 8, imagen 1 de 2 Playstation 3 Fan Replacement: paso 8, imagen 2 de 2
    • Remove the power supply by lifting it straight up.

  9. Playstation 3 Fan Replacement, Motherboard Enclosure: paso 9, imagen 1 de 2 Playstation 3 Fan Replacement, Motherboard Enclosure: paso 9, imagen 2 de 2
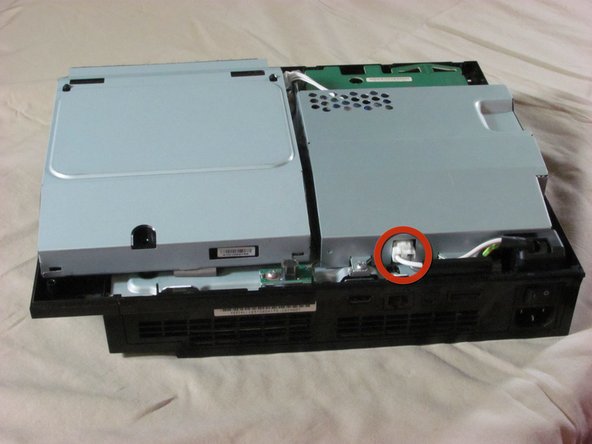
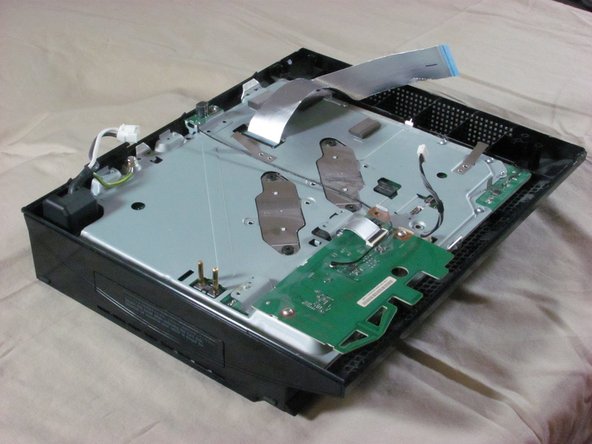
    • Unplug the optical drive power cable.

    • Detach the ribbon cable that connects the optical drive to the motherboard.

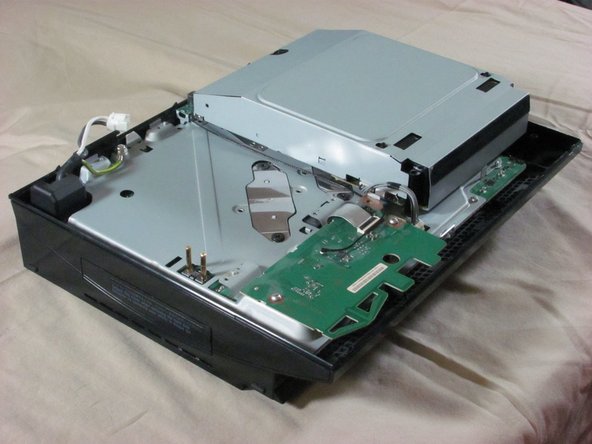
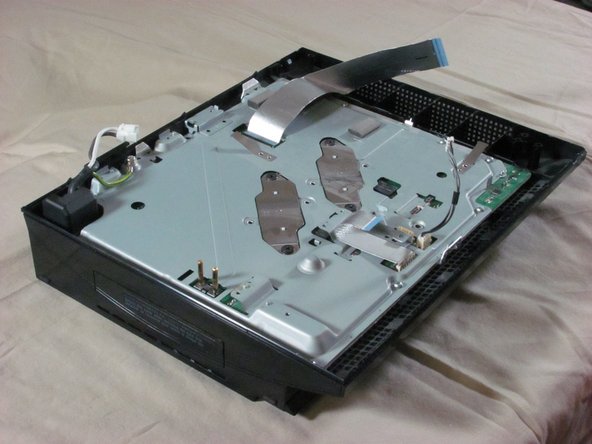
    • Set the optical drive aside.

  10. Playstation 3 Fan Replacement: paso 10, imagen 1 de 2 Playstation 3 Fan Replacement: paso 10, imagen 2 de 2
    • Remove three screws (Phillips #2) from the wireless board and antenna.

    • Detach the ribbon cable that connects the wireless board to the motherboard.

  11. Playstation 3 Fan Replacement: paso 11, imagen 1 de 1
    • Remove nine screws (Phillips #2) from the perimeter of the metal plate covering the motherboard.

  12. Playstation 3 Fan Replacement: paso 12, imagen 1 de 3 Playstation 3 Fan Replacement: paso 12, imagen 2 de 3 Playstation 3 Fan Replacement: paso 12, imagen 3 de 3
    • Remove the hard drive door with a spudger.

    • Lift the metal enclosure out of the plastic bottom case.

  13. Playstation 3 Fan Replacement, Fan: paso 13, imagen 1 de 1
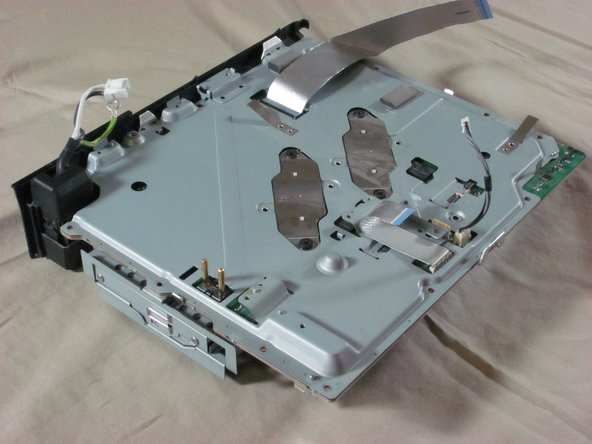
    • Remove the three screws (Phillips #2).

    • Disconnect the fan's power cable.

    • Lift the fan straight up and out.

Conclusión

To reassemble your device, follow these instructions in reverse order.

Una persona más ha completado esta guía.

iDeleted

Miembro Desde 07/07/10

2,101 Reputación

39 Guías creadas

0 comentarios

Agregar Comentario

Ver Estadísticas:

Ultimas 24 horas: 0

Ultimos 7 días: 0

Ultimos 30 días: 0

Todo El Tiempo: 2,790