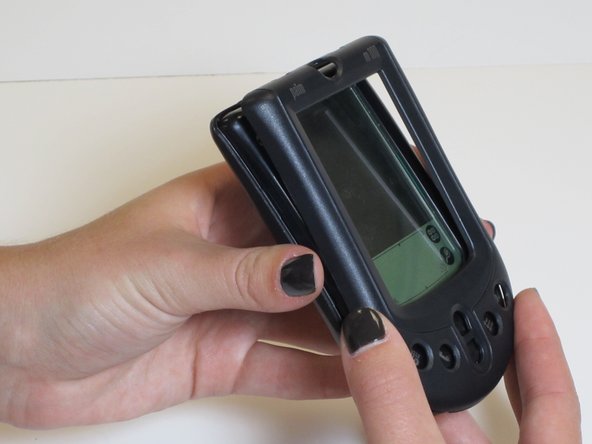
Saltar al contenido principal

Palm m 100 Cover Replacement

Qué necesitas

  1. Palm m 100 Cover Replacement, Cover: paso 1, imagen 1 de 1
    • Remove the batteries.

  2. Palm m 100 Cover Replacement: paso 2, imagen 1 de 1
    • Using a Torx 5 screwdriver, remove the four screws located on the rear cover of the device by turning counterclockwise. Set aside screws.

  3. Palm m 100 Cover Replacement: paso 3, imagen 1 de 3 Palm m 100 Cover Replacement: paso 3, imagen 2 de 3 Palm m 100 Cover Replacement: paso 3, imagen 3 de 3
    • Remove rear cover by gently lifting it up from the bottom. To remove the front cover, flip the device over, and then separate the screen/circuit board from the cover.

  4. Palm m 100 Cover Replacement: paso 4, imagen 1 de 1
    • Set aside broken cover, and replace with a new cover.

  5. Palm m 100 Cover Replacement: paso 5, imagen 1 de 1
    • Close again like a book, and lay it gently into the front panel. Make sure the screen is facing outwards of the front panel.

  6. Palm m 100 Cover Replacement: paso 6, imagen 1 de 1
    • Put the back cover on the device and screw the four screws, screwing in a clockwise direction. Take caution not to over-tighten the screws.

Conclusión

To reassemble your device, follow these instructions in reverse order.

Anne Carey

Miembro Desde 10/25/11

1 Reputación

3 Guías creadas

Equipo

James Madison, Team 1-3, Allen Fall 2011 Miembro de James Madison, Team 1-3, Allen Fall 2011

JMU-ALLEN-F11S1G3

5 Miembros

5 Guías creadas

0 comentarios

Agregar Comentario

Ver Estadísticas:

Ultimas 24 horas: 0

Ultimos 7 días: 0

Ultimos 30 días: 0

Todo El Tiempo: 537