Saltar al contenido principal

LG VX5200 motherboard replacement

Qué necesitas

  1. LG VX5200 motherboard replacement, Battery: paso 1, imagen 1 de 2 LG VX5200 motherboard replacement, Battery: paso 1, imagen 2 de 2
    • Turn the phone on its back.

  2. LG VX5200 motherboard replacement: paso 2, imagen 1 de 2 LG VX5200 motherboard replacement: paso 2, imagen 2 de 2
    • Orient the phone as shown.

    • Remove the battery cover by pushing upward with your thumb.

  3. LG VX5200 motherboard replacement: paso 3, imagen 1 de 2 LG VX5200 motherboard replacement: paso 3, imagen 2 de 2
    • Place your fingernail at the top of the battery and pry the battery out towards you.

  4. LG VX5200 motherboard replacement, LG VX5200 Rear Body Panel Disassembly: paso 4, imagen 1 de 1
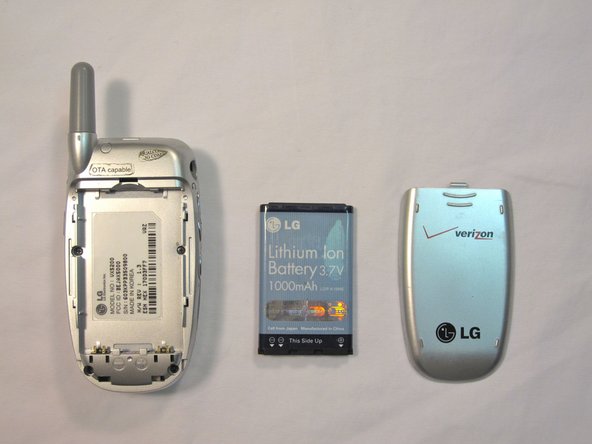
    • Orient the phone as shown with the battery already removed.

  5. LG VX5200 motherboard replacement: paso 5, imagen 1 de 3 LG VX5200 motherboard replacement: paso 5, imagen 2 de 3 LG VX5200 motherboard replacement: paso 5, imagen 3 de 3
    • Remove the 2 plastic plugs located on the side and upper quadrant of the rear body panel by using the push-pin and lifting outwards.

    • Use a Phillips #00 screwdriver to remove the 5 screws as shown here.

  6. LG VX5200 motherboard replacement: paso 6, imagen 1 de 3 LG VX5200 motherboard replacement: paso 6, imagen 2 de 3 LG VX5200 motherboard replacement: paso 6, imagen 3 de 3
    • Place an iPod opener tool in the seam above the antenna.

    • Run the tool around the perimeter of the entire phone.

  7. LG VX5200 motherboard replacement: paso 7, imagen 1 de 1
    • Check to see that your device looks like the attached photo.

  8. LG VX5200 motherboard replacement, main board: paso 8, imagen 1 de 3 LG VX5200 motherboard replacement, main board: paso 8, imagen 2 de 3 LG VX5200 motherboard replacement, main board: paso 8, imagen 3 de 3
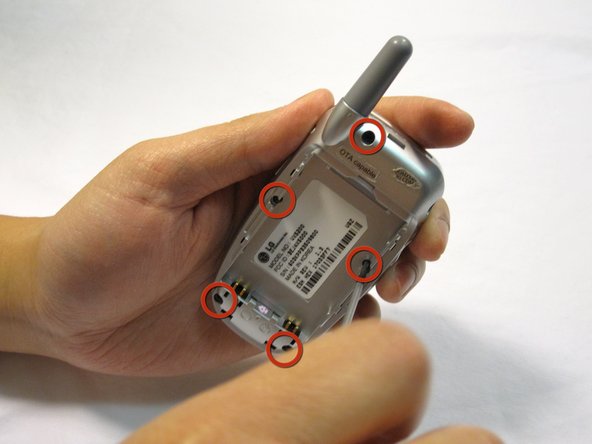
    • Locate the tabs that hold the logic board in place.

    • Pull the outer frame of the phone outwards to release the board from the tabs.

  9. LG VX5200 motherboard replacement: paso 9, imagen 1 de 3 LG VX5200 motherboard replacement: paso 9, imagen 2 de 3 LG VX5200 motherboard replacement: paso 9, imagen 3 de 3
    • Locate the copper connection (orange-colored) on the back of the board.

    • Pry the connector free from the board with your fingernail.

  10. LG VX5200 motherboard replacement: paso 10, imagen 1 de 1
    • Check to see that your device looks like the image shown.

    • Note: The image is shown with the LCD screen removed. This is not necessary for logic board removal.

Conclusión

To reassemble your device, follow these instructions in reverse order.

2 personas más completaron esta guía.

Equipo

Cal Poly, Team 4-13, Forte Winter 2010 Miembro de Cal Poly, Team 4-13, Forte Winter 2010

CPSU-FORTE-W10S4G13

5 Miembros

15 Guías creadas

0 comentarios

Agregar Comentario

Ver Estadísticas:

Ultimas 24 horas: 0

Ultimos 7 días: 1

Ultimos 30 días: 5

Todo El Tiempo: 2,707