Saltar al contenido principal

LG VX4500 Rear Cover Replacement

Qué necesitas

  1. LG VX4500 Rear Cover Replacement, Battery: paso 1, imagen 1 de 1
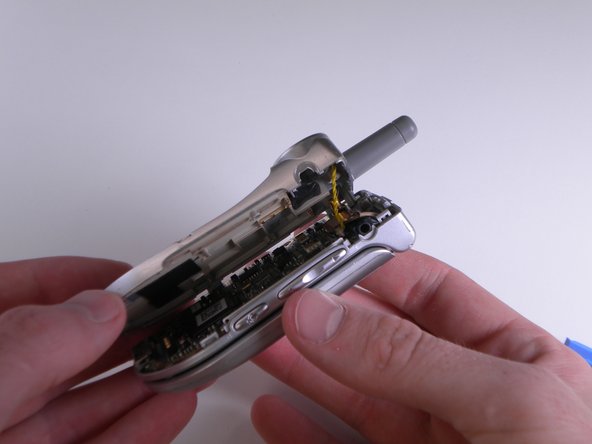
    • Turn the closed phone so that the back panel is facing you.

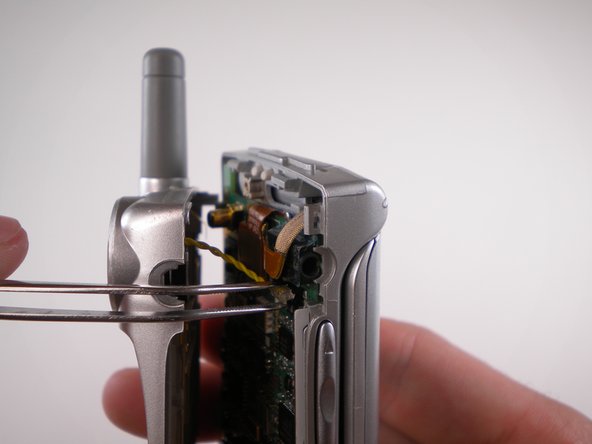
    • Press down and forward firmly on the gray tab in the middle of the phone.

  2. LG VX4500 Rear Cover Replacement: paso 2, imagen 1 de 2 LG VX4500 Rear Cover Replacement: paso 2, imagen 2 de 2
    • Now just lift up on the battery and remove it from the phone.

  3. LG VX4500 Rear Cover Replacement, Rear Cover: paso 3, imagen 1 de 1
    • Remove the rubber grommet using a Spudger.

  4. LG VX4500 Rear Cover Replacement: paso 4, imagen 1 de 1
    • Be sure not to lose the screws. They are small!

    • Remove the five screws using a Phillips #00 Screwdriver.

  5. LG VX4500 Rear Cover Replacement: paso 5, imagen 1 de 3 LG VX4500 Rear Cover Replacement: paso 5, imagen 2 de 3 LG VX4500 Rear Cover Replacement: paso 5, imagen 3 de 3
    • When removing back cover, be careful not to break the speaker wires.

    • Using an Opening Tool, carefully pry off the back cover.

    • Using tweezers, gently pull the speaker wires out.

  6. LG VX4500 Rear Cover Replacement: paso 6, imagen 1 de 1
    • Separate the two halves.

Conclusión

To reassemble your device, follow these instructions in reverse order.

Matthew Hagan

Miembro Desde 04/12/10

5 Reputación

1 Guía escrita

Equipo

Cal Poly, Team 25-88, Amido Spring 2010 Miembro de Cal Poly, Team 25-88, Amido Spring 2010

CPSU-AMIDO-S10S25G88

4 Miembros

18 Guías creadas

0 comentarios

Agregar Comentario

Ver Estadísticas:

Ultimas 24 horas: 0

Ultimos 7 días: 0

Ultimos 30 días: 1

Todo El Tiempo: 1,446