Introducción
If your HTC Touch Pro 2 Camera isn’t turning on, a possible issue may be with the camera lens. Follow this guide to learn how to replace your HTC Touch Pro 2 Camera. After the lens is replaced the quality of picture should be restored to its original state. This guide requires a T5 screwdriver and some tweezers.
Use caution when replacing the lens if the glass of the lens is shattered to avoid injury.
Qué necesitas
-
-
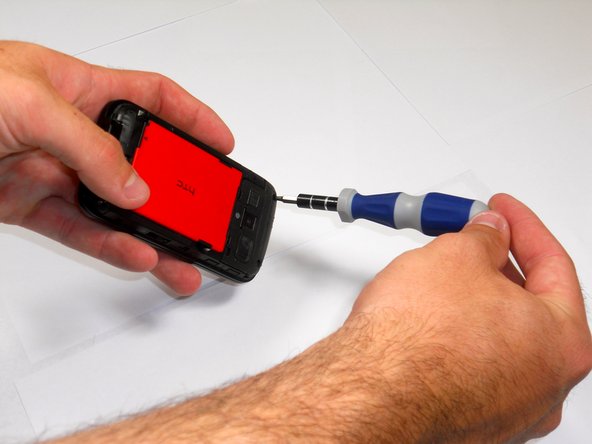
Apply pressure and slide upward to remove back cover.
-
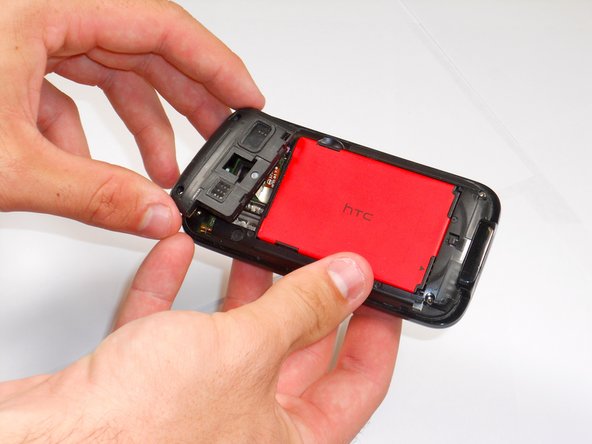
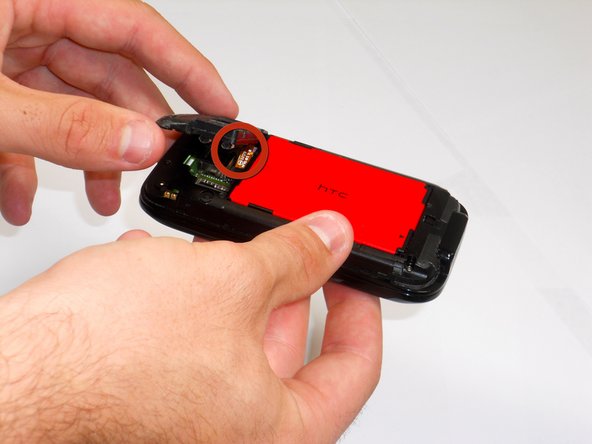
Lift the back cover up away from the phone.
-
-
-
-
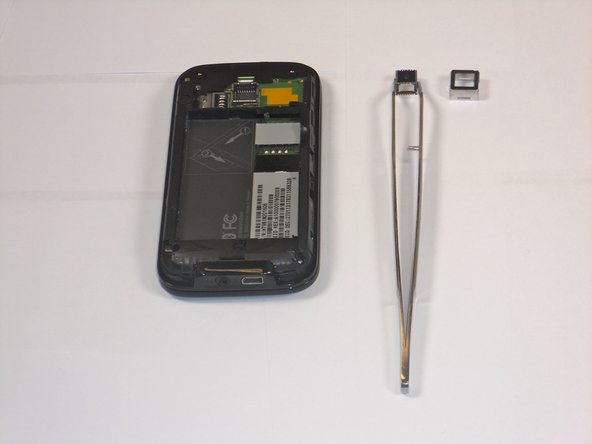
Remove the four screws from the corners of the phone using a T5 Torx screwdriver.
-


To reassemble your device, follow these instructions in reverse order.
To reassemble your device, follow these instructions in reverse order.
Cancelar: No complete esta guía.
Una persona más ha completado esta guía.
Equipo

Cal Poly, Team 9-64, Walters Spring 2011 Miembro de Cal Poly, Team 9-64, Walters Spring 2011
CPSU-WALTERS-S11S9G64
5 Miembros
18 Guías creadas