Saltar al contenido principal

Connecting the Keypad

Qué necesitas

  1. Connecting the Keypad, Keypad: paso 1, imagen 1 de 2 Connecting the Keypad, Keypad: paso 1, imagen 2 de 2
    • Turn the calculator over so the blue Texas Instruments logo is facing you.

    • Slide the blue cover downwards until it is completely removed from the calculator.

  2. Connecting the Keypad: paso 2, imagen 1 de 1
    • If the keypad is not already connected, skip the next 2 steps.

    • Turn the calculator over so the keypad is facing down.

    • Locate the sliding latch towards the bottom of the calculator.

  3. Connecting the Keypad: paso 3, imagen 1 de 2 Connecting the Keypad: paso 3, imagen 2 de 2
    • Slide the latch to the right to release the keypad.

    • At the same time, pull the keypad downwards.

  4. Connecting the Keypad: paso 4, imagen 1 de 2 Connecting the Keypad: paso 4, imagen 2 de 2
    • Take note of where the keypad and the calculator connect.

  5. Connecting the Keypad: paso 5, imagen 1 de 3 Connecting the Keypad: paso 5, imagen 2 de 3 Connecting the Keypad: paso 5, imagen 3 de 3
    • Slide the keypad directly into where it connects to the calculator until you hear a click. Readjust as necessary.

  6. Connecting the Keypad: paso 6, imagen 1 de 1
    • Press the "ON" button to make sure that the calculator turns on. If the calculator turns on correctly, you have properly inserted the keypad.

Conclusión

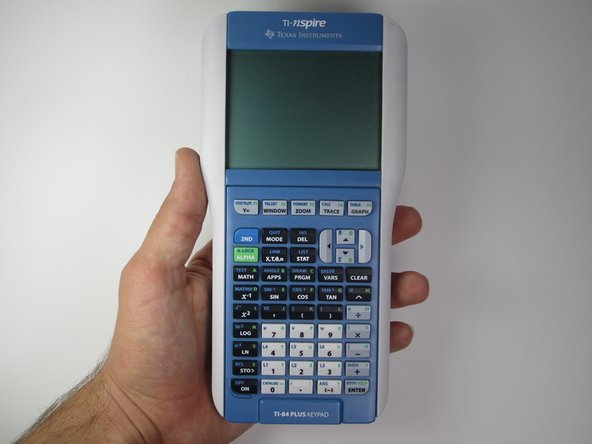
If the keypad was inserted properly, the calculator should turn on without any errors.

Una persona más ha completado esta guía.

Mariel Sanchez

Miembro Desde 09/27/12

22 Reputación

2 Guías creadas

Equipo

Cal Poly, Team 7-52, Forte Fall 2012 Miembro de Cal Poly, Team 7-52, Forte Fall 2012

CPSU-FORTE-F12S7G52

5 Miembros

12 Guías creadas

0 comentarios

Agregar Comentario

Ver Estadísticas:

Ultimas 24 horas: 0

Ultimos 7 días: 6

Ultimos 30 días: 12

Todo El Tiempo: 15,019