Saltar al contenido principal

Cirago M9030 Battery Replacement

Qué necesitas

  1. Cirago M9030 Battery Replacement, Cover: paso 1, imagen 1 de 1
    • Use a Phillips #00 screwdriver to unscrew the four 1.1mm long screws on each corner located at the top of the cover.

  2. Cirago M9030 Battery Replacement: paso 2, imagen 1 de 1
    • Similar to the last step, flip the cover over and use a Phillips #00 screwdriver to unscrew the four 1.1mm long screws on each corner located at the bottom of the cover.

    • Remove the warranty sticker across the bottom.

  3. Cirago M9030 Battery Replacement: paso 3, imagen 1 de 2 Cirago M9030 Battery Replacement: paso 3, imagen 2 de 2
    • Gently take the cover apart using your hands separating the top and bottom.

    • The outer shell is expected to easily come apart.

  4. Cirago M9030 Battery Replacement, Hard Drive: paso 4, imagen 1 de 1
    • Make sure that the screen of the device is facing down.

  5. Cirago M9030 Battery Replacement: paso 5, imagen 1 de 3 Cirago M9030 Battery Replacement: paso 5, imagen 2 de 3 Cirago M9030 Battery Replacement: paso 5, imagen 3 de 3
    • Using the plastic opening tool, wedge the tool underneath the bottom left edge of the hard drive.

    • Raise the bottom edge of the hard drive 15 degrees up from the device.

  6. Cirago M9030 Battery Replacement: paso 6, imagen 1 de 3 Cirago M9030 Battery Replacement: paso 6, imagen 2 de 3 Cirago M9030 Battery Replacement: paso 6, imagen 3 de 3
    • Place fingers on the IDE connectors gently picking up and sliding the hard drive out from the IDE module.

  7. Cirago M9030 Battery Replacement, IDE Connector: paso 7, imagen 1 de 2 Cirago M9030 Battery Replacement, IDE Connector: paso 7, imagen 2 de 2
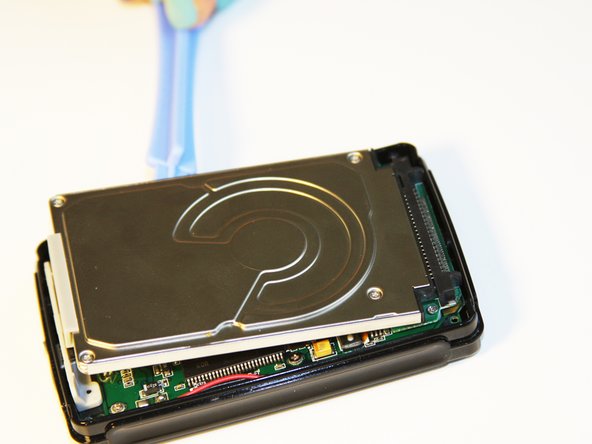
    • Using the Phillips #00 screwdriver, unscrew the two 1.5mm long screws holding the IDE connector to the motherboard located at the top.

  8. Cirago M9030 Battery Replacement: paso 8, imagen 1 de 1
    • Using the Phillips #00 screwdriver, unscrew the three 1.5mm long screws on the metal bracket.

  9. Cirago M9030 Battery Replacement: paso 9, imagen 1 de 2 Cirago M9030 Battery Replacement: paso 9, imagen 2 de 2
    • Using the plastic opening tool, completely lift the metal bracket off of the motherboard.

    • Using the plastic opening tool, completely lift the rubber insulator off of the motherboard.

  10. Cirago M9030 Battery Replacement: paso 10, imagen 1 de 1
    • Using the plastic opening tool, completely lift the ribbon off of the motherboard.

  11. Cirago M9030 Battery Replacement: paso 11, imagen 1 de 2 Cirago M9030 Battery Replacement: paso 11, imagen 2 de 2
    • Completely remove the IDE connector from the device.

    • The audio jack is attached to the IDE connector. Pull at a 45 degree angle from the audio jack.

  12. Cirago M9030 Battery Replacement, Motherboard: paso 12, imagen 1 de 2 Cirago M9030 Battery Replacement, Motherboard: paso 12, imagen 2 de 2
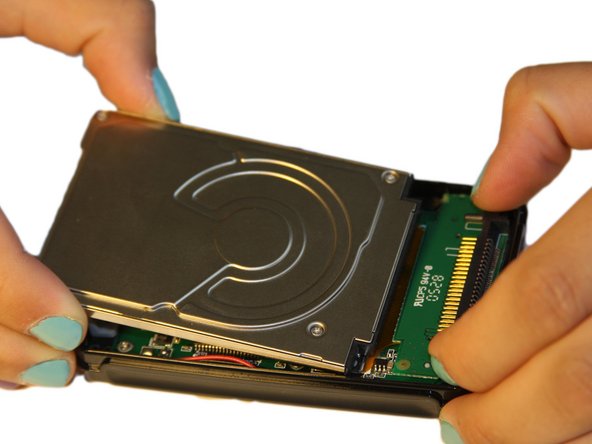
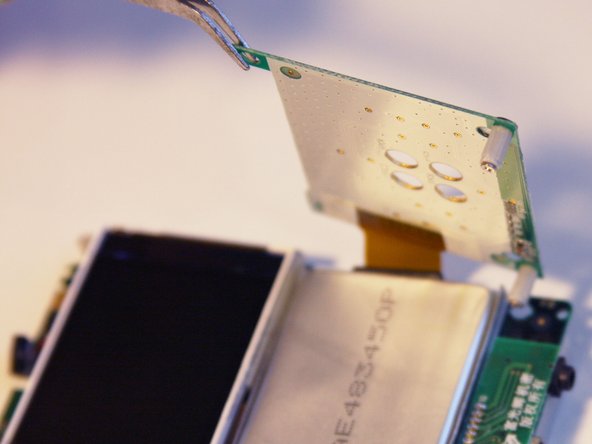
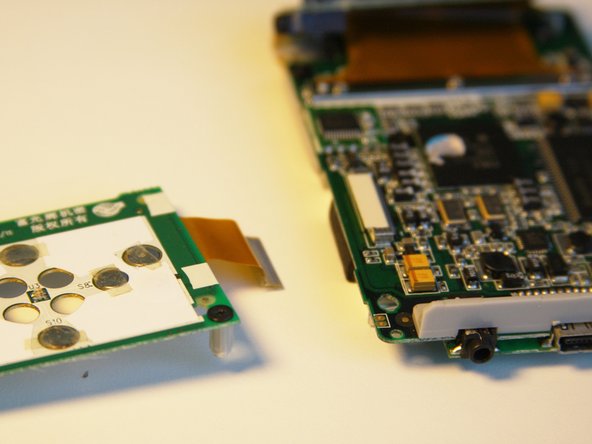
    • Using the plastic opening tool, wedge the tool underneath the top edge of the motherboard.

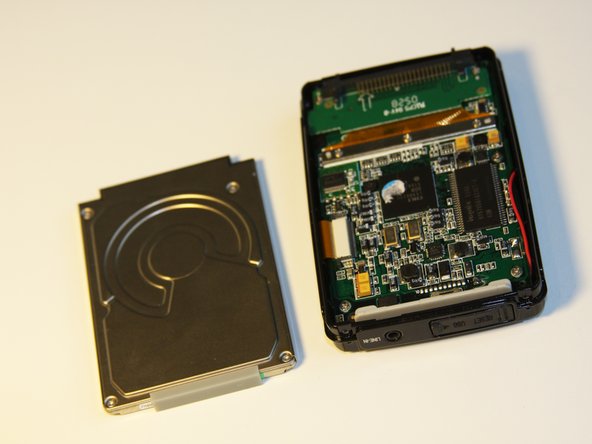
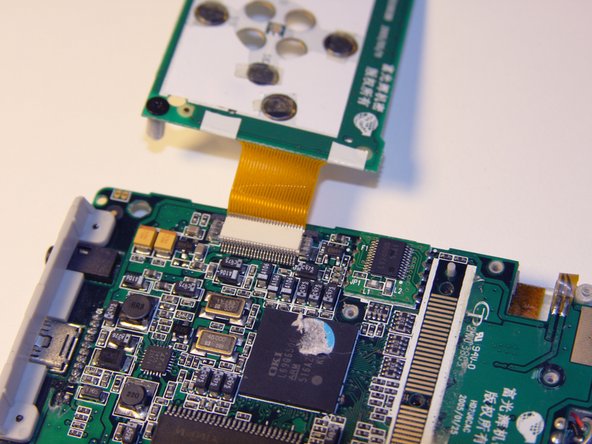
    • Completely remove the motherboard.

    • The motherboard should slide out easily.

  13. Cirago M9030 Battery Replacement, Button Module: paso 13, imagen 1 de 1
    • Set aside the front cover.

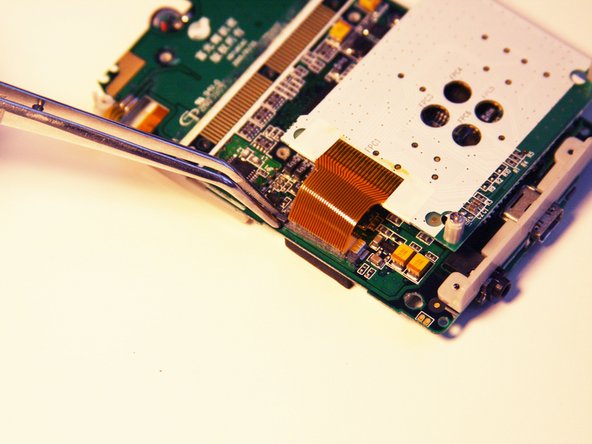
    • Flip over the motherboard.

    • Using the Philips #00 screwdriver, remove the three 4mm long screws holding down the button module.

  14. Cirago M9030 Battery Replacement: paso 14, imagen 1 de 3 Cirago M9030 Battery Replacement: paso 14, imagen 2 de 3 Cirago M9030 Battery Replacement: paso 14, imagen 3 de 3
    • Using the tweezers, lift up the button module to a 180 degree angle.

    • Leave the button module attached by the ribbon.

    • Flip over the motherboard with the button module still attached.

  15. Cirago M9030 Battery Replacement: paso 15, imagen 1 de 3 Cirago M9030 Battery Replacement: paso 15, imagen 2 de 3 Cirago M9030 Battery Replacement: paso 15, imagen 3 de 3
    • Fold the button module over the motherboard.

    • Using the tweezers, remove the ribbon pin.

    • The ribbon pin should snap completely off of the motherboard.

  16. Cirago M9030 Battery Replacement: paso 16, imagen 1 de 2 Cirago M9030 Battery Replacement: paso 16, imagen 2 de 2
    • The ribbon should easily detach from the motherboard.

  17. Cirago M9030 Battery Replacement, Battery: paso 17, imagen 1 de 2 Cirago M9030 Battery Replacement, Battery: paso 17, imagen 2 de 2
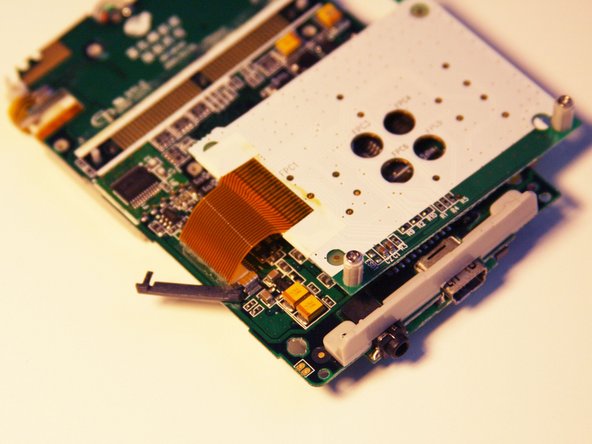
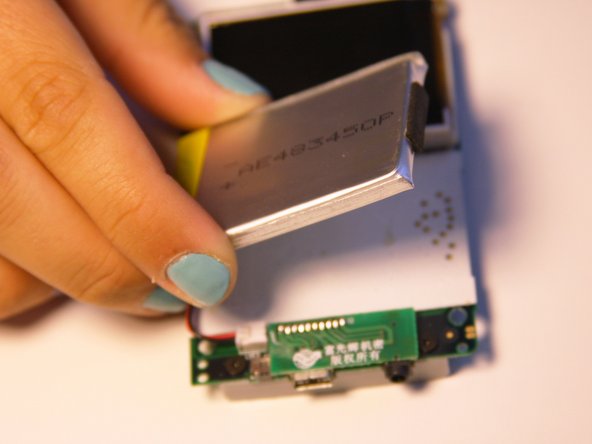
    • Flip over the motherboard so the screen faces up.

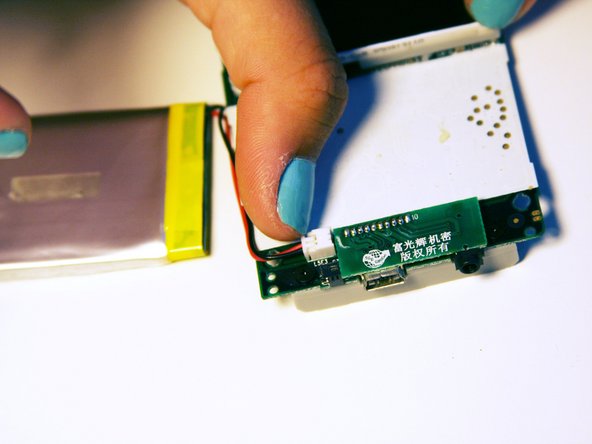
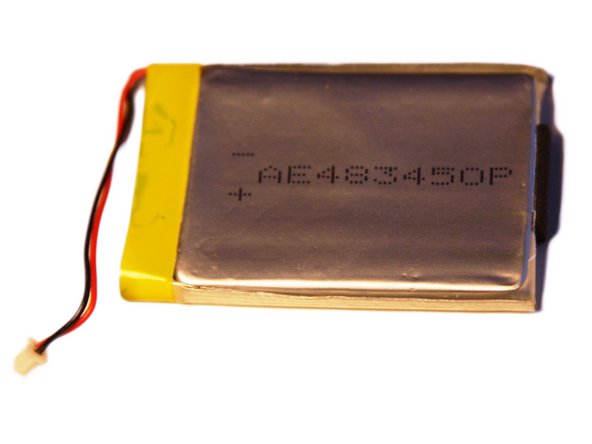
    • Carefully slide the battery off of the motherboard.

    • Leave the battery cable connected to the motherboard.

  18. Cirago M9030 Battery Replacement: paso 18, imagen 1 de 3 Cirago M9030 Battery Replacement: paso 18, imagen 2 de 3 Cirago M9030 Battery Replacement: paso 18, imagen 3 de 3
    • Place two fingers on the battery connectors and gently pull the power cable connector completely out from the motherboard.

    • Do not pull directly on the wire as it may damage the connector.

Conclusión

To reassemble your device, follow these instructions in reverse order.

Una persona más ha completado esta guía.

Ryan Sutardji

Miembro Desde 06/29/12

171 Reputación

7 Guías creadas

Equipo

Cal Poly, Team 1-4, Regan SU 2012 Miembro de Cal Poly, Team 1-4, Regan SU 2012

CPSU-REGAN-SU12S1G4

4 Miembros

7 Guías creadas

0 comentarios

Agregar Comentario

Ver Estadísticas:

Ultimas 24 horas: 0

Ultimos 7 días: 0

Ultimos 30 días: 2

Todo El Tiempo: 1,172