Introducción
post note: had to replace the bottom membrane with a plastik plate to make room for the 18650-cell and avoid vibrations
Qué necesitas
-
-
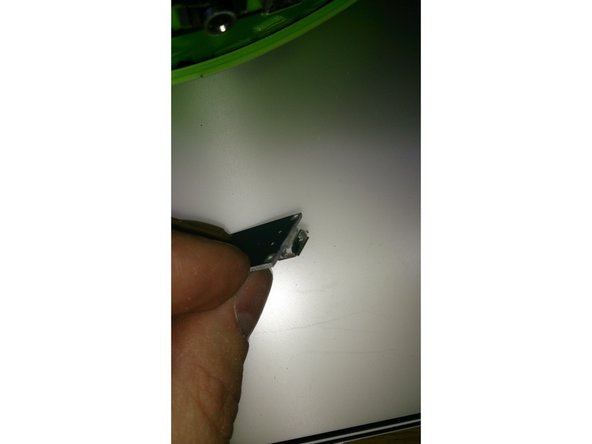
there are two under these caps that you can leaver off with an knife or so and two under the bottom cover. the bottom cover is held in place by friction an a little glue but you can carefully lever it off.
-
-
-
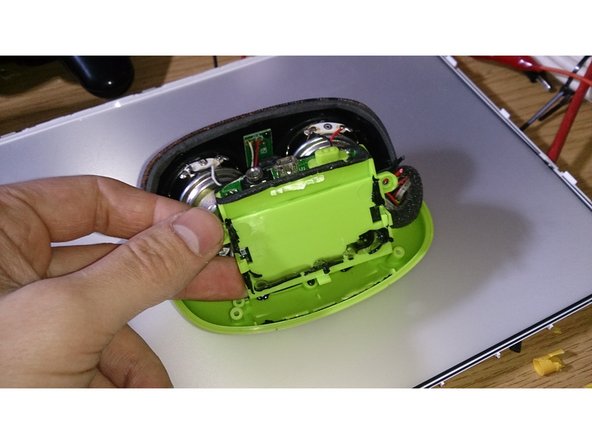
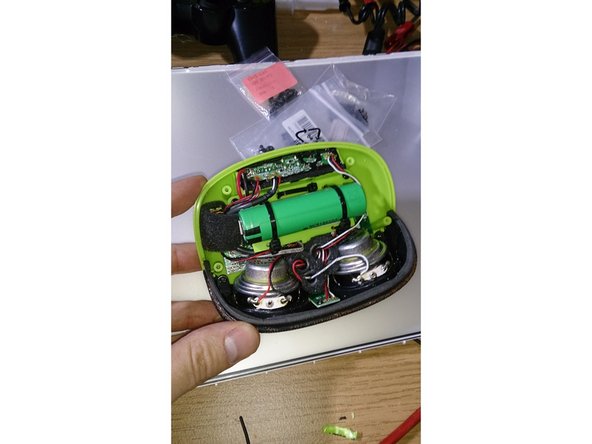
to make room for the 18650 cell i clipped off the useless construction on the "bass-speaker"
-
you can leave it there if you only intend to replace the battery with a similar one
-
post note: this "speaker" may have some sound benefits. also i had to replace the black membrane with a stiff plastic cover beacause the vibrations were hitting on the 18650-cell.
-
-
-
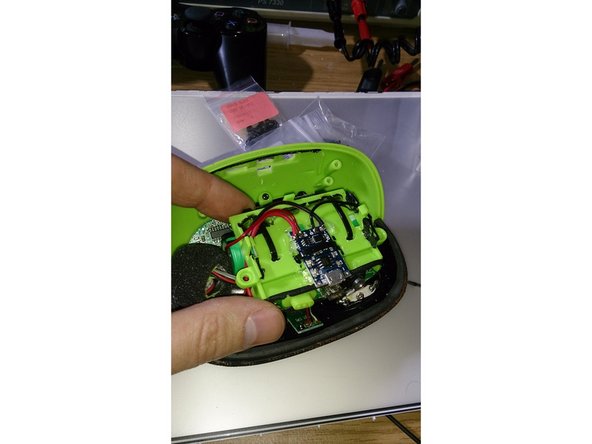
unsrew the two scres on the side and twist the thing to get to the battery
-
its glued in place so with a little force you can remove it.
-
cut off the wires maybe in the middle or so...
-
if you want to or have one lying around you can solder a new similar battery to the terminals and you're done.
-
-
-
-
there are some reasons, why i chose to use a new battery charge controller
-
1. I wanted a micro USB port
-
2. I no longer trust the original one
-
3. there is place for a new one :)
-
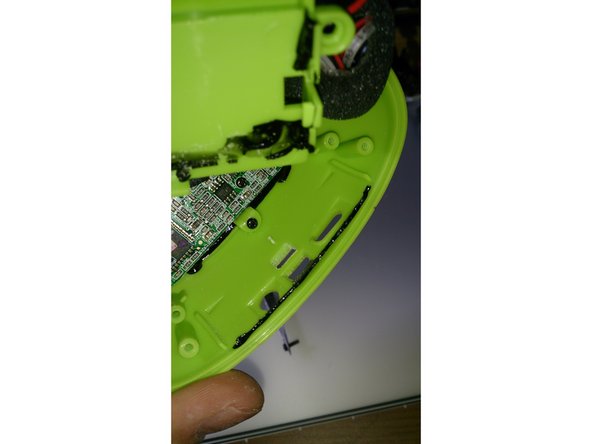
so i made slots for the charger ( it is a liion-battery-charger/protector) to get it centered over the original usb-connector. you can move it back an forth because at this point you dont know the exact position. google it if you wand, they are about a dollar.
-
-
-
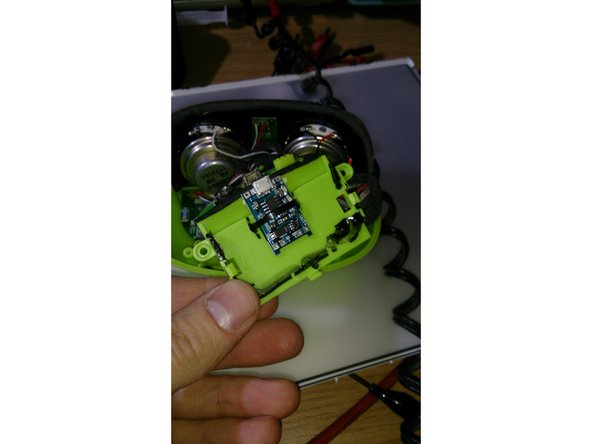
i grinded a bit off the front of the circuit-board so the the connector reaches further out.
-
pull the strap close an determine the final position by trial and error. then fix it with hot glue.
-
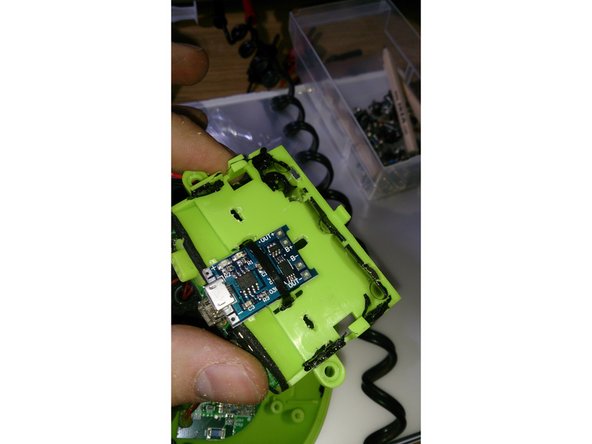
here i also made 4 slots to mount the new battery with straps an a slot behind the charger to move the board in the build in state.
-
-
-
to mount the new battery i used double sided tape and straps.
-
solder the new battery to the b+ and b- points on the charger
-
solder the out+ and out- points to the original battery connections on the board
-


Arbeite die Schritte in umgekehrter Reihenfolge ab, um dein Gerät wieder zusammenzubauen.
Arbeite die Schritte in umgekehrter Reihenfolge ab, um dein Gerät wieder zusammenzubauen.
Cancelar: No complete esta guía.
Una persona más ha completado esta guía.