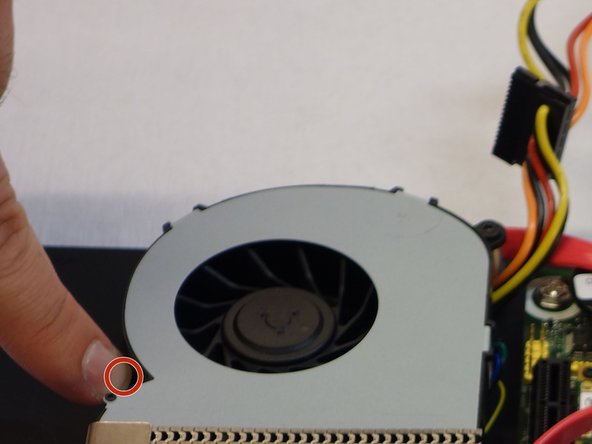
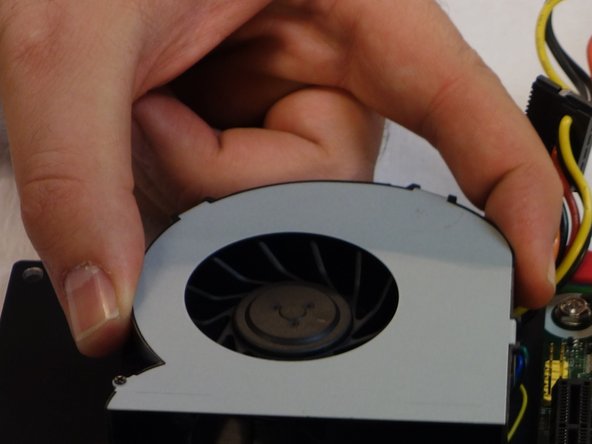
Saltar al contenido principal

why! WDi7SSD Fan replacement

  1. why! WDi7SSD Fan replacement, Fan: paso 1, imagen 1 de 3 why! WDi7SSD Fan replacement, Fan: paso 1, imagen 2 de 3 why! WDi7SSD Fan replacement, Fan: paso 1, imagen 3 de 3
    • Make sure the computer is disconnected from the power source.

    • Turn the computer over.

    • Remove the 6 screws with a 2mm Allen key.

    • Carefully remove the left and right rear panels.

  2. why! WDi7SSD Fan replacement: paso 2, imagen 1 de 1
    • Now open the bottom of the case, to which all the components are attached.

  3. why! WDi7SSD Fan replacement: paso 3, imagen 1 de 2 why! WDi7SSD Fan replacement: paso 3, imagen 2 de 2
    • Remove the two Phillips PH2 screws holding the fan.

  4. why! WDi7SSD Fan replacement: paso 4, imagen 1 de 2 why! WDi7SSD Fan replacement: paso 4, imagen 2 de 2
    • Disconnect the cable connecting the front part (with the LEDs) to the power source.

    • Remove the part with the cable.

  5. why! WDi7SSD Fan replacement: paso 5, imagen 1 de 3 why! WDi7SSD Fan replacement: paso 5, imagen 2 de 3 why! WDi7SSD Fan replacement: paso 5, imagen 3 de 3
    • Remove the four screws on the heat sink with a Phillips PH2 screwdriver.

    • Remove the heat sink and lay it to the side.

  6. why! WDi7SSD Fan replacement: paso 6, imagen 1 de 2 why! WDi7SSD Fan replacement: paso 6, imagen 2 de 2
    • Carefully remove the fan together with its case.

    • Carefully remove the plug connecting the fan to the power source.

Conclusión

In order to reassemble your device, follow the steps of this guide in reverse order.

Un agradecimiento especial a estos traductores:

de en

100%

Estos traductores nos están ayudando a reparar el mundo! ¿Quieres contribuir?
Empezar a traducir ›

Felice Suglia

Miembro Desde 06/15/13

30,908 Reputación

264 Guías creadas

0 comentarios

Agregar Comentario

Ver Estadísticas:

Ultimas 24 horas: 0

Ultimos 7 días: 0

Ultimos 30 días: 2

Todo El Tiempo: 184