Saltar al contenido principal

why! W650SZ Keyboard Replacement

Qué necesitas

  1. why! W650SZ Keyboard Replacement, Battery: paso 1, imagen 1 de 3 why! W650SZ Keyboard Replacement, Battery: paso 1, imagen 2 de 3 why! W650SZ Keyboard Replacement, Battery: paso 1, imagen 3 de 3
    • Slide the latch on the right to the unlocked position.

    • Slide the latch on the left to the unlocked position.

    • Remove the battery pack from the slot.

  2. why! W650SZ Keyboard Replacement, why! W650SZ Bottom Cover Replacement: paso 2, imagen 1 de 3 why! W650SZ Keyboard Replacement, why! W650SZ Bottom Cover Replacement: paso 2, imagen 2 de 3 why! W650SZ Keyboard Replacement, why! W650SZ Bottom Cover Replacement: paso 2, imagen 3 de 3
    • With your #0 Philips screwdriver remove the 2 screws from the bottom panel.

    • Now you can remove the bottom cover.

  3. why! W650SZ Keyboard Replacement, Keyboard: paso 3, imagen 1 de 3 why! W650SZ Keyboard Replacement, Keyboard: paso 3, imagen 2 de 3 why! W650SZ Keyboard Replacement, Keyboard: paso 3, imagen 3 de 3
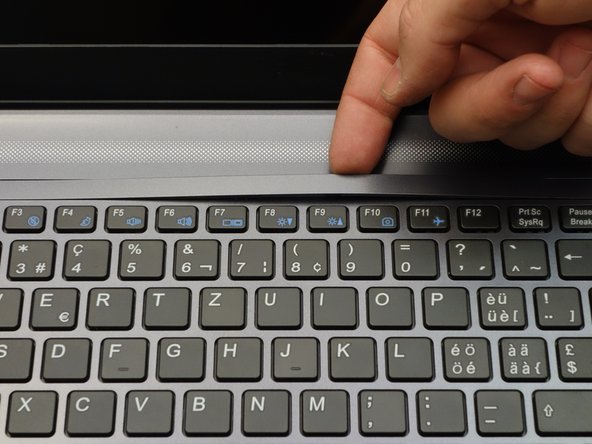
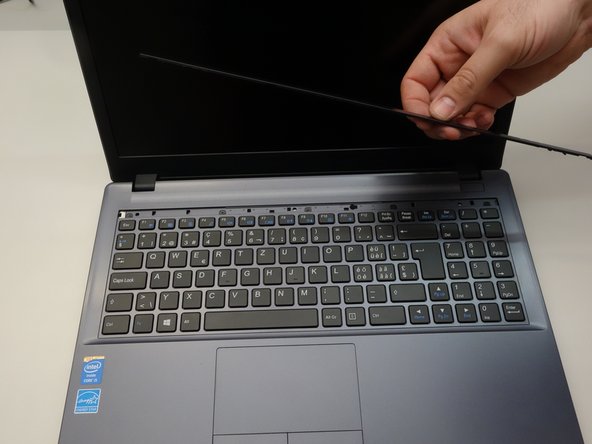
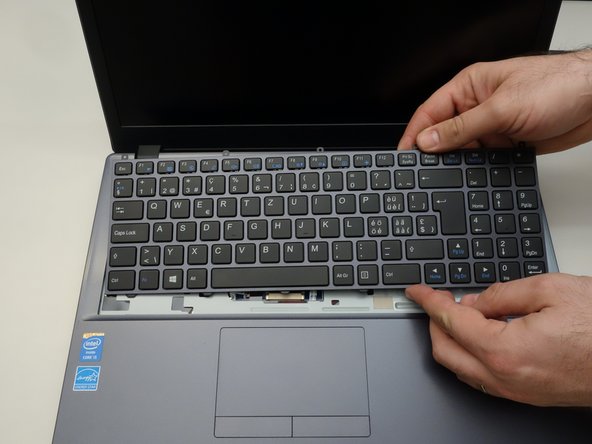
    • Press gently at the points indicated to release the LED cover strip.

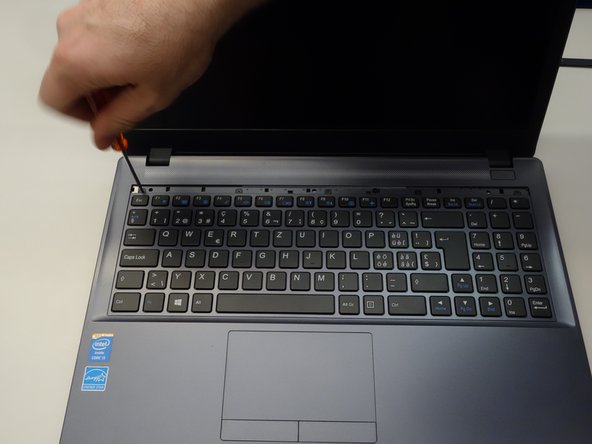
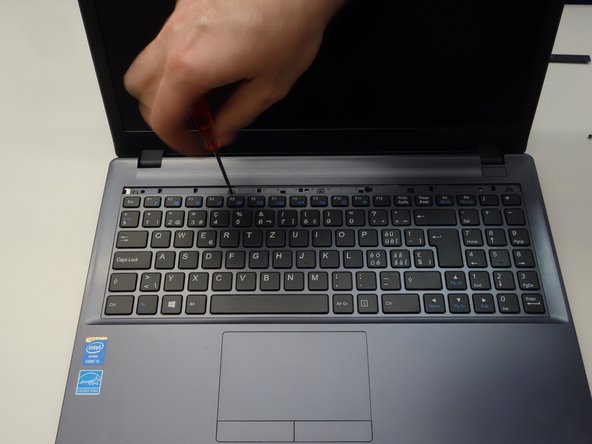
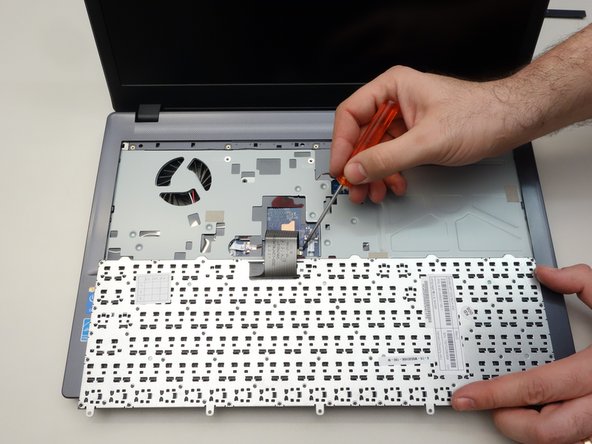
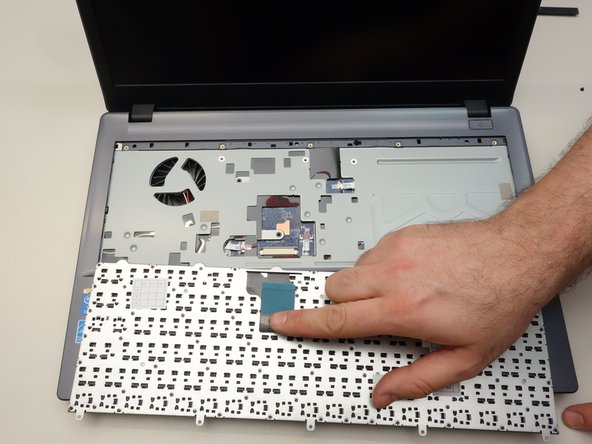
    • Turn the laptop over, then lift the LED cover.

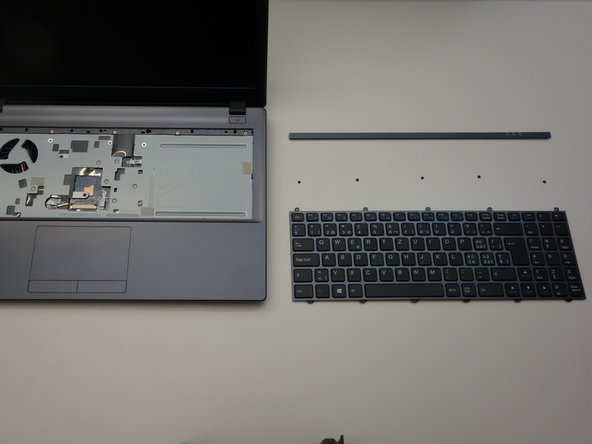
    • Remove the LED cover.

  4. why! W650SZ Keyboard Replacement: paso 4, imagen 1 de 3 why! W650SZ Keyboard Replacement: paso 4, imagen 2 de 3 why! W650SZ Keyboard Replacement: paso 4, imagen 3 de 3
    • The five screws that anchor the keyboard are now visible.

    • Start by removing the first screw.

    • Remove the remaining screws (2-5).

  5. why! W650SZ Keyboard Replacement: paso 5, imagen 1 de 3 why! W650SZ Keyboard Replacement: paso 5, imagen 2 de 3 why! W650SZ Keyboard Replacement: paso 5, imagen 3 de 3
    • Dismount the keyboard from the chassis.

    • Flip the keyboard forward, taking care as it is still connected by a cable to the motherboard.

    • Release the cable latch on the right side of the motherboard connector with a small flat blade screwdriver.

  6. why! W650SZ Keyboard Replacement: paso 6, imagen 1 de 3 why! W650SZ Keyboard Replacement: paso 6, imagen 2 de 3 why! W650SZ Keyboard Replacement: paso 6, imagen 3 de 3
    • Release the cable latch on the left side of the motherboard connector.

    • Slide the cable straight out from its connector.

    • Remove the keyboard.

Conclusión

To reassemble your device, follow these instructions in reverse order.

Un agradecimiento especial a estos traductores:

fr en

100%

¡ Jerry Wheeler nos está ayudando a reparar el mundo! ¿Quieres contribuir?
Empezar a traducir ›

Felice Suglia

Miembro Desde 06/15/13

30,884 Reputación

264 Guías creadas

0 comentarios

Agregar Comentario

Ver Estadísticas:

Ultimas 24 horas: 0

Ultimos 7 días: 2

Ultimos 30 días: 5

Todo El Tiempo: 170