Saltar al contenido principal

why! N650DU The LCD screen

Qué necesitas

  1. why! N650DU The LCD screen, The Batteries: paso 1, imagen 1 de 3 why! N650DU The LCD screen, The Batteries: paso 1, imagen 2 de 3 why! N650DU The LCD screen, The Batteries: paso 1, imagen 3 de 3
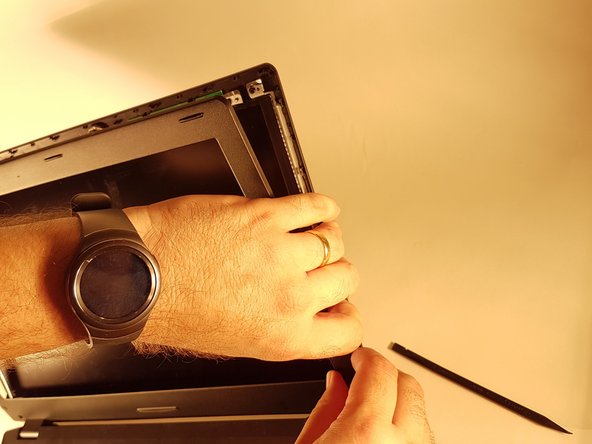
    • Unlock the button without spring

    • Slide the battery up while unlocking the button with spring

  2. why! N650DU The LCD screen, LCD screen: paso 2, imagen 1 de 3 why! N650DU The LCD screen, LCD screen: paso 2, imagen 2 de 3 why! N650DU The LCD screen, LCD screen: paso 2, imagen 3 de 3
    • Remove the two stickers circled in red

    • Unscrew the two screws

  3. why! N650DU The LCD screen: paso 3, imagen 1 de 3 why! N650DU The LCD screen: paso 3, imagen 2 de 3 why! N650DU The LCD screen: paso 3, imagen 3 de 3
    • Tilt back the screen

    • Remove the frame from the screen

  4. why! N650DU The LCD screen: paso 4, imagen 1 de 3 why! N650DU The LCD screen: paso 4, imagen 2 de 3 why! N650DU The LCD screen: paso 4, imagen 3 de 3
    • Unscrew the four screws circled in red

    • Put the screen gently on the keyboard

    • Remove the piece of tape then disconnect the connector surrounded in green

Conclusión

To reassemble your device, follow the instructions in reverse order.

Un agradecimiento especial a estos traductores:

fr en

100%

¡ Israel nos está ayudando a reparar el mundo! ¿Quieres contribuir?
Empezar a traducir ›

Felice Suglia

Miembro Desde 06/15/13

30,884 Reputación

263 Guías creadas

0 comentarios

Agregar Comentario

Ver Estadísticas:

Ultimas 24 horas: 0

Ultimos 7 días: 2

Ultimos 30 días: 2

Todo El Tiempo: 303