Introducción
The main brush easily acquires a lot of dust and other things which may cause it to lose its potency; replacing it will make the Roomba more effective. There is no danger in this replacement and no real hard work.
Qué necesitas
-
-
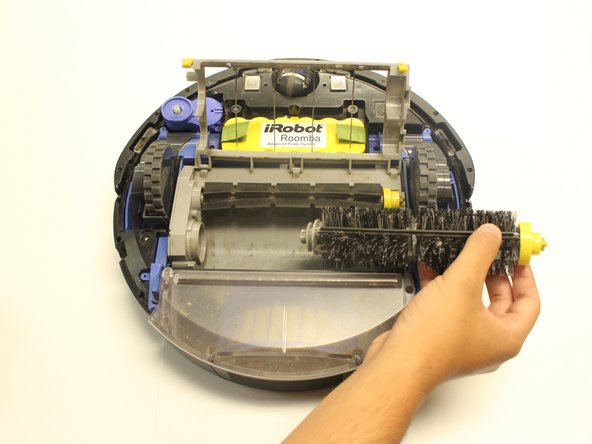
Flip the Roomba upside down. Using the Phillips #0 screwdriver, carefully remove the 5 mm screw holding the brush in place.
-
-
-
-
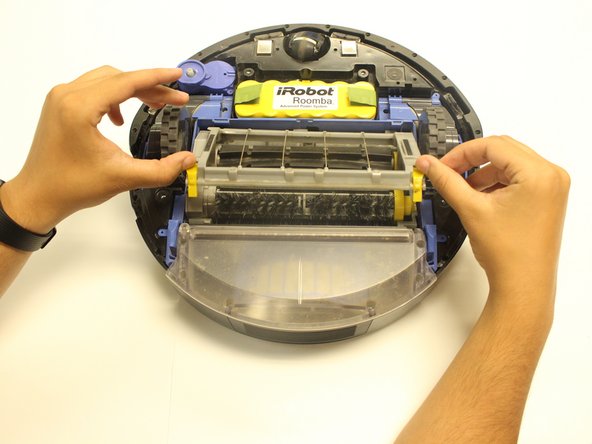
Remove the four 10mm screws with a Phillips #1 screwdriver. Gently lift off the external covering for the Roomba's underside.
-


To reassemble your device, follow these instructions in reverse order.
To reassemble your device, follow these instructions in reverse order.
Cancelar: No complete esta guía.
Una persona más ha completado esta guía.
Equipo

USF Tampa, Team S10-G5, Thompson Fall 2017 Miembro de USF Tampa, Team S10-G5, Thompson Fall 2017
USFT-THOMPSON-F17S10G5
3 Miembros
5 Guías creadas