Saltar al contenido principal

iRobot Braava 380t Battery Replacement

Qué necesitas

  1. iRobot Braava 380t Battery Replacement, Battery: paso 1, imagen 1 de 1
    • Flip device upside down

  2. iRobot Braava 380t Battery Replacement: paso 2, imagen 1 de 1
    • Using a 4mm flat head screw driver, remove the screw holding the battery cover.

  3. iRobot Braava 380t Battery Replacement: paso 3, imagen 1 de 1
    • Remove cover and place it to the side.

  4. iRobot Braava 380t Battery Replacement: paso 4, imagen 1 de 2 iRobot Braava 380t Battery Replacement: paso 4, imagen 2 de 2
    • Lift battery out of the casing

    • Gripping the cord close to the base, gently disconnect it by pulling straight up.

Conclusión

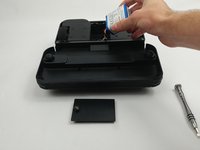
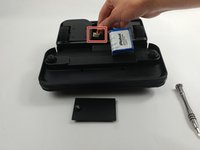
To reassemble your device, follow these instructions in reverse order.

9 personas más completaron esta guía.

Equipo

USF Tampa, Team S7-G3, Cagle Spring 2017 Miembro de USF Tampa, Team S7-G3, Cagle Spring 2017

USFT-CAGLE-S17S7G3

Miembros de 4

2 Guías creadas

0 comentarios

Agregar Comentario

Ver Estadísticas:

Ultimas 24 horas: 2

Ultimos 7 días: 7

Ultimos 30 días: 30

Todo El Tiempo: 5,674