Saltar al contenido principal

iRULU AX106 Disassembly

Qué necesitas

  1. iRULU AX106 Disassembly, iRULU AX106 Disassembly: paso 1, imagen 1 de 1
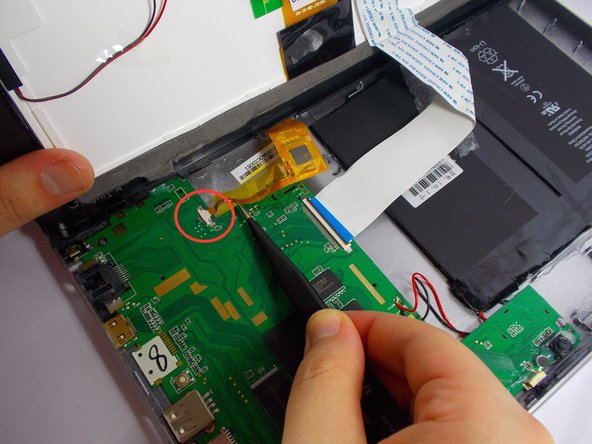
    • Using a Philips head #00 screwdriver locate and remove each of the four screws located along the tall side of the iRulu.

    • There may be plastic covers protecting the screws, if this is the case take a phillips head screwdriver, and gently apply pressure on the covers until they come off.

  2. iRULU AX106 Disassembly: paso 2, imagen 1 de 2 iRULU AX106 Disassembly: paso 2, imagen 2 de 2
    • Use the opening tool to pry the screen from the case applying pressure at each of the four corners of the screen.

    • While a good deal of force is required to separate the screen from the case, make sure to separate the screen from the case at each corner before attempting to completely remove the screen. There are delicate wires that may be damaged if the screen is removed is before the corners are separated.

  3. iRULU AX106 Disassembly: paso 3, imagen 1 de 3 iRULU AX106 Disassembly: paso 3, imagen 2 de 3 iRULU AX106 Disassembly: paso 3, imagen 3 de 3
    • Using a pair of tweezers, gently unplug connectors A and B from the logic board.

    • Completely separate the screen and case.

Conclusión

To reassemble your device, follow these instructions in reverse order.

3 personas más completaron esta guía.

Andrew Mele

Miembro Desde 03/24/15

146 Reputación

2 Guías creadas

Equipo

0 comentarios

Agregar Comentario

Ver Estadísticas:

Ultimas 24 horas: 2

Ultimos 7 días: 5

Ultimos 30 días: 10

Todo El Tiempo: 2,645