Introducción
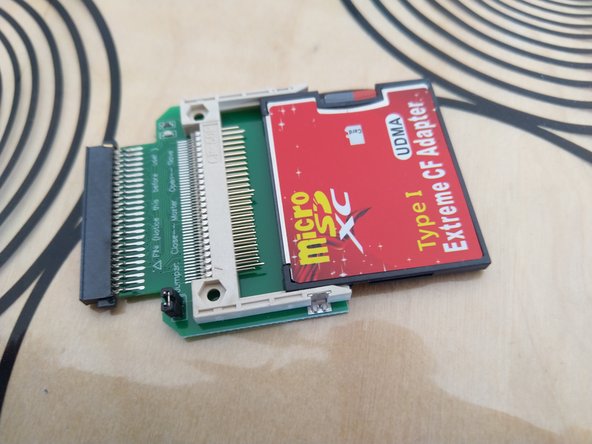
Over time, old iPods with hard drives can experience common errors like a dead battery or an unresponsive hard drive. In this tutorial we will replace an old hard drive of an iPod 4G with a micro sd card of potentially greater capacity. (The screen shown in this tutorial is a sign of a failing hard drive)
Qué necesitas
-
-
Insert an opening pick as far as possible into the seam between the plastic front and the metal rear panel, on the right edge of the iPod.
-
Use the opening pick to pry up against the plastic front panel and release five retaining tabs (seen in the third photo).
-
Slide the pick along the edge of the iPod and continue prying to release the rest of the retaining tabs.
-
After all five tabs along the right side are free, the case should easily open.
-
-
-
Remove the hard drive with your hand, by holding both the iPod and hard drive connector (hold tight in order to not broke the connector).
-
-
-
-
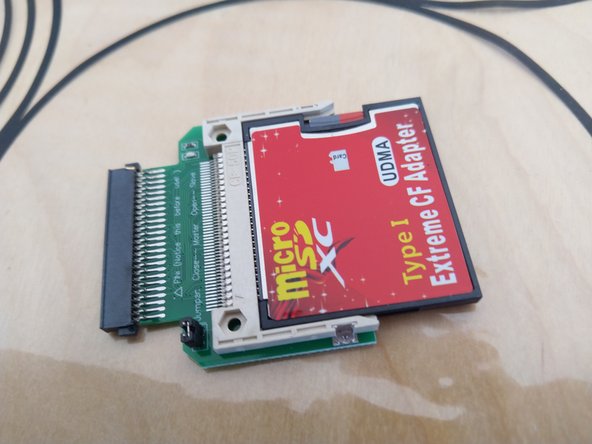
Put the micro sd card into the CF adapter.
-
Then put the CF adapter into the CE to CF 1.8" adapter.
-
-
-
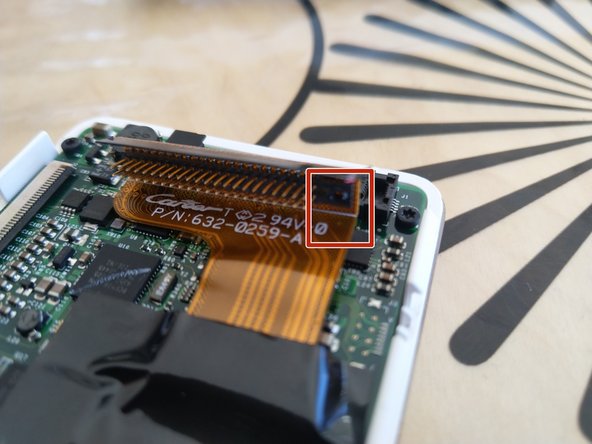
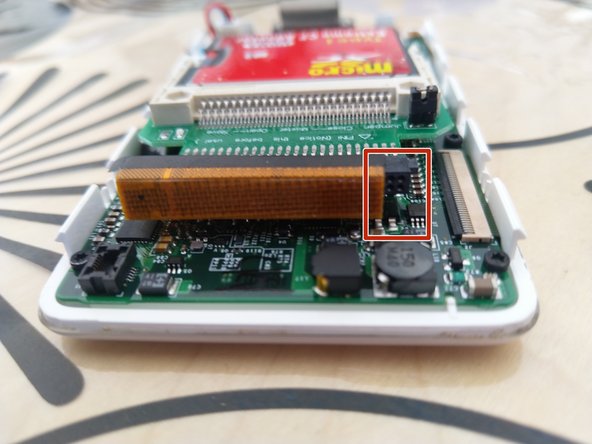
Depending on the CE adapter you have, you may need to remove the stopper on the hard drive disk connector on the iPod. Use tweezers to do so.
-
-
-
Plug your memory unit in place of the old hard drive.
-
It's normal that to have 4 free slots on the memory unit. Be sure to position the memory unit as on the photo.
-
-
-
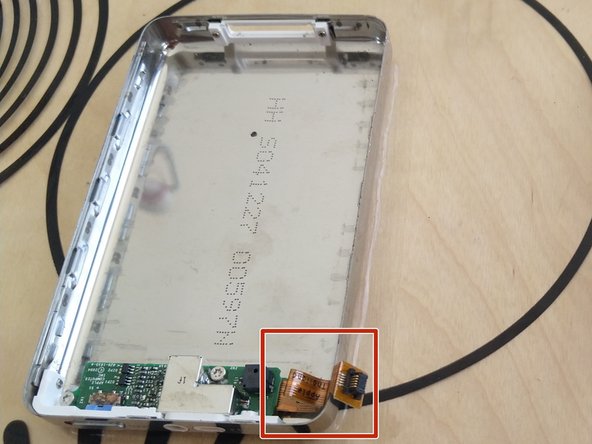
Reconnect the bottom case connector. Before reassembling the iPod.
-
-
-
Just put the top case on the bottom one without pushing.
-
-
-
After connecting the iPod to the PC you may need to install iPod support. Follow iTunes instructions. Unplug the iPod, Restart iTunes, Restart your PC. Replug the iPod.
-
-
-
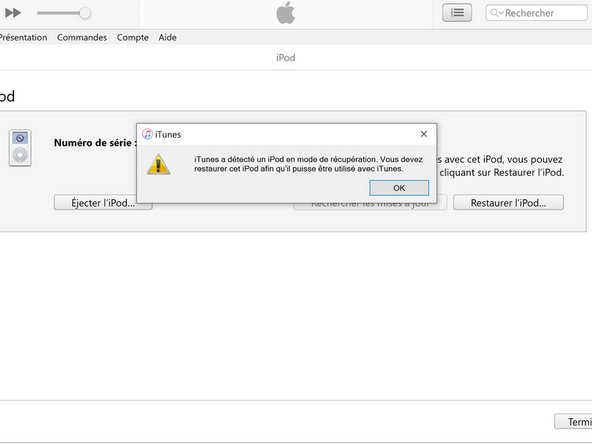
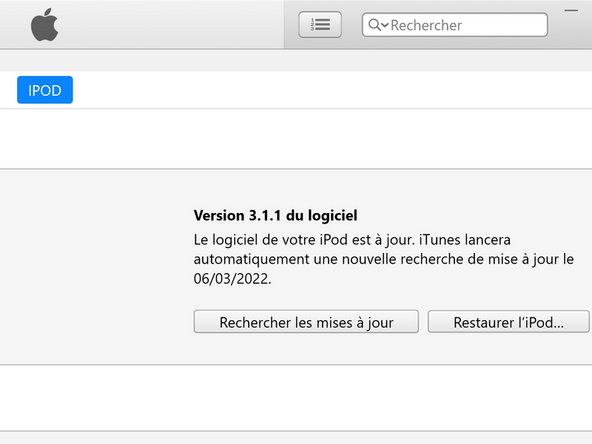
Once connected to your computer, iTunes will tell you that the iPod needs to be restored. Follow iTunes instructions to restore the software.
-
-
-
The iPod will prompt you to plug it to a wall plug. While this screen is displayed you can't continue.
-
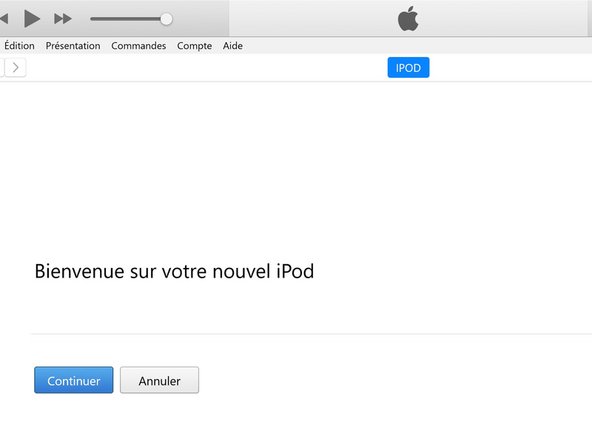
If it reboots to the iPod menu (language settings) you have finished.
-
-
-
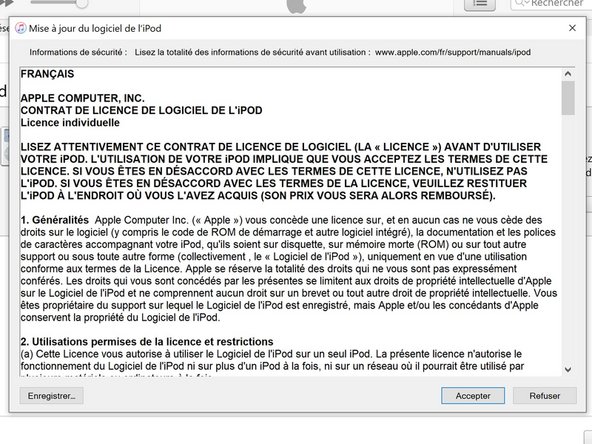
Finalize the software restoration process by accepting the Apple license.
-
-
-
It's important that you check everything, from charging to synchronizing and listenning to music before reassembling the iPod.
-
If something is not functionning properly, double check each steps.
-
To reassamble your iPod follow the steps in reverse order.
To reassamble your iPod follow the steps in reverse order.
Cancelar: No complete esta guía.
5 personas más completaron esta guía.
Un agradecimiento especial a estos traductores:
100%
Estos traductores nos están ayudando a reparar el mundo! ¿Quieres contribuir?
Empezar a traducir ›


