Introducción
The iPhone 4S was released in 2011 and was one of the earlier generations of Apple in their phone software and was one of the first smartphones to use a front-facing camera as well as camera lens-focus and high-speed internet on their phones.
Qué necesitas
-
-
Use a 5-point Pentalobe Screw (only for iPhones)to remove the bottom screws on the iPhone 4S. For the Sim Card Holder, there will be a small hole which you can use a remover tool, (or paper clip, which is not the safest tool to use), but will require a fair amount of force for pushing into the hole get the holder out.
-
-
-
Make sure to push up on the back glass when taking it off (be careful if the back glass is cracked, loose glass could come off and potentially cut your hand if not done right)
-
-
-
The iPhone will open up and you will see a metal panel by the camera on the top left side of the phone as well as a smaller metal panel on the bottom left side of the phone. These are required to be removed before taking out the battery. A Phillips #000 screwdriver will work best for removing them.
-
-
-
-
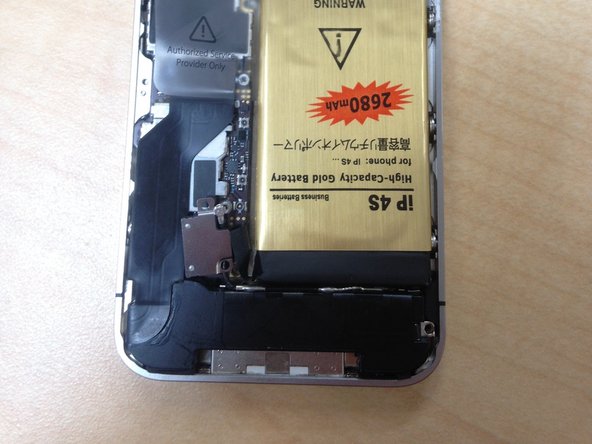
You’ll automatically see the battery when taking of the back glass(will show a recycle sign and Li-ion written across).There is a plastic tab for you to use to help carefully lift the battery out of the phone (The battery has a connected wire to it, but it can be easily disassembled).
-
-
-
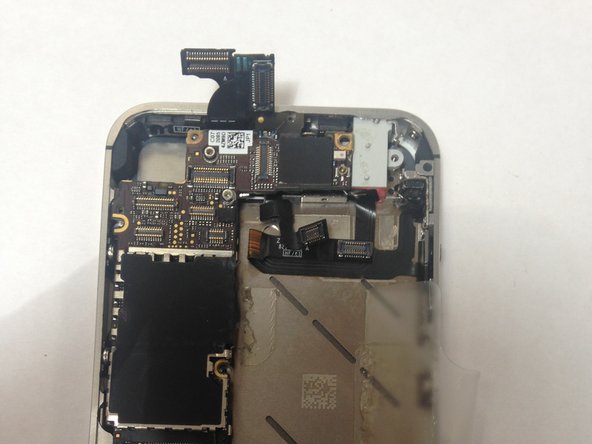
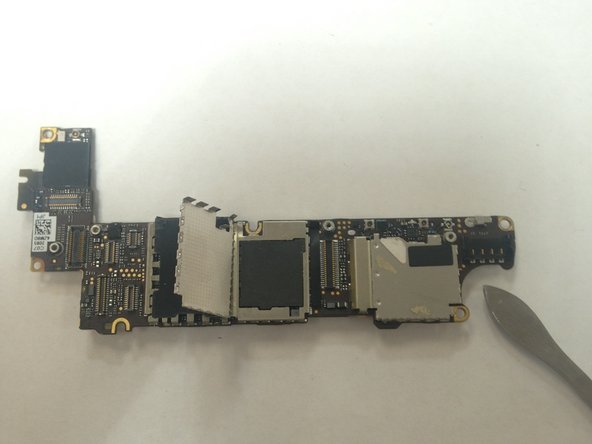
This is where you’ll need your spudger, this will help you lift and disconnect your camera as well as other connectors which you can remove with tweezers (delicate part). With your spudger, you will go under the connector in order to lift and remove the camera from the logic board.
-
-
-
Use the spudger again for the battery connector that covers the logic board to disconnect.
-
-
-
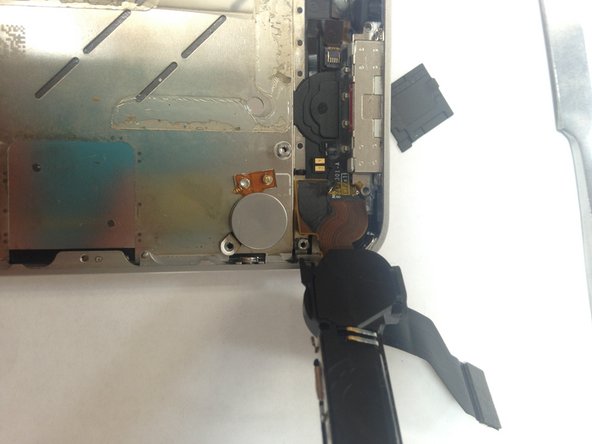
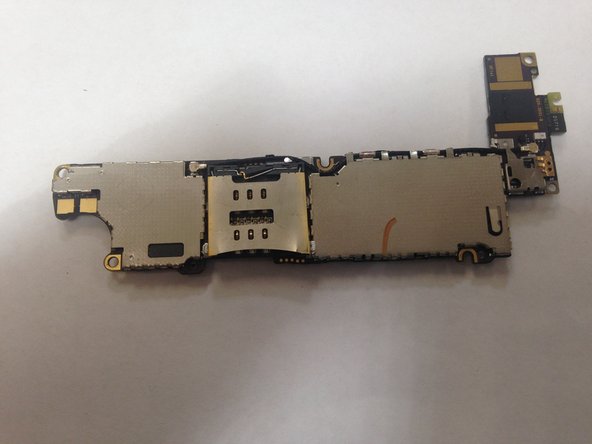
There will be the EMI Shields on the logic board (metal on top of the main processing chips) Which a spudger or the opening tool could be used for removal by lifting the small multiple metal tabs on the sides.(This will require a lot of force to lift off the logic board) (May cause a cut if not done without caution)
-
-
-
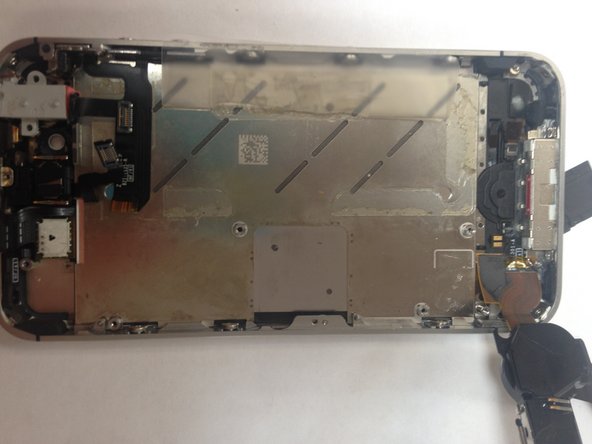
For Reassemble, look up separate instructions or reverse the steps to remove the logic board.
-