Introducción
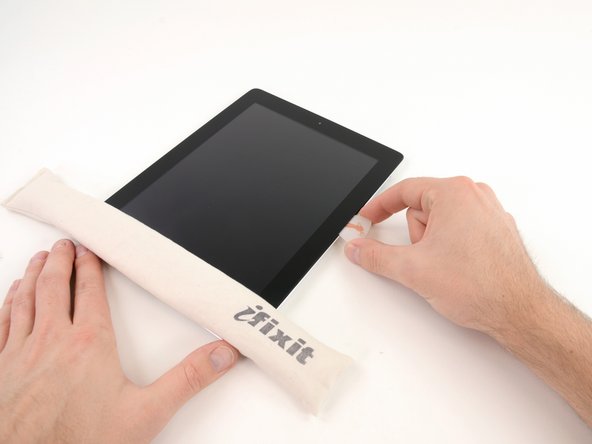
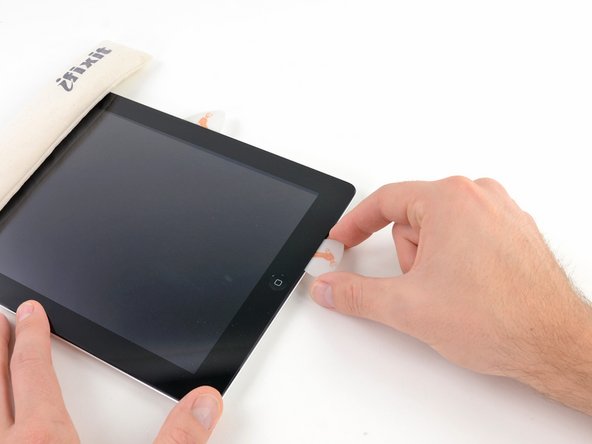
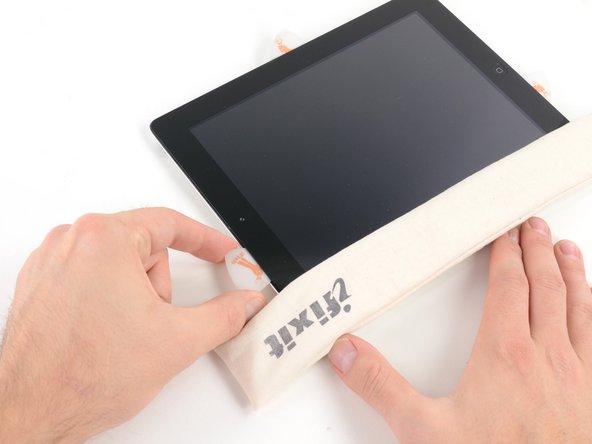
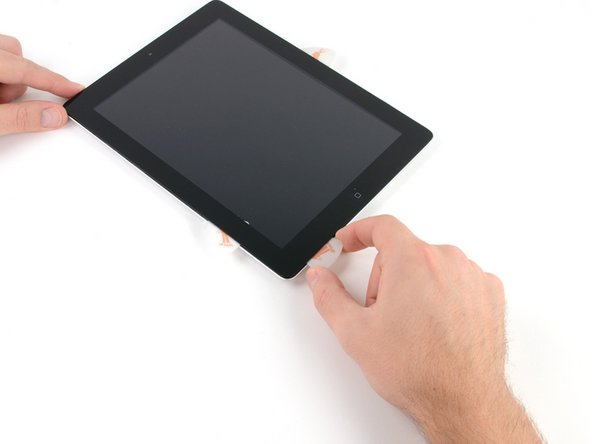
Guía requisito previo para reemplazar un panel frontal roto.
Qué necesitas
-
-
Llena una olla o cacerola con suficiente agua para sumergir completamente el iOpener.
-
Calienta el agua hasta que hierva. Apaga el fuego.
-
Coloca un iOpener en el agua caliente durante 2-3 minutos. Asegúrate de que el iOpener esté completamente sumergido en el agua.
-
Utiliza unas pinzas para extraer el iOpener calentado del agua caliente.
-
Seca bien el iOpener con una toalla.
-
Tu iOpener está listo para ser utilizado. Si necesita recalentar el iOpener, calienta el agua hasta que hierva, apaga el fuego y coloca el iOpener en el agua durante 2-3 minutos.
-
-
-
Si tu cristal de pantalla está agrietado, mantén una mayor rotura contenida y evita daños corporales durante su reparación pegando el vidrio.
-
Coloca tiras superpuestas de cinta de embalaje transparente sobre la pantalla del iPad hasta que toda la cara está cubierta.
-
Haz lo que puedas para seguir el resto de la guía según lo descrito. Sin embargo, una vez que el vidrio se rompe, es probable que continúe agrietándose mientras trabajas, y puede que tengas que usar una herramienta metálica para sacar el vidrio.
-
-
-
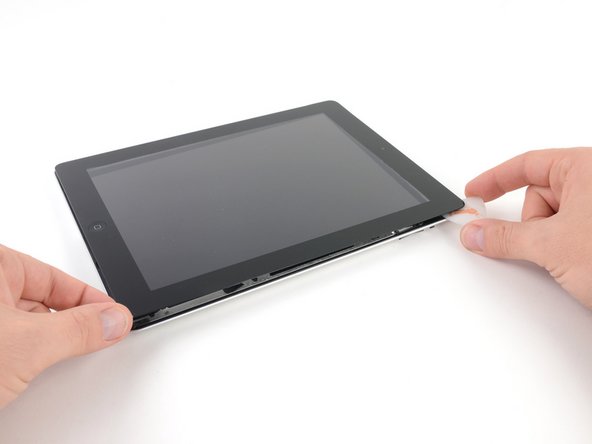
Hay una pequeña brecha en el anillo adhesivo del iPad en la esquina superior derecha del iPad, aproximadamente 2,0 pulgadas (~ 5 cm) desde la parte superior del iPad. Vas a explotar esta debilidad.
-
Alinea la herramienta con el botón de silencio. Inserta la punta de una herramienta de apertura de plástico en el hueco entre el cristal frontal y el bisel de plástico. Basta con insertar la punta de la herramienta de apertura, lo suficiente como para ensanchar la grieta.
-
-
-
-
Una vez que haya pasado la antena Wi-FI (aproximadamente 75 mm desde el borde derecho, o justo al lado del botón de inicio) vuelva a insertar la selección de apertura a su profundidad máxima.
-
Desliza la palanca hacia la derecha, liberando el adhesivo que sujeta la antena Wi-Fi al cristal frontal.
-
La antena está conectada a la parte inferior del iPad a través de tornillos y un cable. Este paso separa la antena del panel frontal, asegurando que al retirar el panel, la antena no se dañará.
-
-
-
Desliza la púa de apertura a lo largo del borde superior del iPad, tirando ligeramente hacia fuera para rodear el soporte frontal de la cámara.
-
El adhesivo a lo largo de esta sección es muy grueso, y puede requerirse una cantidad justa de fuerza. Trabaja con cuidado y lentamente, asegurándose de no resbalar y dañarse a sí mismo o a tu iPad.
-
-
-
Desliza la púa de apertura a lo largo del borde izquierdo del iPad, liberando el adhesivo a medida que avanza. El adhesivo es delgado debido al digitalizador a lo largo de todo el lado izquierdo. Asegúrate de que la púa no esté más de 10 mm dentro para evitar dañar el digitalizador.
-
-
-
Sosteniendo el iPad por las esquinas superior e inferior derecha, gira el cristal delantero lejos del iPad.
-
Durante el montaje, utiliza un paño de microfibra y aire comprimido para limpiar el polvo o las huellas dactilares de la pantalla LCD antes de volver a instalar el cristal.
-
-
-
Retira los cuatro tornillos Phillips de 2,0 mm que sujetan la pantalla LCD a la carcasa trasera.
-
-
-
Utiliza el borde de una herramienta de apertura de plástico para levantar con cuidado las solapas de sujeción de las dos tomas ZIF del cable plano digitalizador.
-
-
-
Levanta la pantalla LCD por el borde largo más alejado del cable digitalizador y gírala suavemente hacia la carcasa trasera, como si estuvieras cerrando un libro.
-
Mientras mantienes levantada la pantalla LCD, desliza suavemente el panel frontal alejándolo del iPad. Ten cuidado de no enganchar el cable digitalizador en la carcasa trasera o en la pantalla LCD.
-
Vuelve a colocar la pantalla LCD en la carcasa para guardarla.
-
Para volver a montar el dispositivo, sigue estas instrucciones a la inversa y utiliza nuestra guía tiras adhesivas del panel frontal iPad 2 Wi-Fi para volver a colocar el panel frontal.
Para volver a montar el dispositivo, sigue estas instrucciones a la inversa y utiliza nuestra guía tiras adhesivas del panel frontal iPad 2 Wi-Fi para volver a colocar el panel frontal.
Cancelar: No complete esta guía.
209 personas más completaron esta guía.
Un agradecimiento especial a estos traductores:
100%
¡ Mariana Roca nos está ayudando a reparar el mundo! ¿Quieres contribuir?
Empezar a traducir ›
6 comentarios
There is one very important step not documented here. There is a wireless antenna attached to the screen just to the right of the home button. This also can be easily ripped if you aren't looking for it.
Additionally, take great care near the volume control button area since there is wiring under there for power. Consider viewing other youtube videos of the process to get different perspectives.
Last, be very patient---take deep breaths as you slowly pull the screen up.
One other step that would be nice to see is how to properly bend the flex cable of the new digitizer ( which out of the box is straight and stiff). The hardest part of the repair for me was negotiating the flex cable of the new glass so that the new glass would fit flush on the lower left corner. It has to bend in a certain way.This drove me nuts.
since you custom screen your guitar picks, have you thought of putting 'depth' lines on them (don't insert past this line for the edges and this line for the wifi area)?
I successfully performed this repair a couple of days ago. I would agree that it is very difficult. I spent a full hour just going over the instructions and putting tape marks on the ipad - it was very helpful to have a clear mental picture of where all the danger spots are.
In my case, the screen was severely cracked, so the repair did not proceed as pictured. It was basically impossible to get anything but small shards of glass to come up at any given time, so after some releasing, I ended up simply lifting the center part of the screen up off the ipad, leaving cracked glass around the bezel. Knowing where all the internal parts were was essential in this case, since I could have easily damaged some parts otherwise. I could see that the way the screen was lifting away, the antenna, for example, would not be affected. Some luck may have been involved, but the repair did work.


