Introducción
Utiliza esta guía para reemplazar el cable HD SATA o para agregarlo si tu sistema se configuró originalmente solo con un Blade SSD para que puedas agregar una segunda unidad.
Qué necesitas
-
-
Con la bisagra libre para moverse, el iMac estará desequilibrado y será difícil de trabajar en él. Las reparaciones se pueden completar con el iMac desequilibrado, pero son más rápidas y fáciles con una cuña de servicio iMac.
-
Si estás usando la tarjeta de servicio de iFixit, sigue estas instrucciones de montaje para armarlo.
-
-
-
Coloca el iMac boca arriba en una mesa.
-
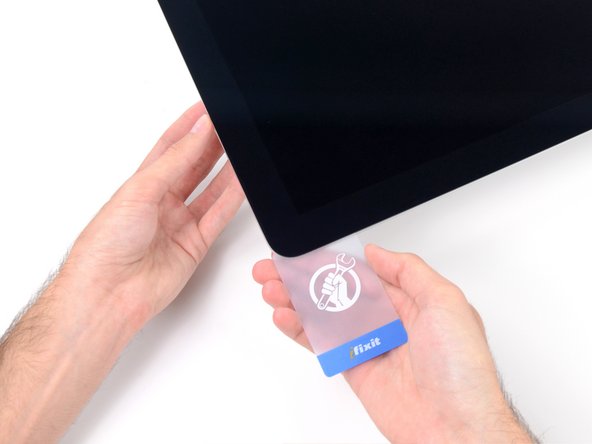
Comenzando desde la esquina superior derecha del iMac, inserta una tarjeta de plástico entre la pantalla y el marco.
-
-
-
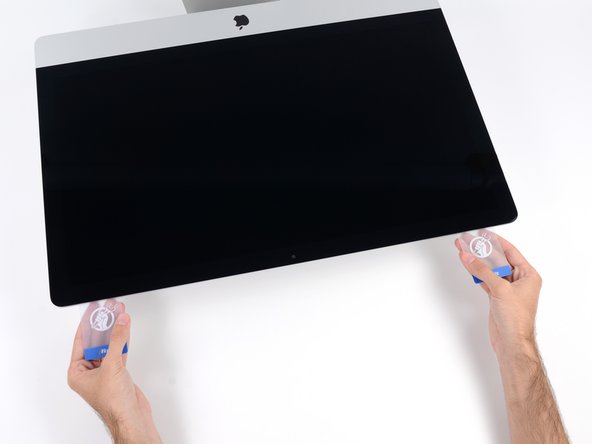
Con las tarjetas insertadas como se muestra cerca de las esquinas, gire suavemente las tarjetas para aumentar el espacio entre la pantalla y la carcasa.
-
Si hay secciones que parecen pegarse y no se separan, deje de girar y use una de las tarjetas para cortar el adhesivo en el área problemática.
-
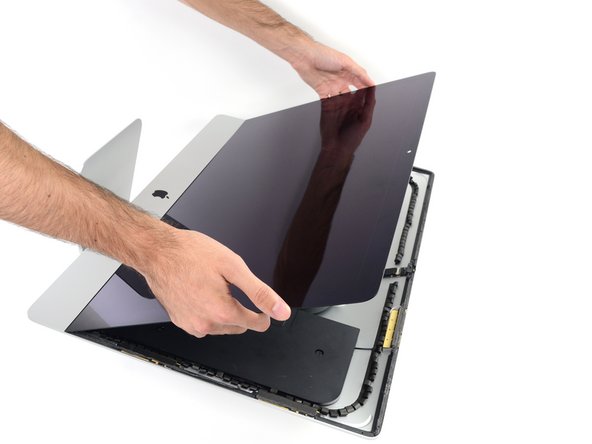
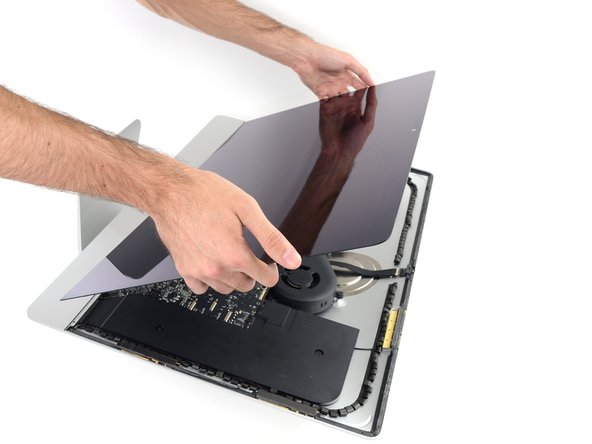
Comience a levantar la parte superior de la pantalla desde el marco.
-
-
-
-
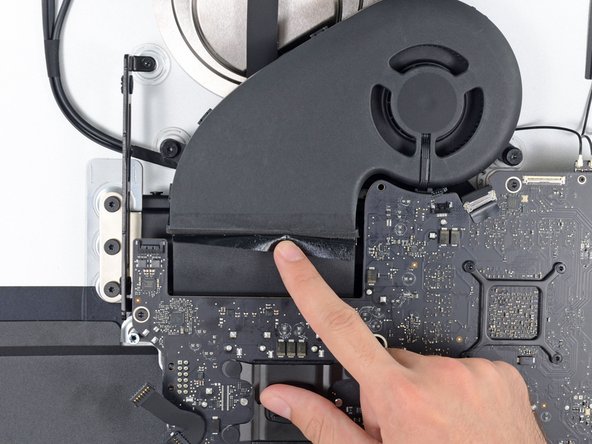
Si hay un alambre o cable debajo de una cinta adhesiva, siempre separa la cinta primero.
-
Si el cable está pegado a la estructura, usa un iOpener calentado o un secador de pelo primero para soltar el adhesivo. Entonces podrás introducir una púa de apertura por debajo del cable para aflojarlo. Nunca tires directamente de los conectores delicados.
-
Desliza una púa de apertura por debajo de los cojines de acolchamiento para separarlos de la pantalla, y tira de ellos con cuidado. Podrías necesitar algo de cinta de doble cara para unirlos a la nueva pantalla.
-
-
-
Utiliza un destornillador Phillips para quitar los nueve tornillos de 3,2 mm que sujetan el brazo de soporte.
-
Es posible que tengas que despegar el adhesivo de la pantalla que recubre el borde inferior de la carcasa del iMac para acceder a los tornillos.
-
-
-
Tira hacia arriba en vertical del cable de datos/alimentación SATA para desconectarlo del disco.
-
-
-
Desconecta el cable de control de la fuente de alimentación de la propia fuente.
-
-
-
Usa la punta de un spudger para desconectar el conector del cable del ventilador de su zócalo en la placa lógica.
-
-
-
Usa el extremo plano de un spudger para desconectar cada uno de los cuatro conectores de antena de la tarjeta AirPort / Bluetooth.
-
Lo más a la izquierda
-
Arriba
-
Arriba a la derecha
-
Abajo a la derecha
-
-
-
Cuando reensambles tu iMac, ten mucho cuidado de alinear los puertos de E / S exteriores correctamente. La placa lógica puede quedar torcida incluso cuando está asegurada con todos sus tornillos.
-
Puede usar una unidad flash USB o un cable de Ethernet para asegurarte de que la placa lógica esté asentada correctamente mientras la atornilla.
-
-
-
Tira hacia arriba del conector del cable de alimentación SATA para desconectarlo.
-
Desenchufa el conector del cable de datos SATA apretando la pestaña de bloqueo y tirando del conector hacia arriba.
-
Quita el cable SATA del conjunto de la placa lógica para quitarlo del medio y evitar que se dañe.
-
Para volver a armar tu dispositivo, sigue estas instrucciones al revés y usa nuestra [guía|136011|Guía de tiras adhesivas|nueva_ventana=true] para volver a colocar el cristal de la pantalla.
Lleva tus desechos electrónicos a un Reciclador certificado R2 o e-Stewards.
¿La reparación no salió según lo planeado? Prueba algunos solución de problemas básicos, o solicita ayuda a nuestra Comunidad de respuestas.
Cancelar: No complete esta guía.
5 personas más completaron esta guía.
Un agradecimiento especial a estos traductores:
100%
¡ Francisco Javier Saiz Esteban nos está ayudando a reparar el mundo! ¿Quieres contribuir?
Empezar a traducir ›
5 comentarios
Hi,
If I buy a model with only ssd drive and I add a hard disk,is the sata cable present inside the iMac?
Thank you
I have the same question.
I took the plunge and bought a Samsung 850 EVO 500GB SSD to get some more storage space in my iMac. (when I bought the iMac I configured it with a 250gb SSD only) After some research I figured out that I had to buy a SATA cable as there is none pre-installed cable with my configuration. Nor does it come with a HDD cradle/bracket, but I solved that with two strips of super sticky double sided tape to mount the drive.
When booted up and logged in a message popped up telling me that it had found the new SSD drive and wanted to format it. So I formatted it and it works great.
Oh, and if you have one of those very thin plastic "credit card/business card" you will be just fine using that to separate the display from the body. No need for a guitar plectrum or the "pizza cutter" shown in this tutorial.
Hello,
anybody knows, where should I buy this SATA cable, since I also would like to take one more SSD to my iMac.
I have got a Late 2013 iMac 27 with SSD from factory.


