Esta versión puede contener ediciones incorrectas. Cambiar a la última instantánea verificada.
Qué necesitas
-
Este paso está sin traducir. Ayuda a traducirlo
-
Disconnect the optical drive thermal sensor cable by pulling its connector away from the socket on the logic board.
-
-
Este paso está sin traducir. Ayuda a traducirlo
-
Remove the two 3.6mm T6 Torx screws securing the optical drive ribbon cable connector to the logic board.
-
-
Este paso está sin traducir. Ayuda a traducirlo
-
Use the flat end of a spudger to pry the optical drive ribbon cable connector up off the logic board.
-
Bend the optical drive ribbon cable back away from the logic board.
-
-
-
Este paso está sin traducir. Ayuda a traducirlo
-
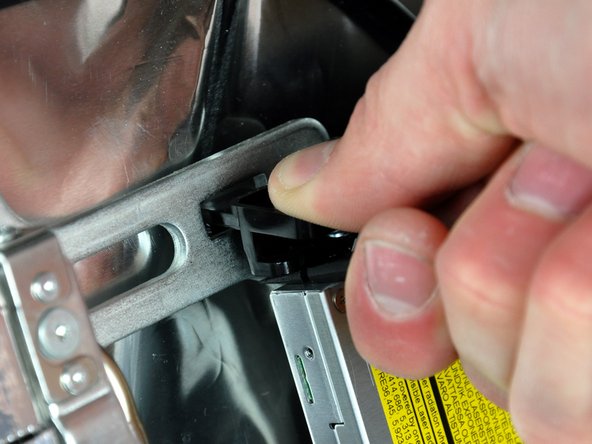
Insert the flat end of a spudger into the gap between the optical drive and its bracket until it contacts the chassis.
-
Grab the spudger as close to the surface of the optical drive as you can, then depress the release tab with your thumb while pulling toward yourself.
-
-
Este paso está sin traducir. Ayuda a traducirlo
-
Remove the two 6mm T10 Torx screws from the side of the optical drive.
-
-
Este paso está sin traducir. Ayuda a traducirlo
-
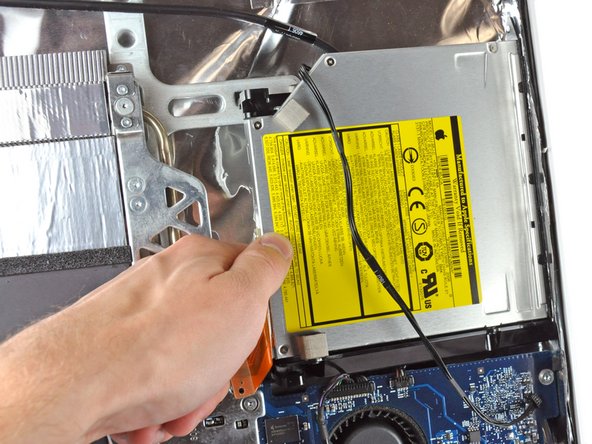
Reach behind the chassis and use your finger to unclip the lower optical drive tab from the chassis.
-
-
Este paso está sin traducir. Ayuda a traducirlo
-
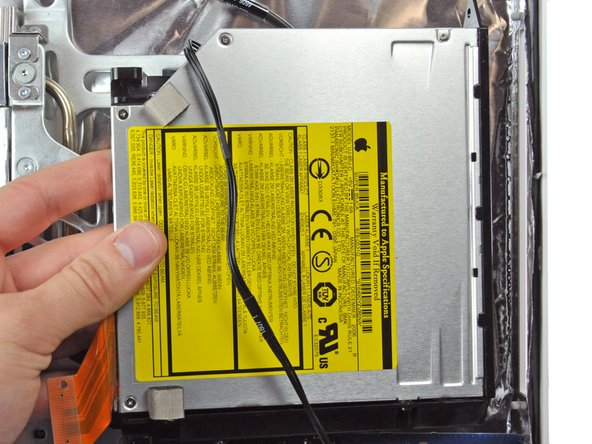
Maneuver the optical drive out of the rear case, minding the two plastic pins molded into the rear case near the open end of the optical drive that can break off.
-