Esta versión puede contener ediciones incorrectas. Cambie a la última instantánea verificada.
Qué necesitas
-
Este paso está sin traducir. Ayuda a traducirlo
-
Unplug all the cables from the computer, including the power cable. Lay the computer face-down, supporting the neck and base with a soft cloth under the screen.
-
-
-
Este paso está sin traducir. Ayuda a traducirlo
-
Open the housing plate.
-
A fixed plug connector between the logic board and upper unit will cause some resistance. Pull gently but firmly.
-
-
Este paso está sin traducir. Ayuda a traducirlo
-
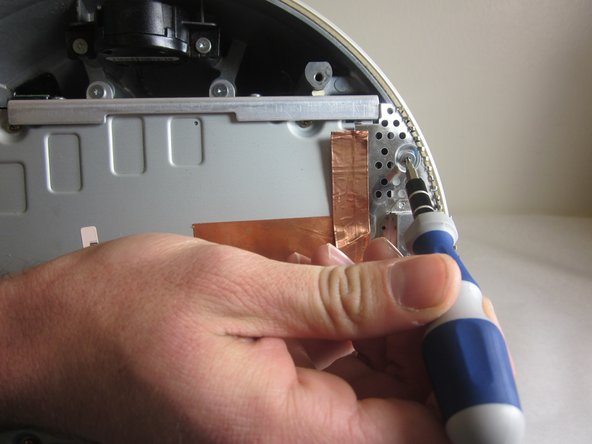
Remove the 2 torx 10mm screws on the EMI shield
-
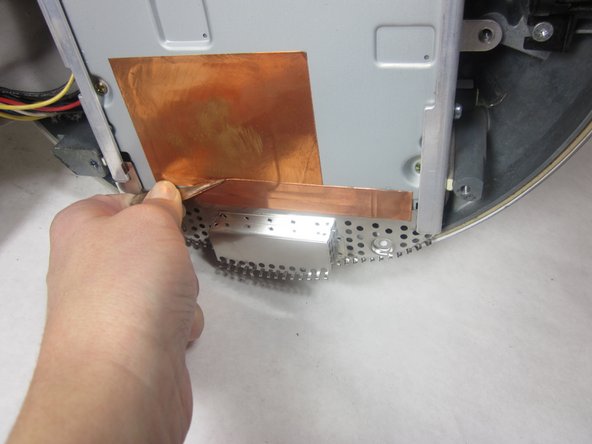
Carefully remove shield and copper tape
-
-
Este paso está sin traducir. Ayuda a traducirlo
-
Remove the 4 10mm torx screws attatched to the drive carrier.
-
-
Este paso está sin traducir. Ayuda a traducirlo
-
Grasp the carrier with both hands on each side.
-
Remove the carrier by lifting up and out.
-
-
Este paso está sin traducir. Ayuda a traducirlo
-
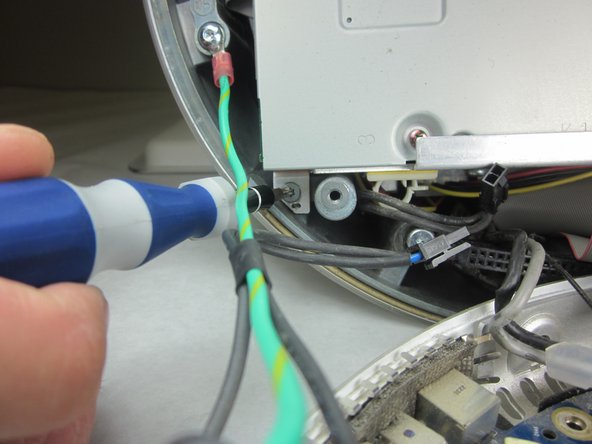
Flip the removed carrier to the right and pull out power cables.
-


Cancelar: No complete esta guía.
3 personas más completaron esta guía.
Equipo

Cal Poly, Team 21-22, Maness Fall 2011 Miembro de Cal Poly, Team 21-22, Maness Fall 2011
CPSU-MANESS-F11S21G22
4 Miembros
13 Guías creadas
2 comentarios
What two screws in step 6
We need a "action" shot; we need to show an actual screwdriver unscrewing the screw.