Introducción
If your iHome isn't playing music or is producing awful sound quality, use this guide to replace the speaker. You must open the device and remove speaker grill to access the speaker.
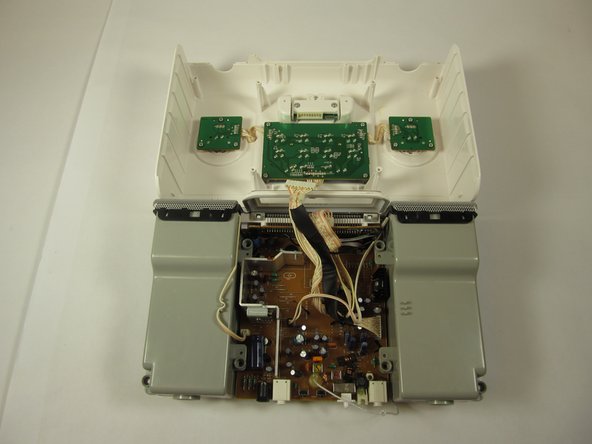
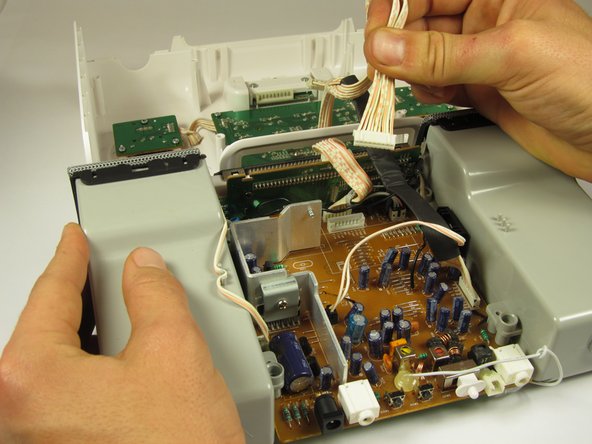
This replacement is best done on a flat surface with plenty of room to work. Opening up the iHome involves the removal of many different screws. It is important to keep track of these screws! You can do this by placing the screws on a magnetic mat in the order of removal. This allows for easy reassembly.
Qué necesitas
-
-
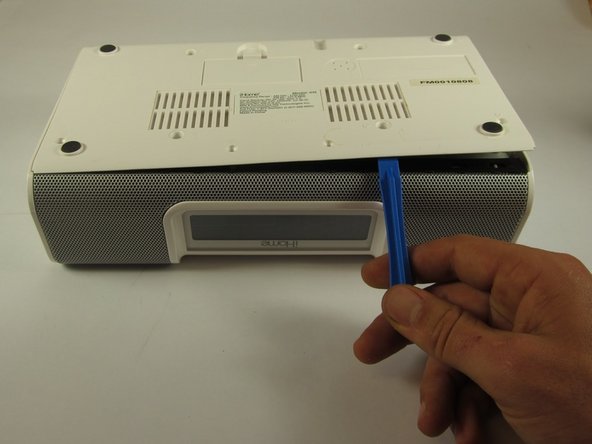
Pull the tab towards you and lift up to remove the battery cover.
-
Remove the two AA batteries.
-
-
-
Unscrew the four 8mm Phillips #2 screws.
-
Unscrew the six 25mm Phillips #2 screws.
-
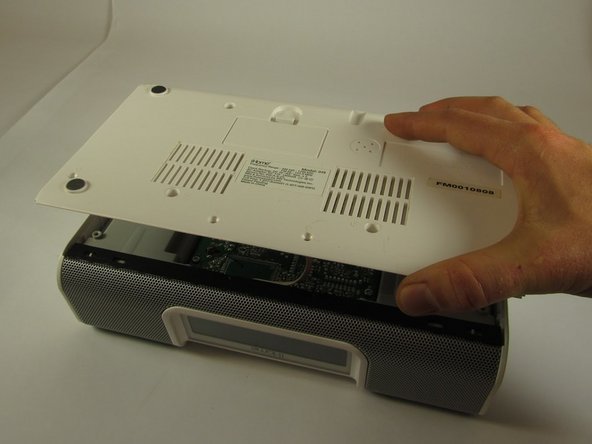
Reinstall the backup battery cover so it is out of the way.
-
-
-
-
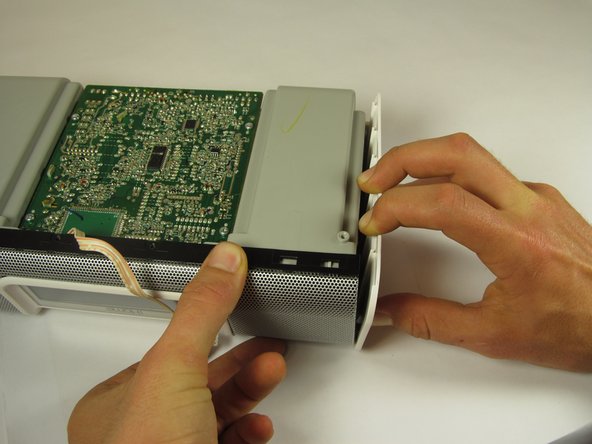
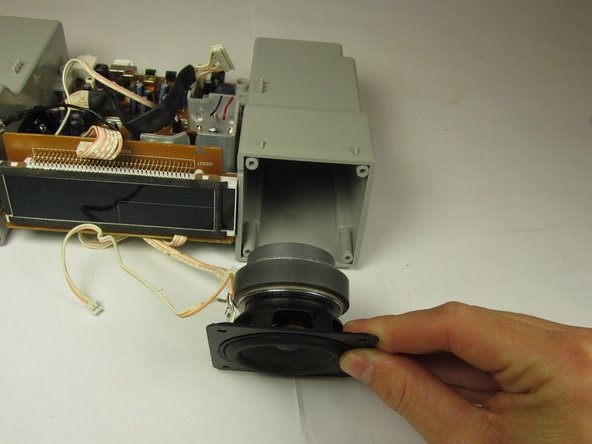
Set the iHome iH9 speaker and mother board assembly upright on the speaker grill.
-
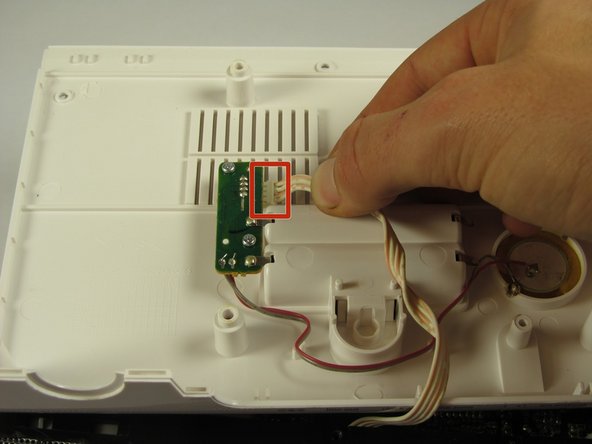
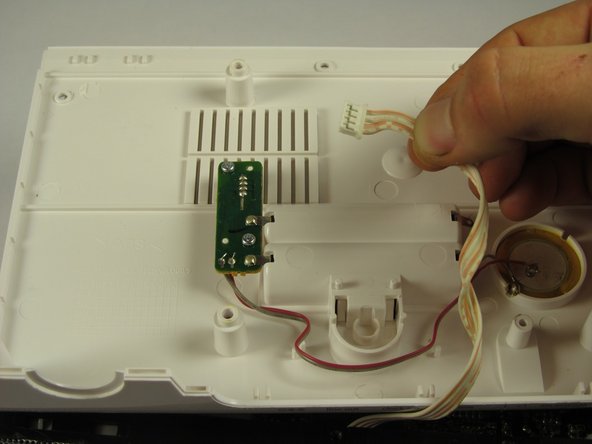
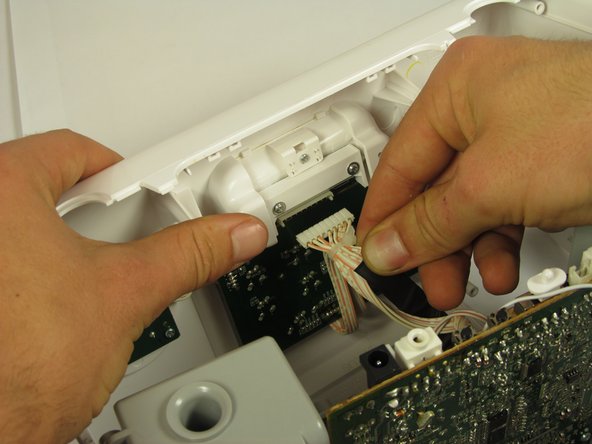
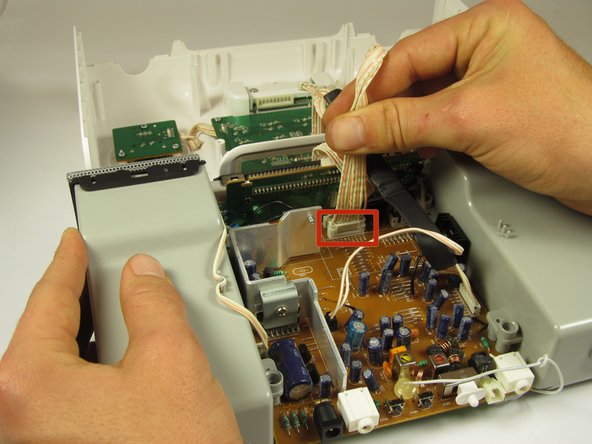
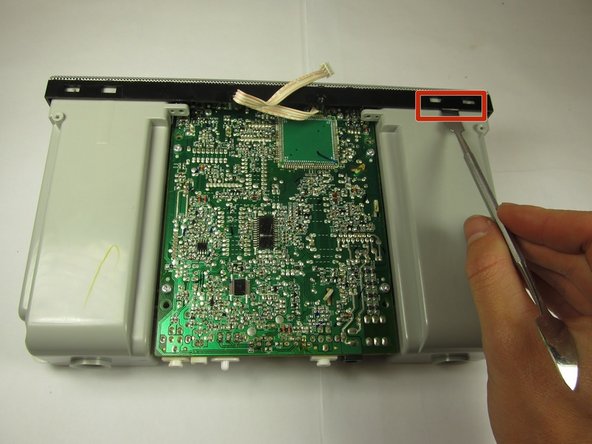
Remove the black ground wire from the grill by pulling in the direction of the wire.
-


To reassemble your device, follow these instructions in reverse order.
To reassemble your device, follow these instructions in reverse order.
Cancelar: No complete esta guía.
Una persona más ha completado esta guía.
Equipo

Cal Poly, Team 8-39, Amido Winter 2015 Miembro de Cal Poly, Team 8-39, Amido Winter 2015
CPSU-AMIDO-W15S8G39
4 Miembros
8 Guías creadas