Saltar al contenido principal

iHome iBT230 Screen Replacement

Qué necesitas

  1. iHome iBT230 Screen Replacement, Screen: paso 1, imagen 1 de 1
    • Remove the four 5.5 mm Phillips Head #00 screws from the bottom of the iBT230.

  2. iHome iBT230 Screen Replacement: paso 2, imagen 1 de 2 iHome iBT230 Screen Replacement: paso 2, imagen 2 de 2
    • Grip the top of the iBT230 by placing your thumb on the back of the iBT230, where the USB port is located. Pull up, and you should notice different colored wires connected to the Main Motherboard.

  3. iHome iBT230 Screen Replacement: paso 3, imagen 1 de 2 iHome iBT230 Screen Replacement: paso 3, imagen 2 de 2
    • Unplug the connectors from all sides of the iBT230, and unplug the wire that is connected to the screen.

  4. iHome iBT230 Screen Replacement: paso 4, imagen 1 de 1
    • Unscrew the four 5.5 mm Phillips #00 face panel screws from the front screen.

  5. iHome iBT230 Screen Replacement: paso 5, imagen 1 de 2 iHome iBT230 Screen Replacement: paso 5, imagen 2 de 2
    • Once the four 5.5 mm Phillips #00 face panel screws come out, slide the screen out vertically. Set the screen aside.

    • Disconnect the blue tipped ribbon, from the back of the screen.

Conclusión

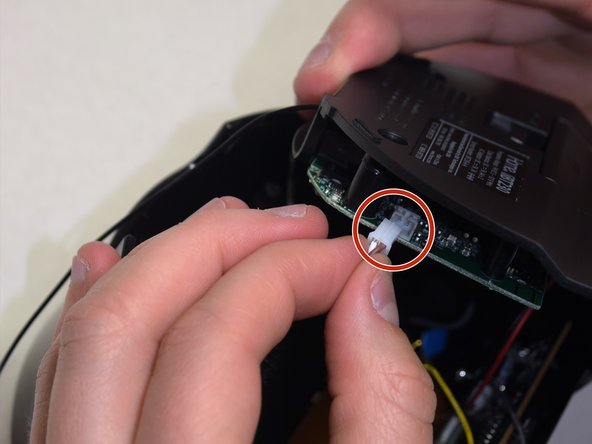
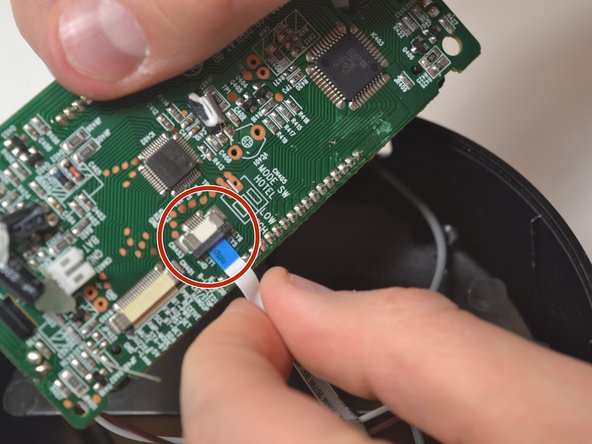
To reassemble your device, follow these instructions in reverse order.

Una persona más ha completado esta guía.

Bilal Siddiqui

Miembro Desde 04/10/17

376 Reputación

3 Guías creadas

Equipo

UW Tacoma, Team S3-G6, Liner Spring 2017 Miembro de UW Tacoma, Team S3-G6, Liner Spring 2017

UWT-LINER-S17S3G6

4 Miembros

3 Guías creadas

0 comentarios

Agregar Comentario

Ver Estadísticas:

Ultimas 24 horas: 2

Ultimos 7 días: 2

Ultimos 30 días: 10

Todo El Tiempo: 369