Esta versión puede contener ediciones incorrectas. Cambiar a la última instantánea verificada.
Qué necesitas
-
Este paso está sin traducir. Ayuda a traducirlo
-
Use the Phillips Head 00 screw driver to unscrew the seven 0.1mm screws from the phone's mid frame.
-
-
Este paso está sin traducir. Ayuda a traducirlo
-
Wedge the flat end of the spudger between the mid frame and the digitizer.
-
-
Este paso está sin traducir. Ayuda a traducirlo
-
Gently pry the mid frame away from the rest of the phone to expose the motherboard.
-
-
Este paso está sin traducir. Ayuda a traducirlo
-
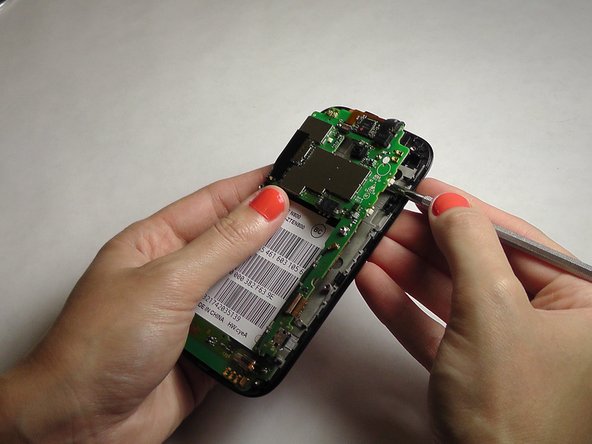
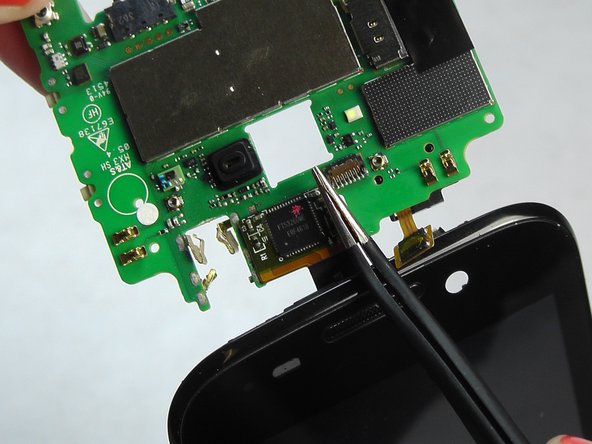
Use the tweezers to remove the four ribbon wires on the sides of the device.
-
-
-
Este paso está sin traducir. Ayuda a traducirlo
-
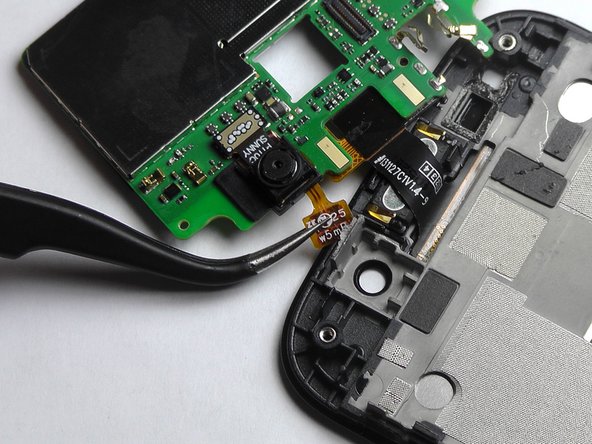
Remove the connector to free the motherboard from the screen.
-
-
Este paso está sin traducir. Ayuda a traducirlo
-
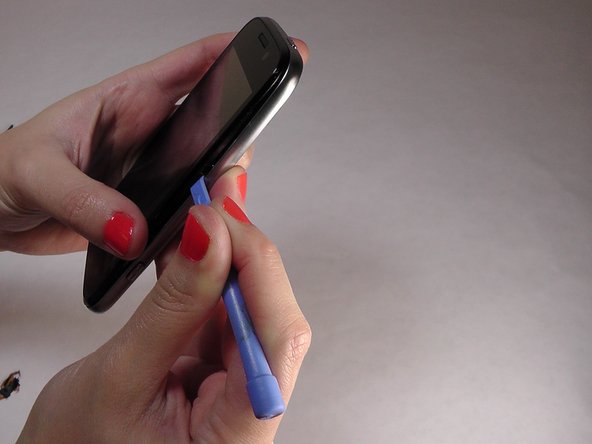
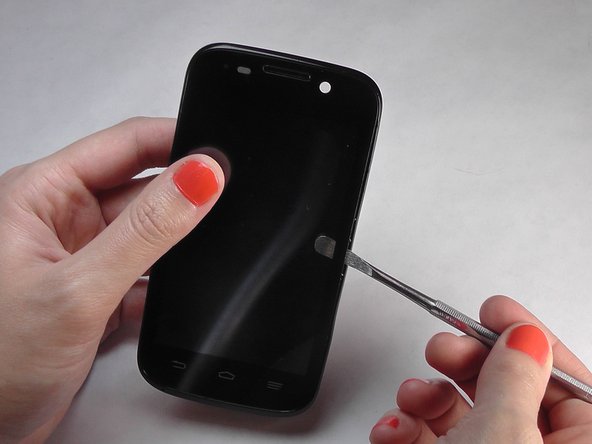
Gently wedge the spudger in between the glass screen and the mid frame.
-
-
Este paso está sin traducir. Ayuda a traducirlo
-
Be careful when removing the ribbon wires. They are delicate.
-
-
Este paso está sin traducir. Ayuda a traducirlo
-
Remove the remaining two ribbon wires from their connectors.
-
-
Este paso está sin traducir. Ayuda a traducirlo
-
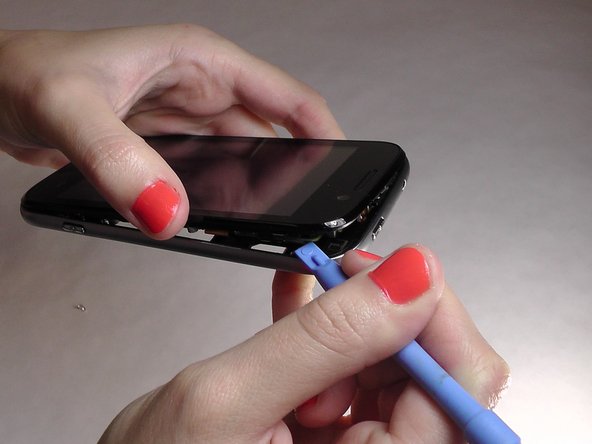
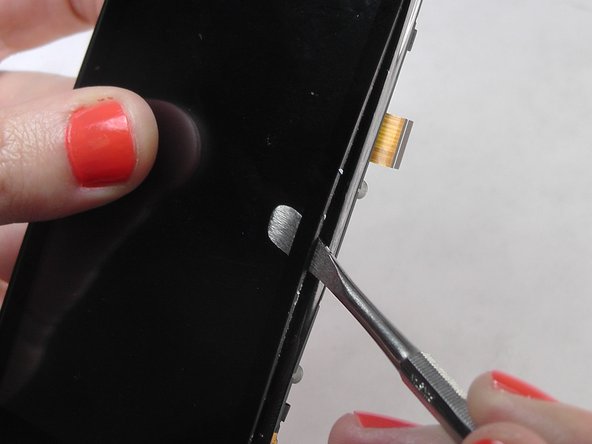
Wedge the plastic spudger between the screen and the digitizer.
-
Gently pry apart the screen from the digitizer.
-


Cancelar: No complete esta guía.
12 personas más completaron esta guía.
Equipo

USF Tampa, Team 1-2, Leahy Fall 2014 Miembro de USF Tampa, Team 1-2, Leahy Fall 2014
USFT-LEAHY-F14S1G2
4 Miembros
10 Guías creadas