Introducción
This guide will require both opening the Xiaomi Mi 4 and detaching the motherboard. This guide will show how to remove the cover of the Mi 4
Qué necesitas
-
-
Use a pin or paper clip to insert in the hole on the side of the phone next to the micro SIM cardholder to remove the tray.
-
Remove the SIM card tray from the Xiaomi Mi 4 and store it somewhere safe.
-
-
-
Using the flat metal spudger and curved metal spudger, make a wedge between the plastic back cover and the inner frame
-
Using the second spudger, slowly work your way around the perimeter of the device
-
As the back cover is almost completely removed, use the suction-cup tool to remove the plastic cover without damaging the back
-
-
-
Use a 000 phillips head screwdriver to remove the 10 1.2mm phillips head screws in the plastic frame that hold the motherboard and battery.
-
Use a 000 phillips head screwdriver to remove the 3 0.5mm phillips head screws in the plastic frame that hold the motherboard and battery.
-
Use the small plastic opening tool and place it in the slot on the bottom right corner of the inner frame and carefully pry it off.
-
-
-
-
Use tweezers to gently disconnect the connections that run across the battery and are connected to the motherboard.
-
Proceed to gently remove the tape like connector from the battery until it is completely off.
-
Use tweezer to disconnect battery’s wire from the motherboard.
-
-
-
With the battery removed locate the left-hand cable connected to the motherboard. With the tweezers, firmly grasp the wires of the connector and gently disconnect the cable from the motherboard.
-
Find the other cable connecting the motherboard to the device at the top right-hand side of the phone, and carefully use the tweezers to remove that as well.
-
-
-
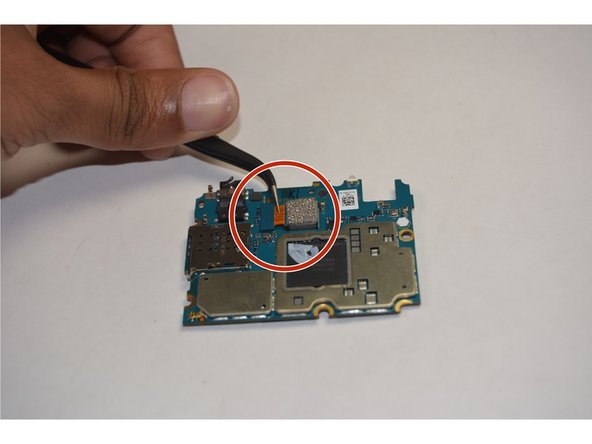
With the motherboard removed from the device, turn the motherboard over to face the obverse side.
-
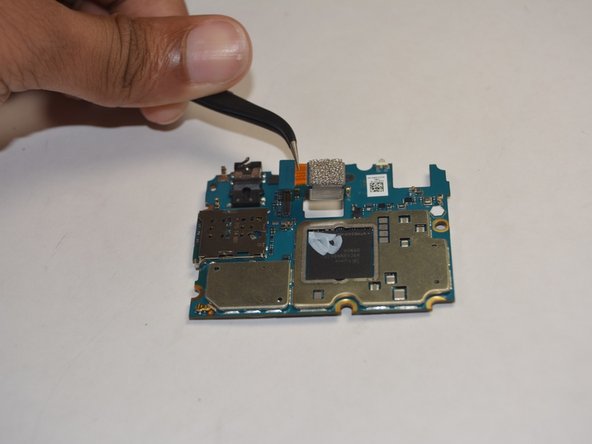
Locate the connector for the rear camera.
-


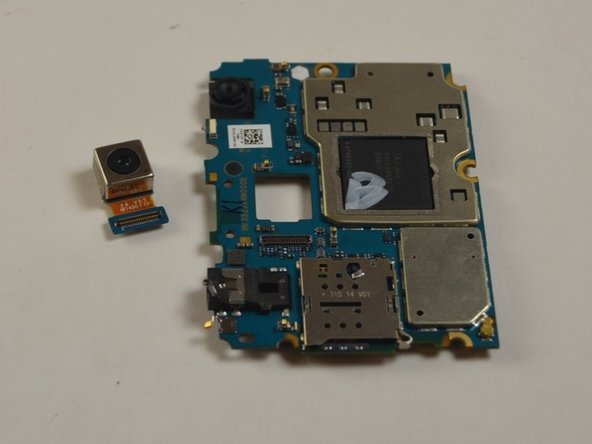
To reassemble your device, follow these instructions in reverse order.
To reassemble your device, follow these instructions in reverse order.
Cancelar: No complete esta guía.
6 personas más completaron esta guía.
Equipo

USF Tampa, Team 15-6, Blackwell Fall 2015 Miembro de USF Tampa, Team 15-6, Blackwell Fall 2015
USFT-BLACKWELL-F15S15G6
2 Miembros
10 Guías creadas