Esta versión puede contener ediciones incorrectas. Cambiar a la última instantánea verificada.
Qué necesitas
-
Este paso está sin traducir. Ayuda a traducirlo
-
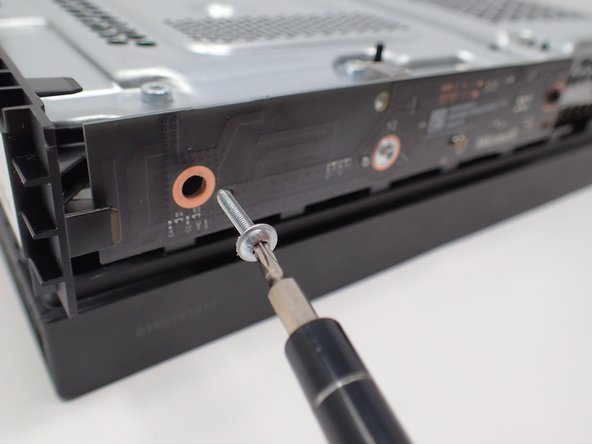
Using a T9 Torx screwdriver, remove the two 15mm silver screws that are holding a circuit board/panel to the side of the interior metal casing.
-
Using the same screwdriver, remove the 9mm black screw located farther to the right on the same circuit board/panel.
-
-
Este paso está sin traducir. Ayuda a traducirlo
-
Remove the unscrewed panel from the side of the device by pulling it toward you.
-
-
-
Este paso está sin traducir. Ayuda a traducirlo
-
Pull the upper edge of the white clip down, and then remove the white connector from the dislocated panel using precision tweezers.
-
-
Este paso está sin traducir. Ayuda a traducirlo
-
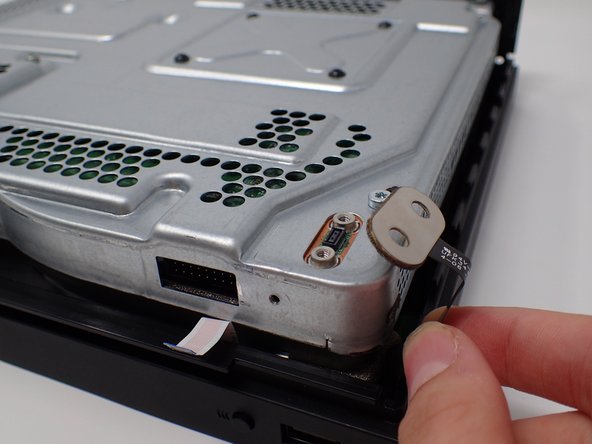
On the top of the device in the corner directly above the white connector, there is an oval plate held in place by two screws.
-
Remove both of these 7mm screws with a Torx T9 screwdriver.
-
Lift the detached plate off to the side.
-
-
Este paso está sin traducir. Ayuda a traducirlo
-
Use a Torx T9 screwdriver to remove the six 47mm long screws, which attach the bottom side of the outer case.
-
-
Este paso está sin traducir. Ayuda a traducirlo
-
Turn the Xbox over, so that the bottom of the case is on top.
-
Lift the bottom of the case off of the Xbox by pulling it up and toward you.
-
-
Este paso está sin traducir. Ayuda a traducirlo
-
Flip over the device again, so that the top is facing upwards.
-
Remove the 4 smaller 11mm screws in the lower left corner on the metal casing using a Torx T9 screwdriver.
-
-
Este paso está sin traducir. Ayuda a traducirlo
-
Flip over the device again, so that the bottom is facing upwards.
-
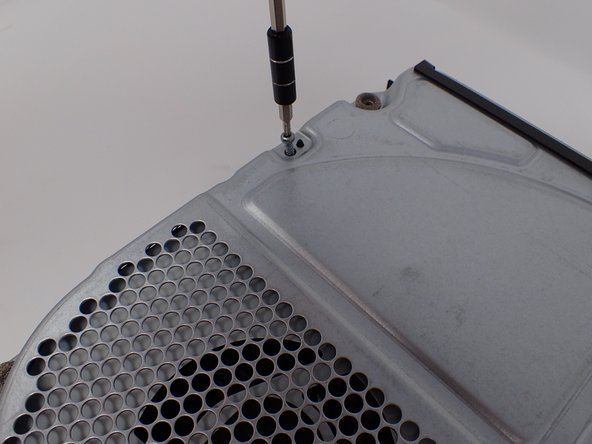
Using a Torx T10 screwdriver, remove the two screws located on opposite sides of the metal casing. One is near the fan vent, and the other is near the power supply vent.
-
-
Este paso está sin traducir. Ayuda a traducirlo
-
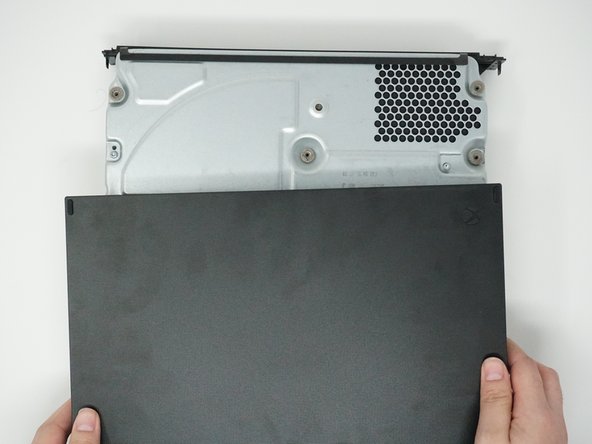
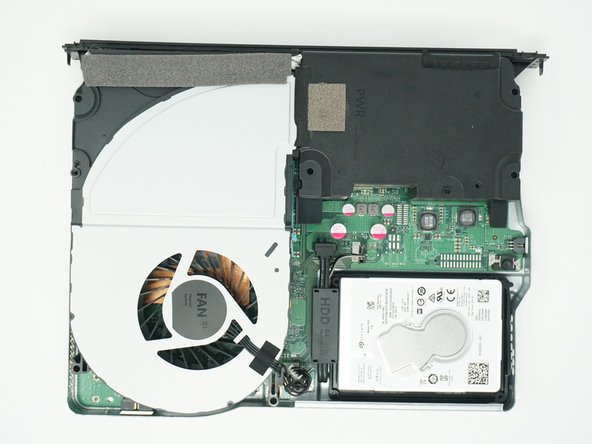
Remove the metal casing by pulling it upward, revealing the interior components of the device.
-
-
Este paso está sin traducir. Ayuda a traducirlo
-
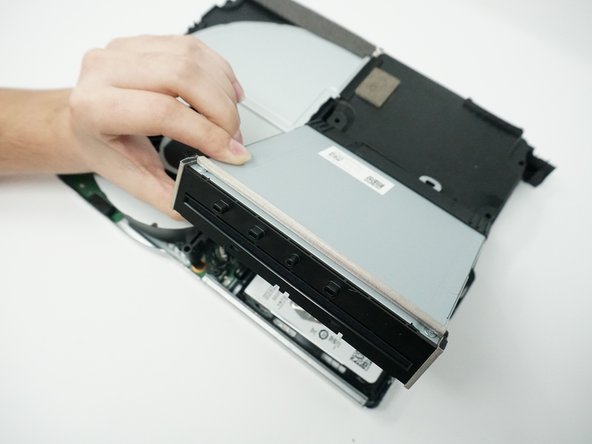
Lift and rotate the BD drive to reveal the wires that connect it to the motherboard.
-
-
Este paso está sin traducir. Ayuda a traducirlo
-
Using your fingers, gently unplug the two sets of wires connecting the drive to the motherboard.
-
Alternatively, you can disconnect the wires from the drive-side sockets. This is much easier if you have not removed the power supply.
-
The BD drive should now be completely detached from the rest of the device, and it can be set aside.
-


Cancelar: No complete esta guía.
4 personas más completaron esta guía.
Equipo

Cal Poly, Team S2-G6, Livingston Winter 2018 Miembro de Cal Poly, Team S2-G6, Livingston Winter 2018
CPSU-LIVINGSTON-W18S2G6
4 Miembros
23 Guías creadas
5 comentarios
ok it says no other parts required besides the tweezers and the t9 screw driver, but it doesn't mention what model of BD-ROM is suitable to replace it with.
Please FIX Number 8 THIS IS NOT RIGHT!
Unfortunately the manual is not correct here. Above the black slot is a white switch / pen, fold it over with your fingernail, so fold it over to the front. Then the cable can be easily removed without any problems and tweezers. GERMAN: Hier ist die Anleitung leider nicht korrekt. Oberhalb des schwarzen Steckplatzes befindet sich ein weißer Schalter/Stift, diesen mit dem Fingernagel umklappen, also praktisch zu der Vorderseite umklappen. Danach lässt sich das Kabel ohne Probleme und Pinzette einfach abziehen.
What is the model of the BD ROM drive for the xBox 1 X?
Followed this guide and https://www.youtube.com/watch?v=wO-QanKR... and upgraded my Xbox One X Project Scorpio edition to 2TB SSD. Thanks and keep up the good work