Introducción
Click here to view the updated version of this guide.
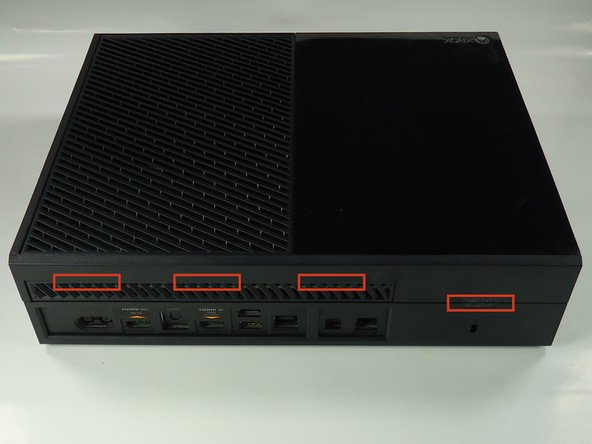
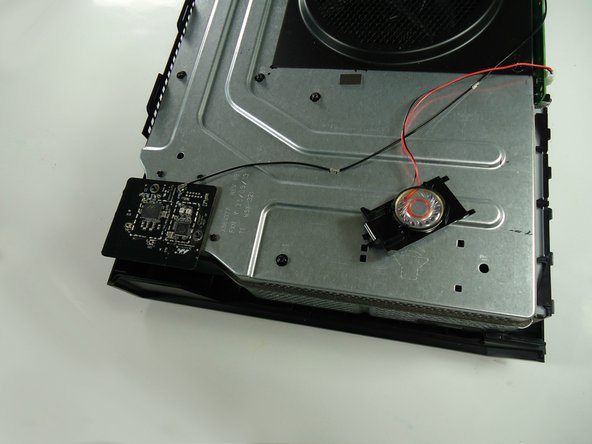
The Wi-Fi board lets the Xbox connect wirelessly to the internet and its controllers. It communicates on a 2.4GHz band and connects to the Xbox via an antenna cable and a connector on its underside.
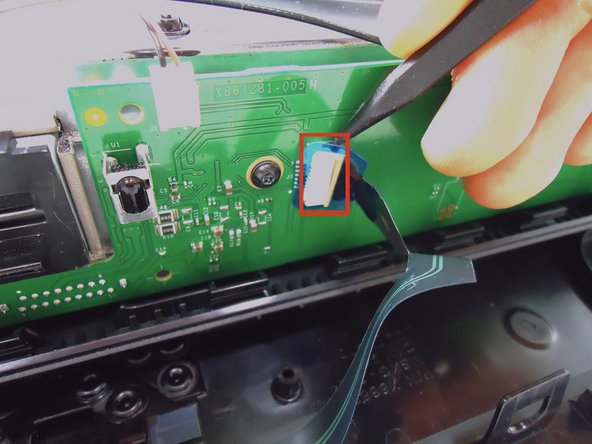
Step 4 is only necessary if you are opening the chassis.
Qué necesitas
-
-
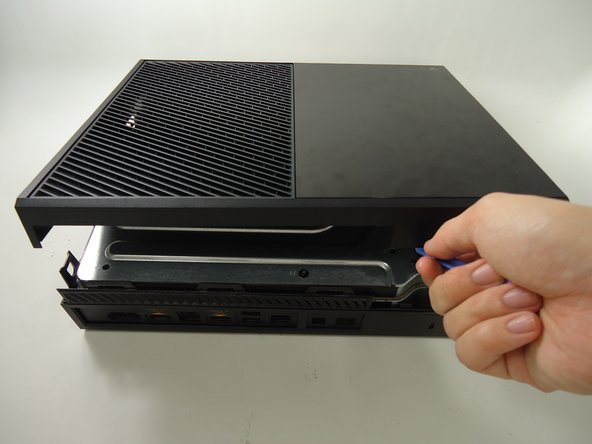
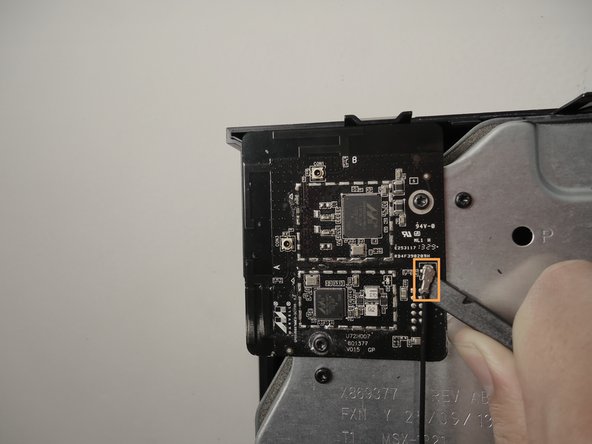
Slide the black angled tab behind the silver button toward the back of the console and set it aside.
-
-


To reassemble your device, follow these instructions in reverse order.
To reassemble your device, follow these instructions in reverse order.
Cancelar: No complete esta guía.
8 personas más completaron esta guía.
Equipo

Cal Poly, Team 6-22, Maness Winter 2014 Miembro de Cal Poly, Team 6-22, Maness Winter 2014
CPSU-MANESS-W14S6G22
4 Miembros
11 Guías creadas
Un comentario
My wireless work ,But my WIFI is not working .It say my network passwork don't work . I have put all my password and nothing work. What else can I do to fix it . Or Can I get someone else to come can fix it for me.